We started looking at different prams and strollers when we were expecting our fifth child last year. Though we used to have a good, sturdy Phill & Teds Sport (highly recommended if you have little ones close in age!), I was looking for something more charming. Still comfortable, but pretty as well.
This post may contain affiliate links. That means I make a small commission for purchases made through these links, at no extra cost to you. All opinions are my own. You can read my full disclosure here.
Table of Contents
Introduction
I love the “natural” strollers made with cotton, linen, wool, and other, beautiful natural materials by Naturkind. I saw one particular stroller that had a braided baby basket. I loved the look of it, but oh, the price tag!
I knew that just wasn’t an option. So, I started looking for vintage strollers because I knew some had a similar look.
Read on to find out more about how we restored our vintage pram and for step-by-step pictures on how to clean a vintage pram.
IMPORTANT: Restore and use the pram at your own risk, I do not take any responsibility for injuries, or damage caused by the usage of a (restored) vintage pram using this tutorial.
For the sake of ease, I’ll use the terms “pram”, “stroller”, “baby carriage” and such interchangeably in this blog post. They all refer to a way of baby transportation by means of a vintage pram/ stroller, etc.

The Charm of a Vintage Pram
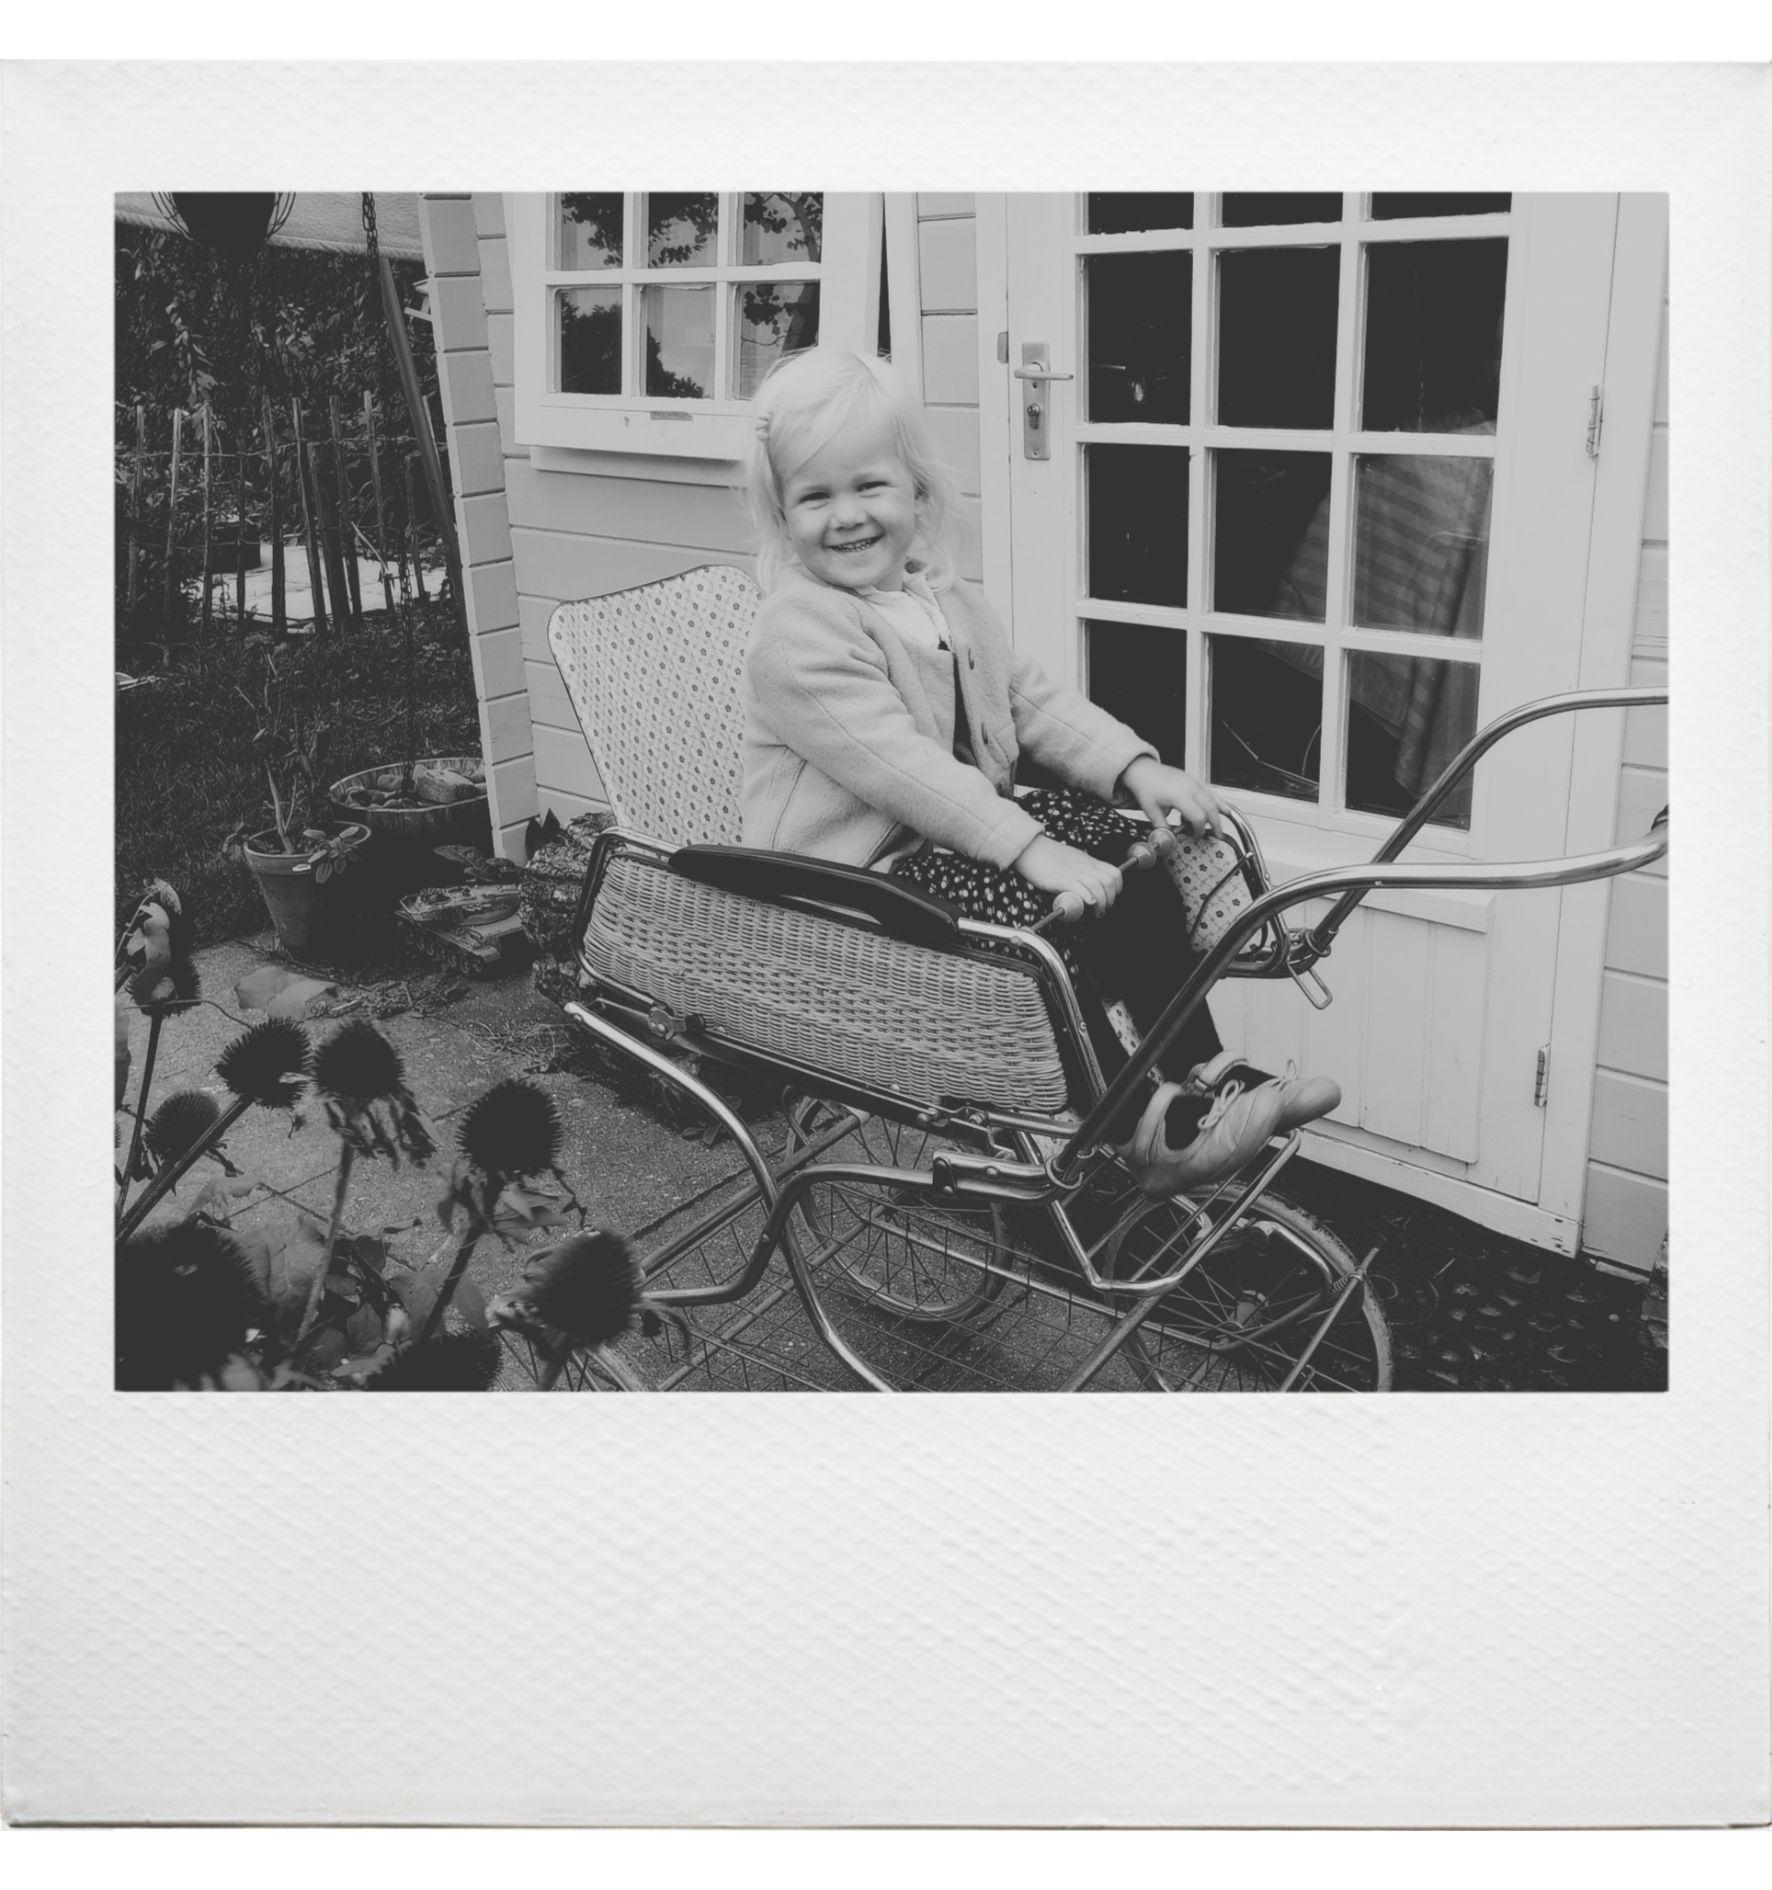
There’s just something special about a vintage pram. Thinking of all the babies that were in a pretty coachbuilt pram. All the stories and memories made in the old baby carriage. Even the British royal family used a beautiful silver cross vintage pram. The vintage pram still looked stunning with the new generation of the royal family, proving they can become real family heirlooms.
I’ve already had such sweet reactions from people saying: “Oh, I used to have one like that 40 years ago!”, “They’re much better than those made nowadays.”, even men saying: “That’s a nice looking pram.”. It’s a valuable addition as it gives people a reason to start a conversation. In this day and age where “self” is so important, it’s refreshing to meet people who are still willing to be open and initiate a conversation.
You might also like…
Assessing the Pram Before You Buy
Before you buy a vintage pram, be sure to check it well! And, ensure that the vintage pram is in good shape. Safety regulations back in the day were not like those we have today.
Also, make sure no parts are damaged or frail. If there are damaged parts or missing parts make sure those vintage pram parts are still available before you buy and start your pram restoration. The classic pram should be in a generally good condition. With some hot soapy water and some love, a vintage stroller can be turned into the best baby stroller you’ll ever have!

Common Issues with Vintage Prams
When assessing a potential vintage pram for your baby, look for some common issues. Your vintage pram’s metal frame might have rust, and damaged upholstery, and the old pram might have some missing parts.
As for rust on an old metal stroller, that’s usually easy to tackle with some pram rust removal techniques using a non-scratch scrubber. So, look beyond the rust when you’re looking for a vintage pram. Removing rust might become part of your vintage pram maintenance as some parts may become rusty again over time. Vintage metal for old strollers often has a chrome plating.
Plastic parts on a vintage pram might be hard to repair and/or replace. So keep that in mind. Also, discolored plastic parts may be hard(er) to clean with hot soapy water. However, some yellow discoloration can likely be removed with some warm water and lemon juice.
If you’re good with needle and thread, damaged upholstery doesn’t have to be a dealbreaker either. But, take a good look at the pram and how the fabric on the bassinet and hood are assembled.
Before purchasing a vintage pram, ensure that spare parts are available for any damaged, broken, or missing components. If spare parts are not available, and there’s no safe DIY solution, look further until you find one that is complete and safe.
Cleaning and Maintenance
When you’re restoring vintage prams, the pram must be fully cleaned before you put the baby in the pram. Here’s a comprehensive vintage pram cleaning guide to help you get started with your DIY pram restoration.
Your vintage pram might have some wooden parts, which can especially be the case with antique pieces and coachbuilt prams. Carefully assess the wooden parts and decide whether or not they should be replaced/ painted or if cleaning and restoring will suffice.
The great thing about vintage prams is, that they’re usually quite basic in their main parts. The wheels can usually be taken off, the bassinet is one part and the frame is one separate part. They require little maintenance since their so basic in their structure.
Especially when the pram has been sitting for a while it’s super important to practice hygienic pram care and thoroughly clean all parts of the pram.
Regular maintenance is crucial to ensure that your vintage pram stays in good condition. It’s a good idea to inspect it periodically and check for any signs of wear and tear. You should look for loose parts, worn-out tires, and any damage to the frame or upholstery. Make sure the wheels turn smoothly and check the brakes for proper function. Additionally, wash linens regularly and wipe down the pram with a damp cloth to keep it clean and free from dirt and debris.
Supplies
To apply some proper vintage pram care, I’ll give you a list of cleaning supplies to help you with the vintage pram cleaning and repair.
- A melamine sponge for the “softer” parts like the handle, for restoring vinyl upholstery, plastic parts and the wheels.
- Use a non-scratch sponge for cleaning vintage pram chrome parts, wheel spokes, and other rusty parts. Check on an invisible part first to ensure it’s not leaving scratches!
- A great color-safe bleach for prams is oxygen bleach. You could use this for whitening the wheels and/ or for any upholstery that can be taken off.
- Ox gall soap or any natural, ecological soap is a great mild detergent for prams. Be careful with any wool accessories. Handwashing vintage wool is always better than machine washing, but more on that later.
- Towels or paper towels for drying. Fresh air drying for prams is the preferred option for any smells to come out. But, if that’s not an option just use towels for drying the freshly washed parts.
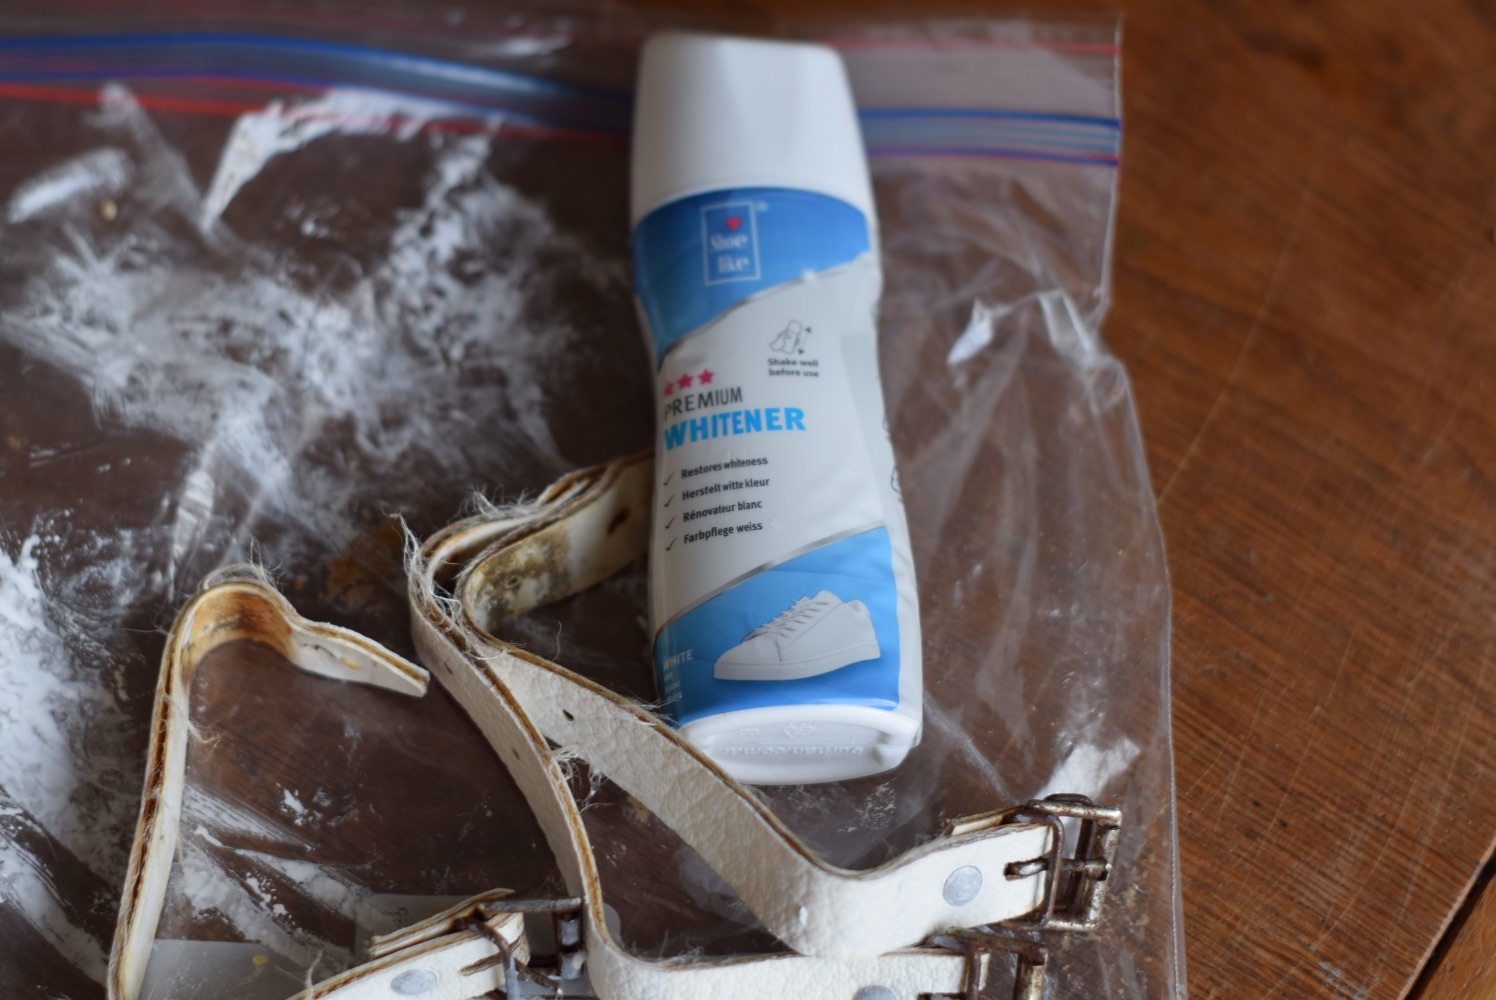
- Sneaker whitener, this is only necessary when you have white parts like my vintage pram has. You can use it for the leather straps and wheels.
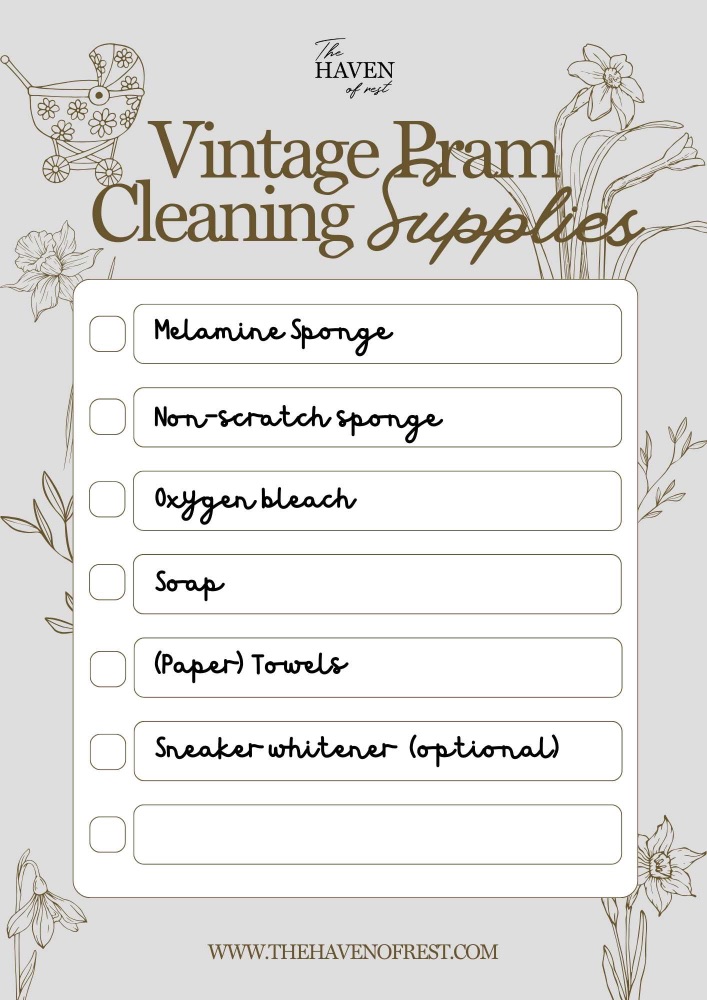
Now that you’ve gathered all your supplies, let me show you how to restore a vintage pram in this vintage pram restoration tutorial.
Cleaning the Metal Parts of Your Vintage Pram
Most vintage prams have a body made of metal. The metal frame can have chrome plating.
Metal pram frames should be washed with warm soapy water. To remove any rusty parts of your vintage pram you could use a non-scratch scrubber. Make sure that the pram either air dries or dry it with a paper towel. Otherwise, some parts of the vintage stroller might get rusty again before you know it!
How to clean the Wheels of a Vintage Pram
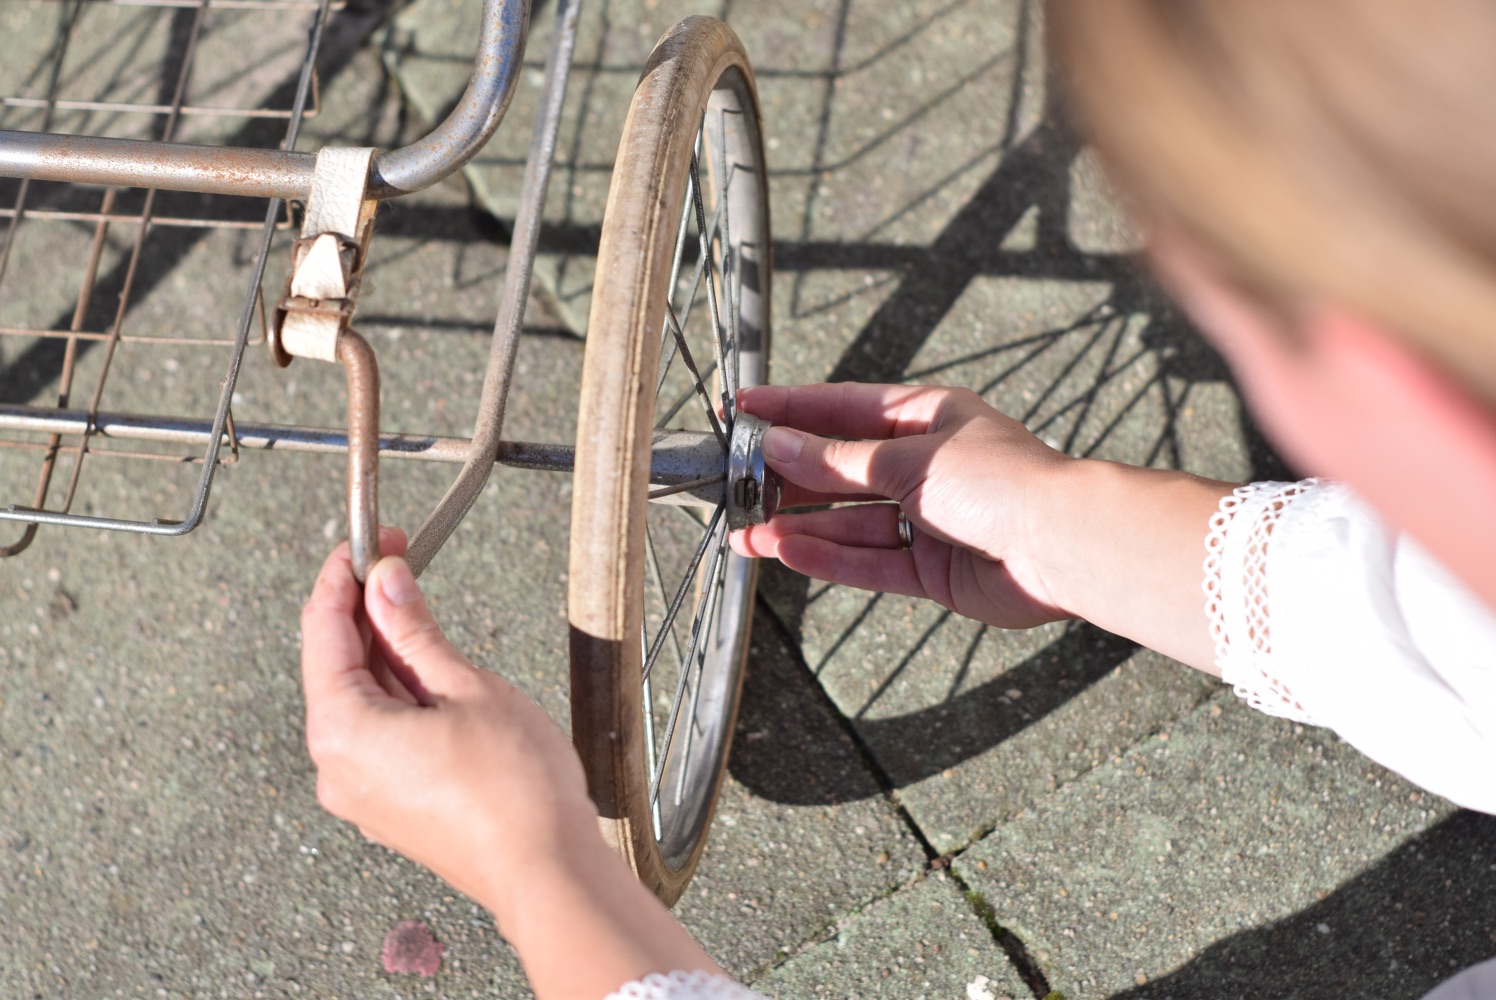
Wheels can be tricky to clean because most vintage prams have (lots of) spokes. The good news is that vintage prams usually have the option to take the wheels off.
The spokes should be cleaned the same way as the metal frame. The same goes for the rims of the wheels. When available, you can choose to replace the old with new wheels.
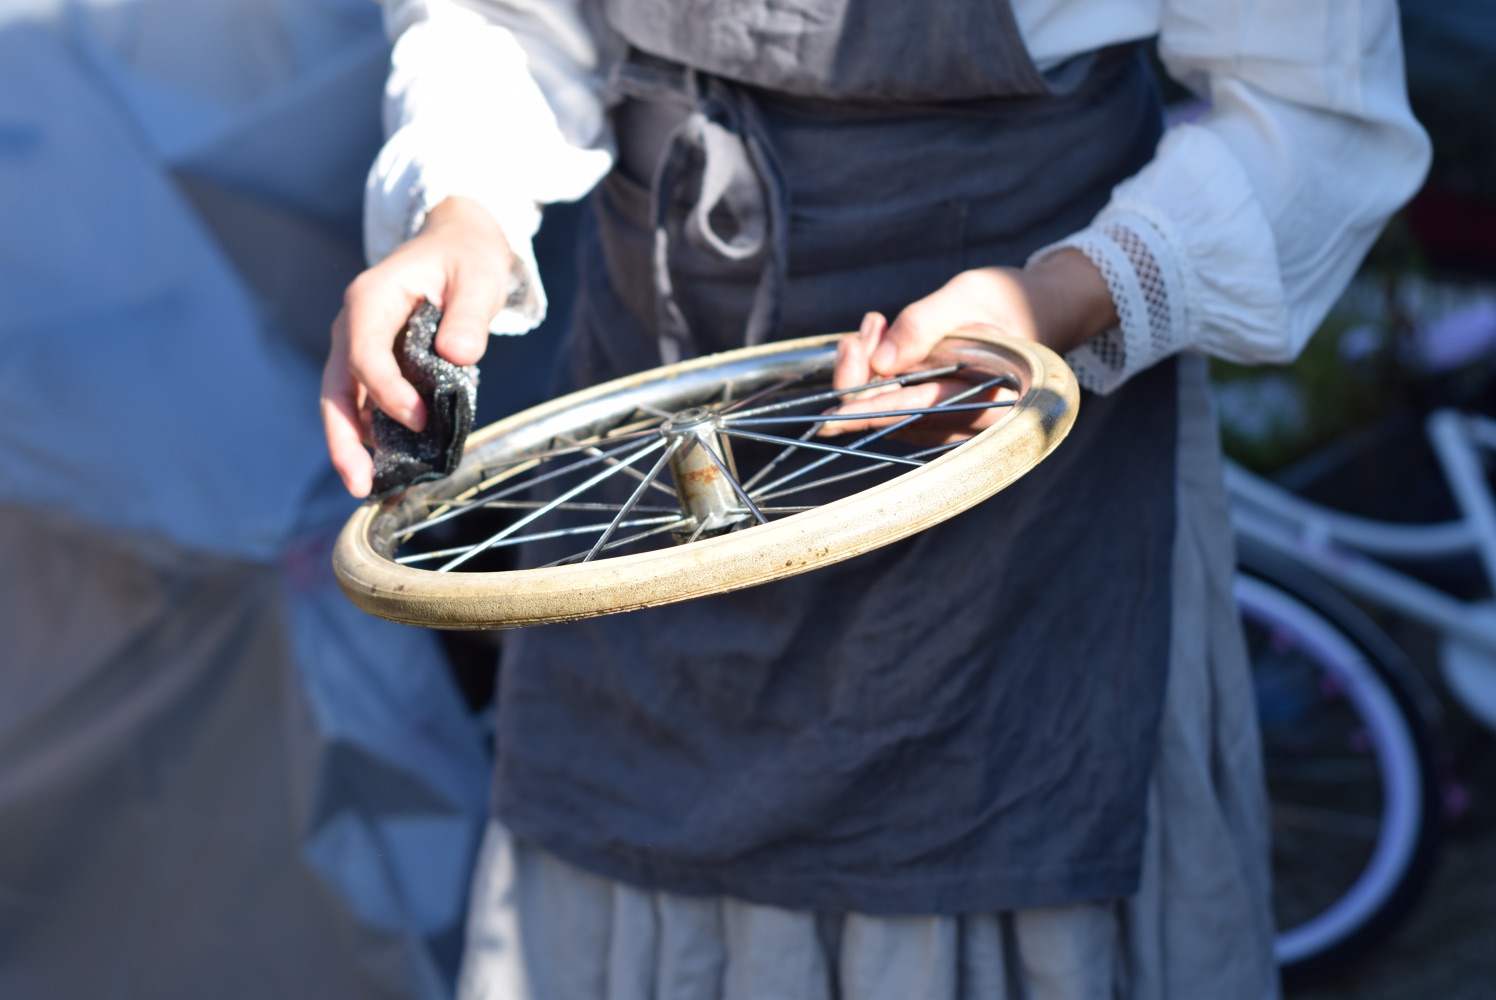
NOTE: With wheels, I mean the (in my case) white rubber that goes around the rim.
Refreshing the Vintage Upholstery
Fabric parts that can be taken off, should be washed either by hand or on a gentle cycle in your washing machine.
Note that handwashing is always the safer option to avoid any possible shrinkage. Especially for snug fitting hoods and wool parts.
In case your pram has a wool blanket or wool batting make sure to give it some extra care by giving them a good hand wash. I won’t go into all the details of washing wool, you can find all the information on washing wool over here.
When a fresh wash isn’t enough you can consider replacing the old with new fabric. Just remember to keep the old fabric pieces as a sewing pattern for any upholstered parts of the pram you may want to make with the new fabric.
Cleaning the Leather Straps of a Vintage Pram
Most vintage strollers have some kind of strap to give the pram its distinctive bounciness which I love so much. The straps on our vintage pram weren’t made of leather, but they can be.
In my case, the straps were still strong and solid. So, I could clean the straps and give them a fresher look by using some sneaker whitener.
Straps are one of the easier-to-replace parts of a vintage pram, so if you have the option, I would recommend replacing them with new ones, so they will last until the next generation :).
Important Notes
As said before, safety regulations change over time. Vintage prams were not made with the same safety regulations in mind as strollers are today. Carefully assess the pram for any defects and make sure they’re very clean before you start using them.
Restore and use the pram at your own risk, I do not take any responsibility for injuries, or damage caused by the usage of a (restored) vintage pram using this tutorial.
- Never leave your child unattended in the pram.
- I recommend you purchase a new mattress for your pram.
- When restoring wooden parts of your vintage pram, use child-safe paint colors.
- However lovely they may look, vintage prams may not be as practical as today’s strollers. In the sense that they can be big and don’t fit today’s travel systems. But really, that’s about the only thing I can think of. Even for our 3-year-old, though it’s not always practical to take along, with its generous size, charming look, and bounciness, I find it the best baby carriage we had!
Step-by Step Tutorial
A little note here, the same steps apply to cleaning a vintage doll pram. When your little girl or granddaughter owns one of these beauties, make sure to thoroughly clean them before they start playing with their own prams.
Here’s a guide on how to clean a vintage pram in just 7 simple steps.
Step 2
Take the wheels off the frame. There’s usually a little pin you need to push for the wheel to come off.
Step 3
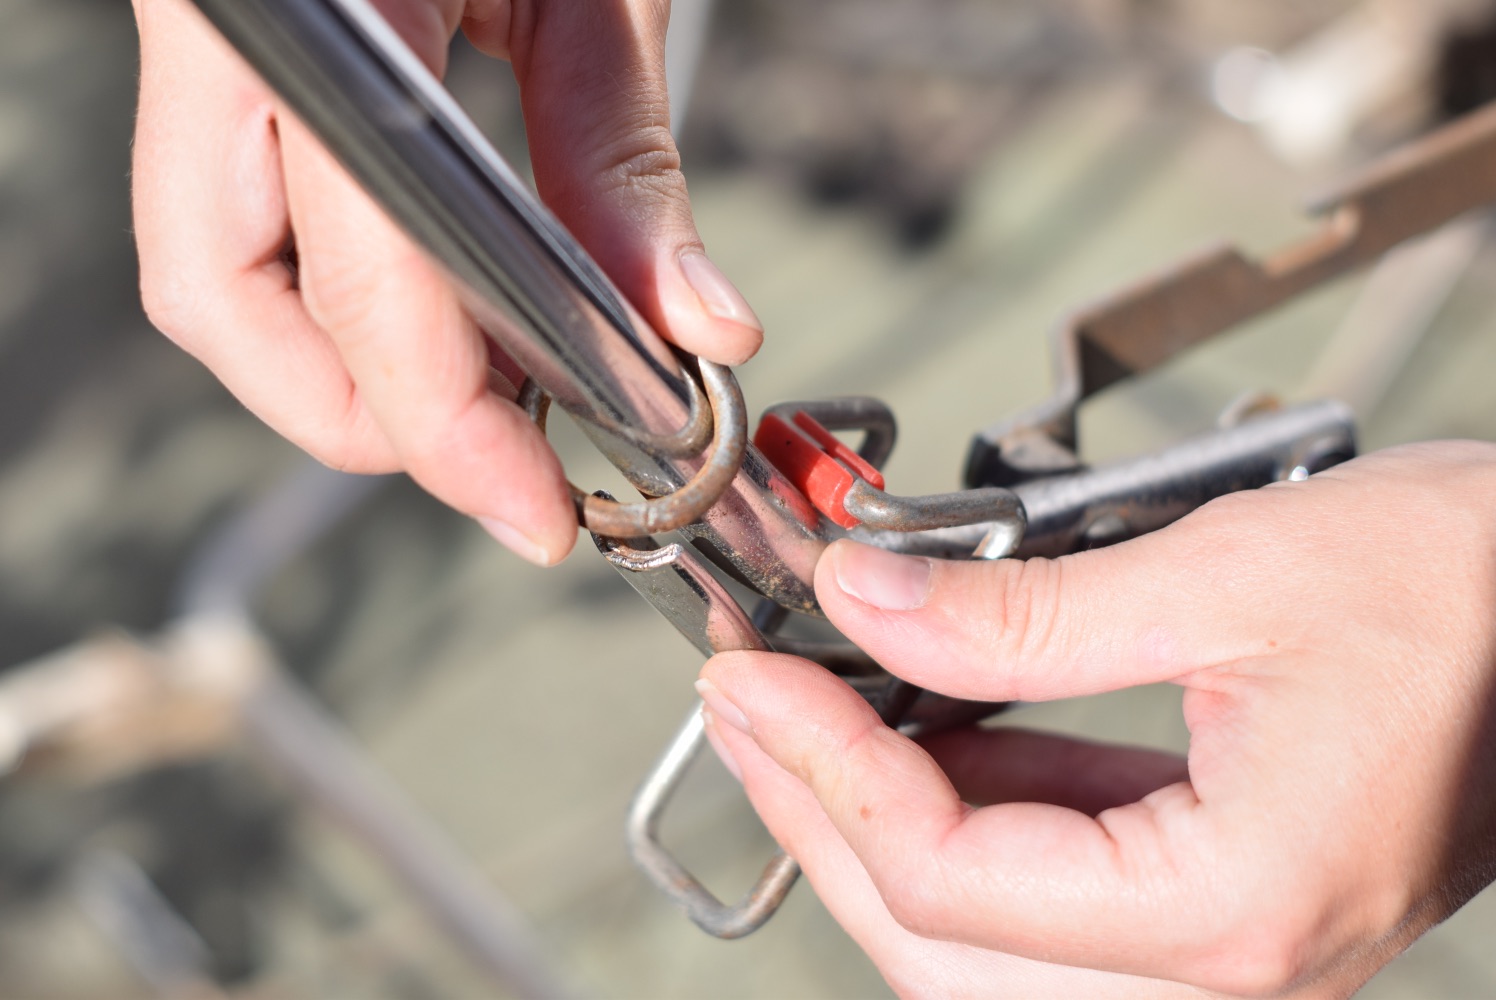
Start by pushing the rings upwards to fold the frame and remove the straps. This will separate the frame into two parts.

Step 4
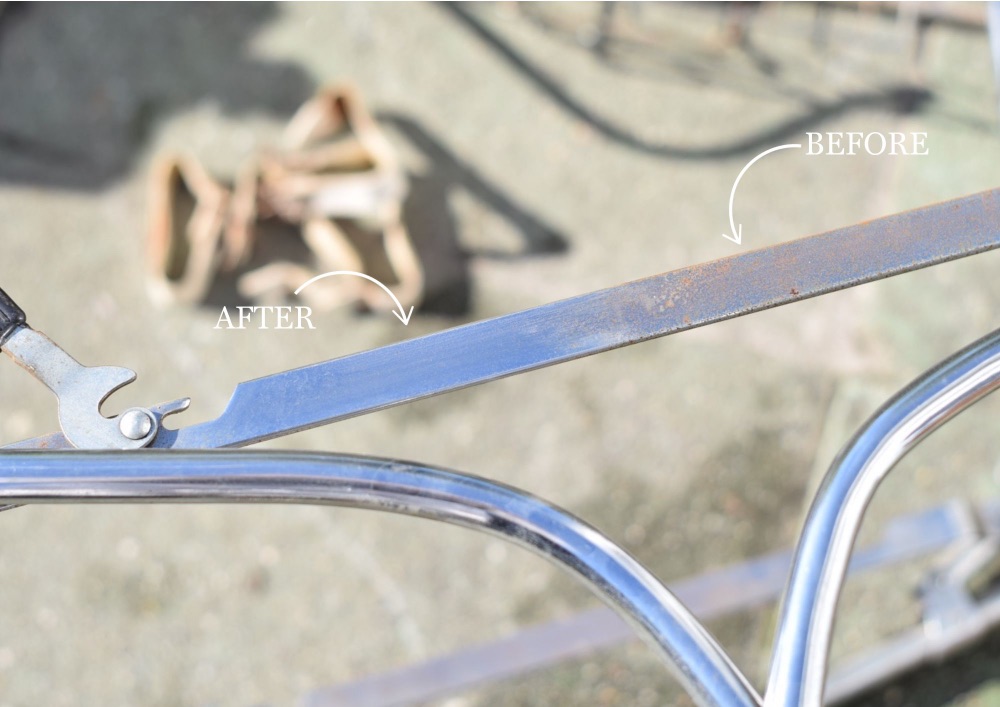
First, remove the straps from the frame and then open them. Clean the straps in hot soapy water and whiten them using the sneaker whitener in case of white straps. Some of the rust can be removed with a non-scratch scrubber.
See the picture below for a before and after picture of the straps.


Step 5
Wash the wheels in hot soapy water. Add oxygen bleach for some extra washing power. Clean the spokes with a non-scratch scrubber. A melamine sponge can also come in handy here for removing tough stains.


Step 6
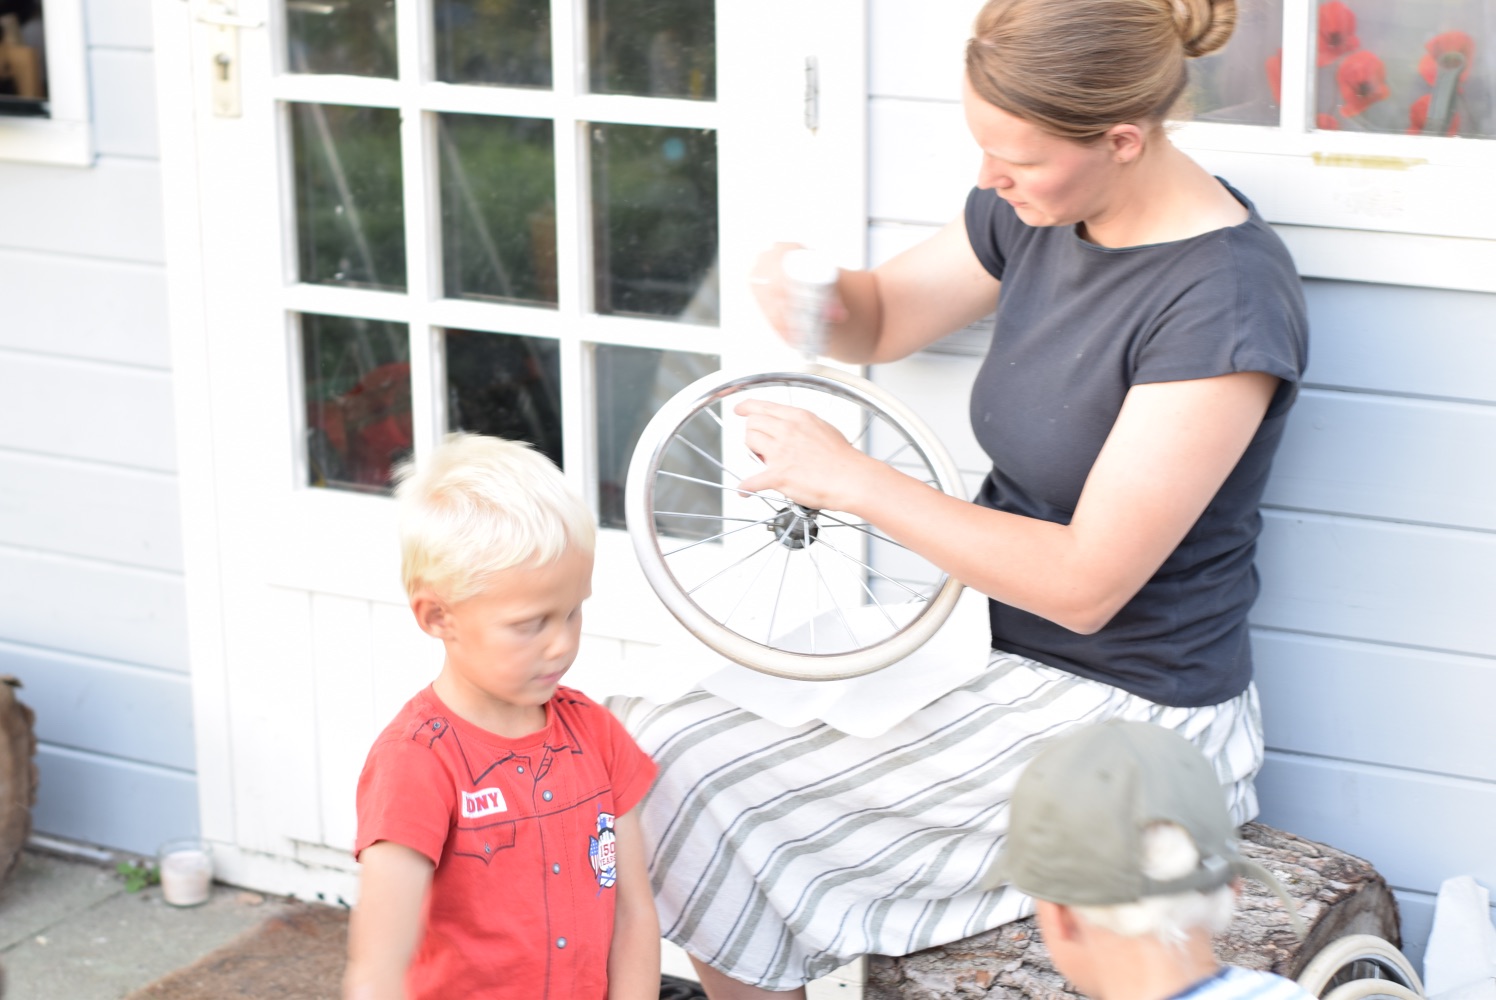
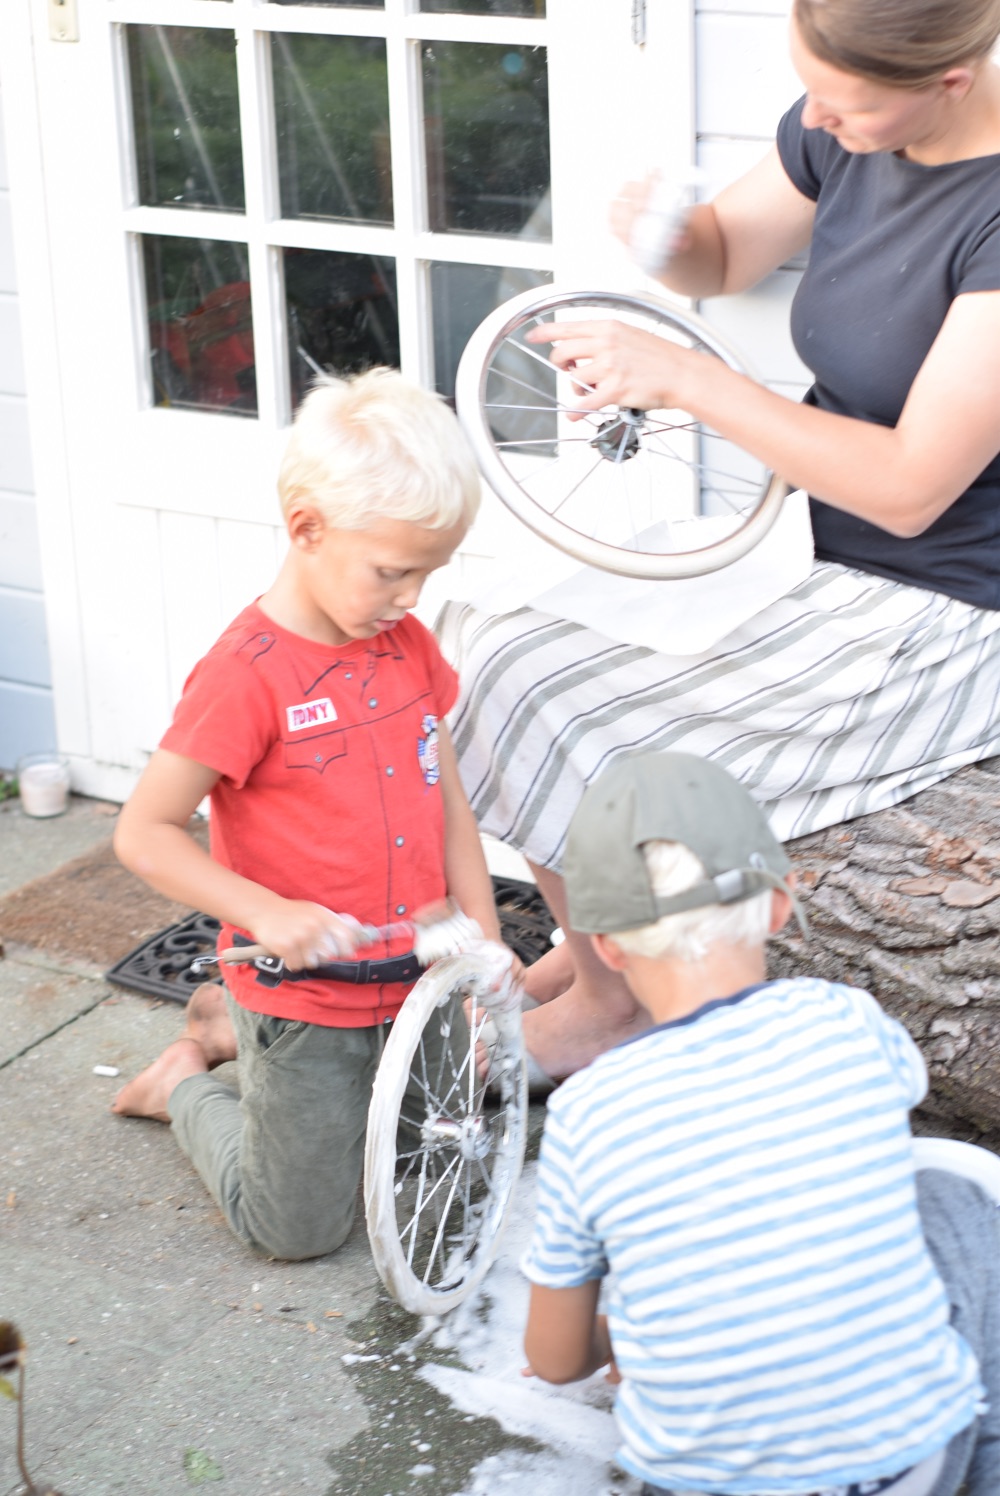
Our vintage pram had white wheels so I used sneaker whitener to whiten them. Of course, they get dirty when you take the pram outside, but at least the sides look crisp and clean again.
Maybe, someday I’ll replace the rubbers on the rims with new ones. But for now, they’ll do.


Step 7
Clean any upholstery, vinyl parts, etc. as stated earlier in this post.
Before and After
Frankly, I have yet to take a good before and after picture to compare and show you the complete and restored vintage pram. But, these close-up before and after pictures give you a good idea of the change.

Video Tutorial
I’m still working on a step-by-step tutorial on how to clean and restore a vintage pram. It should be on Youtube very soon. If you want to make sure you don’t miss it, consider subscribing to the newsletter.
Conclusion
I’m so glad that you found this tutorial and I hope it was helpful in cleaning and restoring your beautiful pram! If you have any questions, don’t hesitate to leave them in the comments below. I’m here to help!


