Written by: Tahnee Wientjes
When you’re expecting, there are so many choices to make. Narrowing down the choices by making things yourself can be an easy, effective, and enjoyable way of not getting overwhelmed as a new mother. This all-natural wool changing table pad DIY tutorial is a great beginner sewing project.
This post may contain affiliate links. That means I make a small commission for purchases made through these links, at no extra cost to you. All opinions are my own. You can read my full disclosure here.
Table of Contents
Choosing the Right Changing Pad: Types and Materials
A changing table is one of the necessities in the nursery. It keeps your disposable diapers or cloth diaper covers organized and easily accessible You’ll spend quite some time changing your baby’s diapers, so choosing a change table and changing pad that’s both comfortable and practical is a must. Deciding on the best change pad doesn’t have to be hard.
A wool changing pad has an advantage over any other changing pad and it’s something every baby needs. Let me share a few things you might want to consider when you go look for a changing pad…
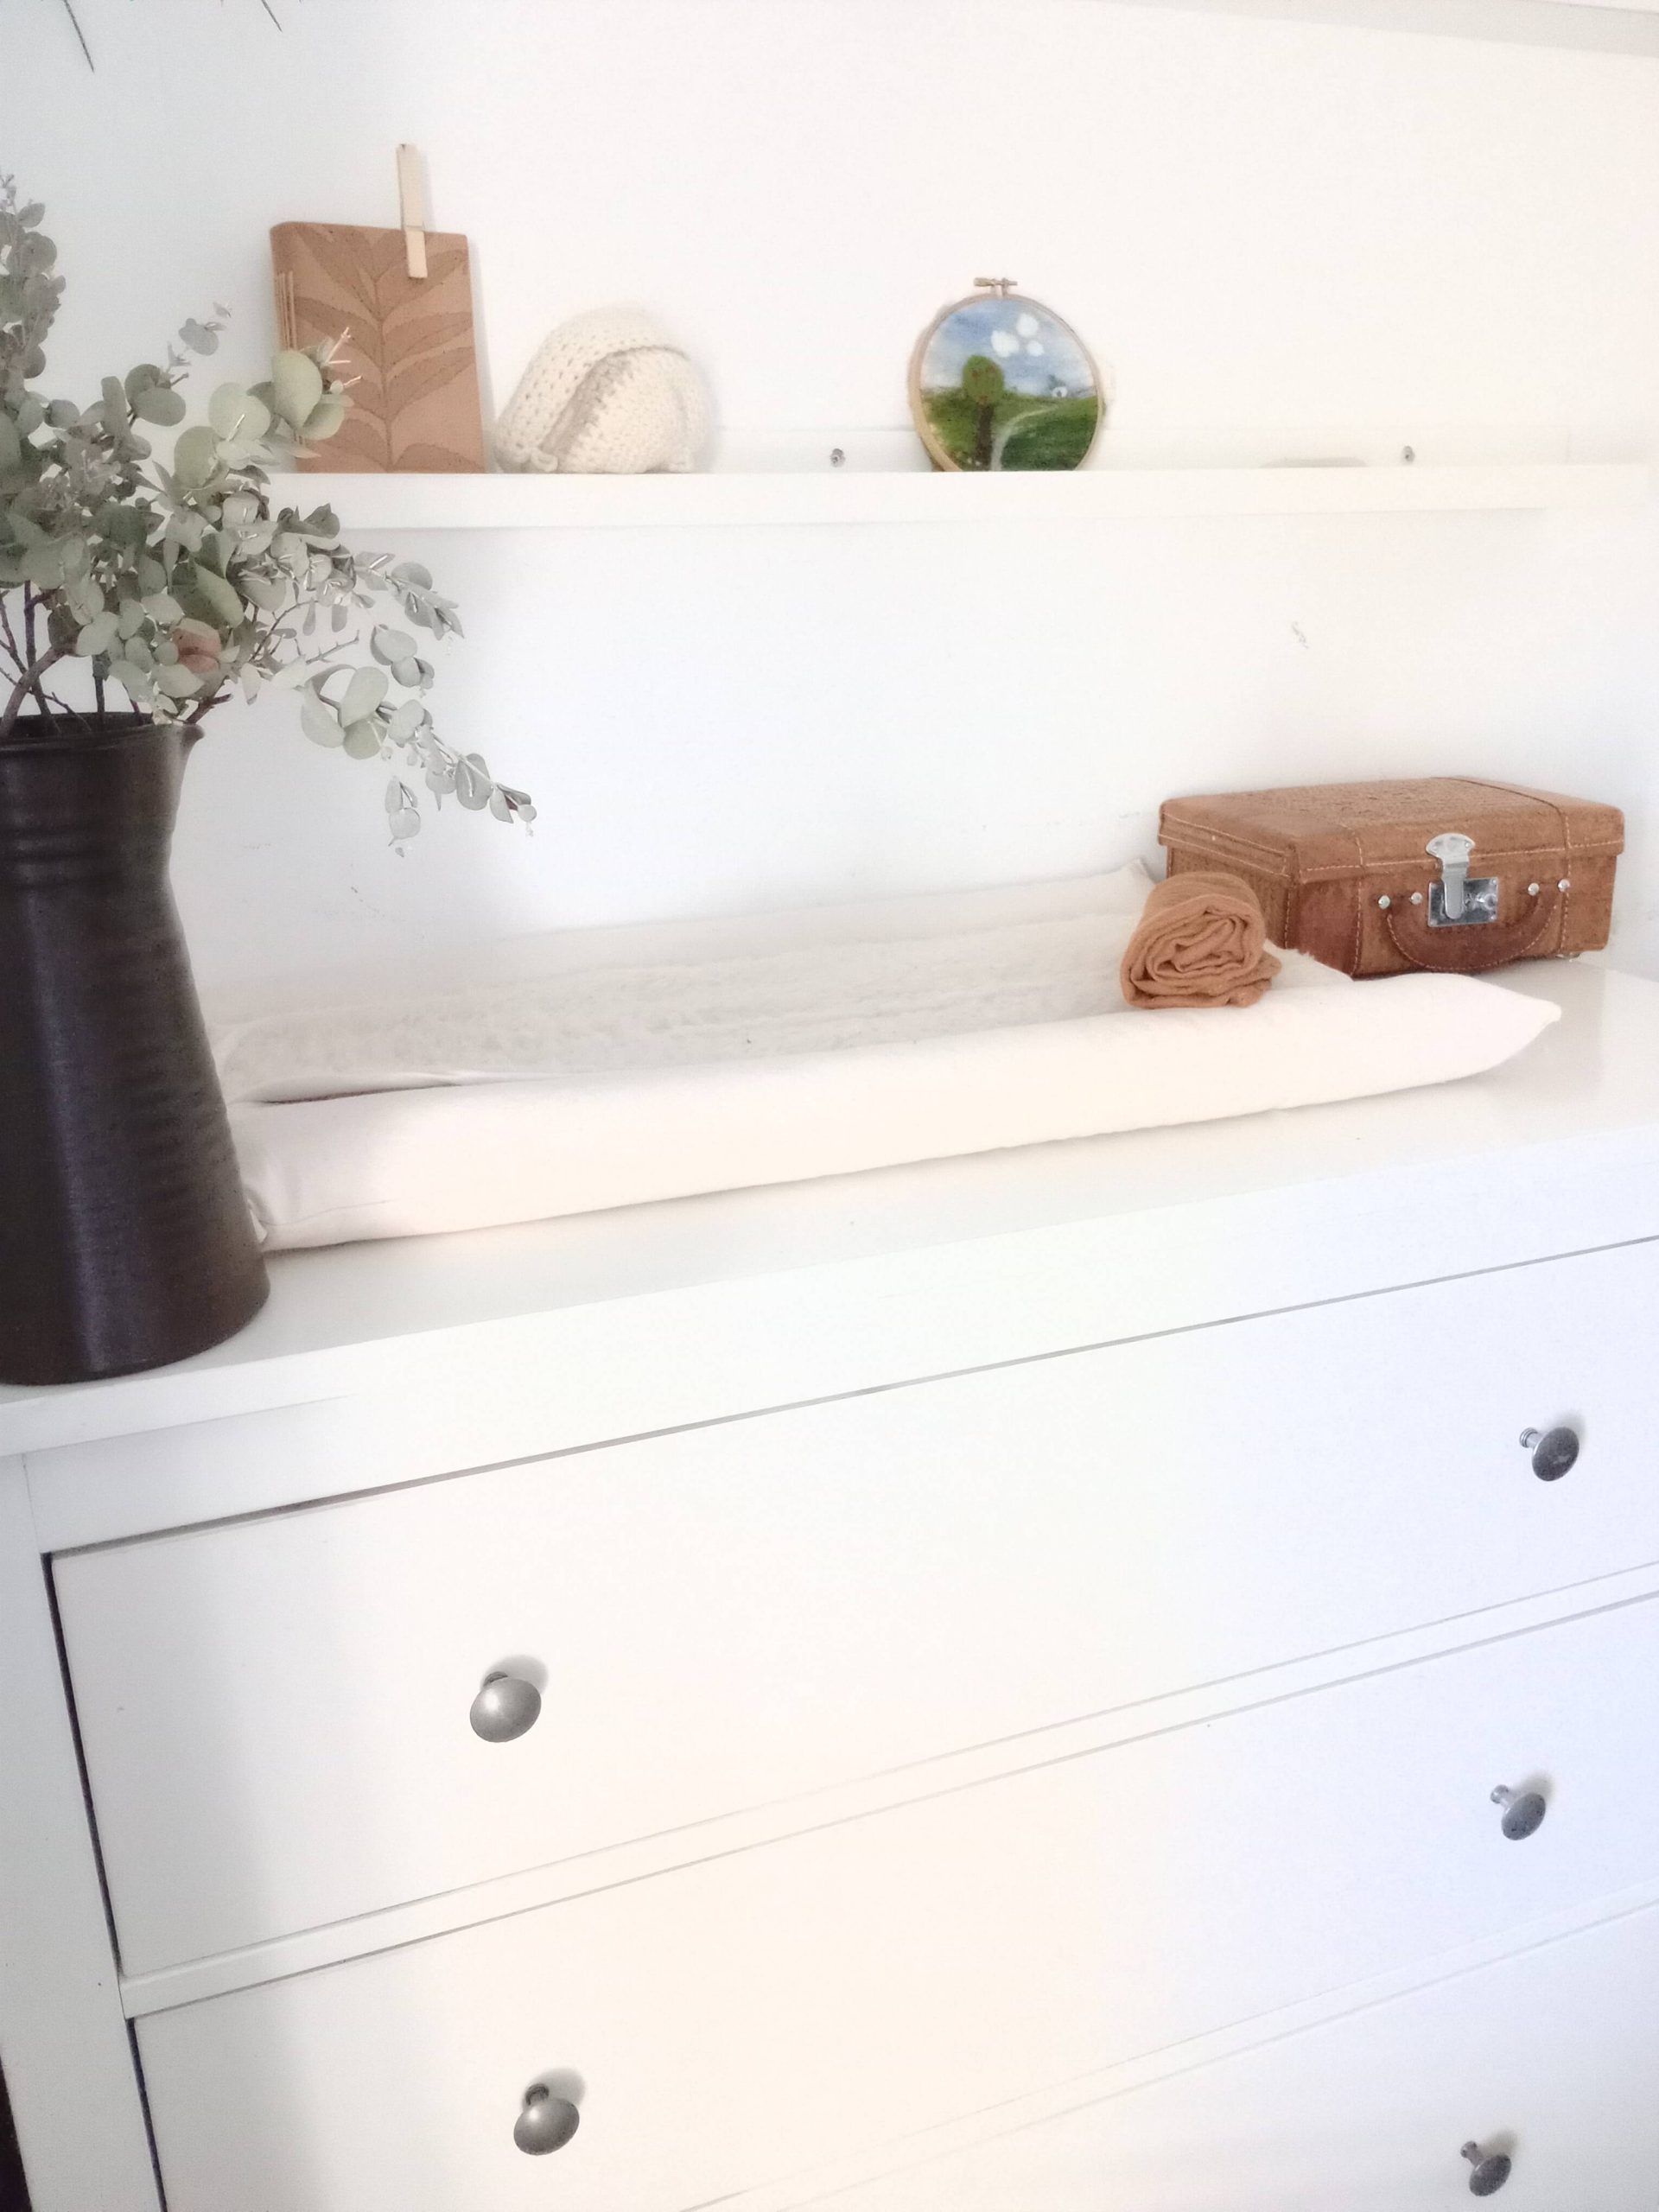
Table pads come in different shapes and sizes. First of all the changing pad needs to fit your changing table. You can buy a special change table or put the changing mat on top of a dresser.
While this point might seem obvious, it’s important to know that a change pad should never hang over the sides. It should have some room around the sizes for safety (unless it has sides that stand up). A change pad that’s larger than the changing table can be dangerous because it can easily fall off.
You might also want to take into consideration how you want to place your changing pad on the change table. Do you want to place the pad horizontally or vertically? The change table should accommodate the orientation.
The sides of change pads can differ too. Some have soft sides, others are more firm. Some have a 4-sided contoured design, others have two sides. This comes down to preference.
While a 4-sided contoured design might seem safer, it may also be a little less practical as you have to work “over” all those sides.
A puddle pad has higher sides because it’s made in a way that the middle is lower than its sides. If you take that shape and put some water in, the water will form a puddle. It’s all in the name :).
After five babies, I would say a high-quality change pad has a removable and washable changing pad cover.
No doubt there will be some accidents and it’s very convenient if you can just take off the changing pad cover and throw it in the washer.
A changing pad with a plastic or vinyl type cover might seem super handy because you can just wipe the surface in case of an accident and not have to worry about even more laundry. Note that you always use some type of muslin cloth/ cover/ towel, etc. over the plastic parts, so you will need to wash it anyway.
It’s important to never leave your baby unattended at any changing pad, regardless of how many sides or safety straps the changing pad has.
Benefits of wool
Find out more about the benefits of wool why it’s a beautiful material for clothes and the home and how to care for wool items. Learn more…
Wash & Care tips for Wool
DIY Wool Spray
Finding the Right Change Table Pad
Because your baby will spend so much time on his changing pad, find a non-toxic changing pad that’s comfortable for your baby and practical for you.
I don’t want to dive into all the possible toxic chemicals like flame retardants in synthetic rubber and heavy metals that could potentially be dangerous to human health. But, I do want to give you some things you can (and should!) investigate for yourself so you can make a well-informed decision.
Most changing pads are made from cheap polyurethane foam with a plastic wrap or vinyl-type cover, which gives it a waterproof cover. It’s wrapped in synthetic packing materials to ship to the store. What makes these pads popular is their price and their practicality. They’re easy to wipe clean and affordable.
You could choose from an organic changing pad (partially) made from natural fibers. I say partially because I think some can be misleading. A change pad can be labeled as “natural” because it has an (organic) cotton cover even while it’s filled with cheap polyurethane foam or another type of synthetic filling.
In my opinion, the best option to make sure you have a non-toxic changing table pad is by either buying one from a reputable brand (listed later in this post) or doing it yourself! A natural homemade wool changing pad has an enormous advantage over change pads made from cheap polyurethane foam. I’ll explain why in the next paragraph.
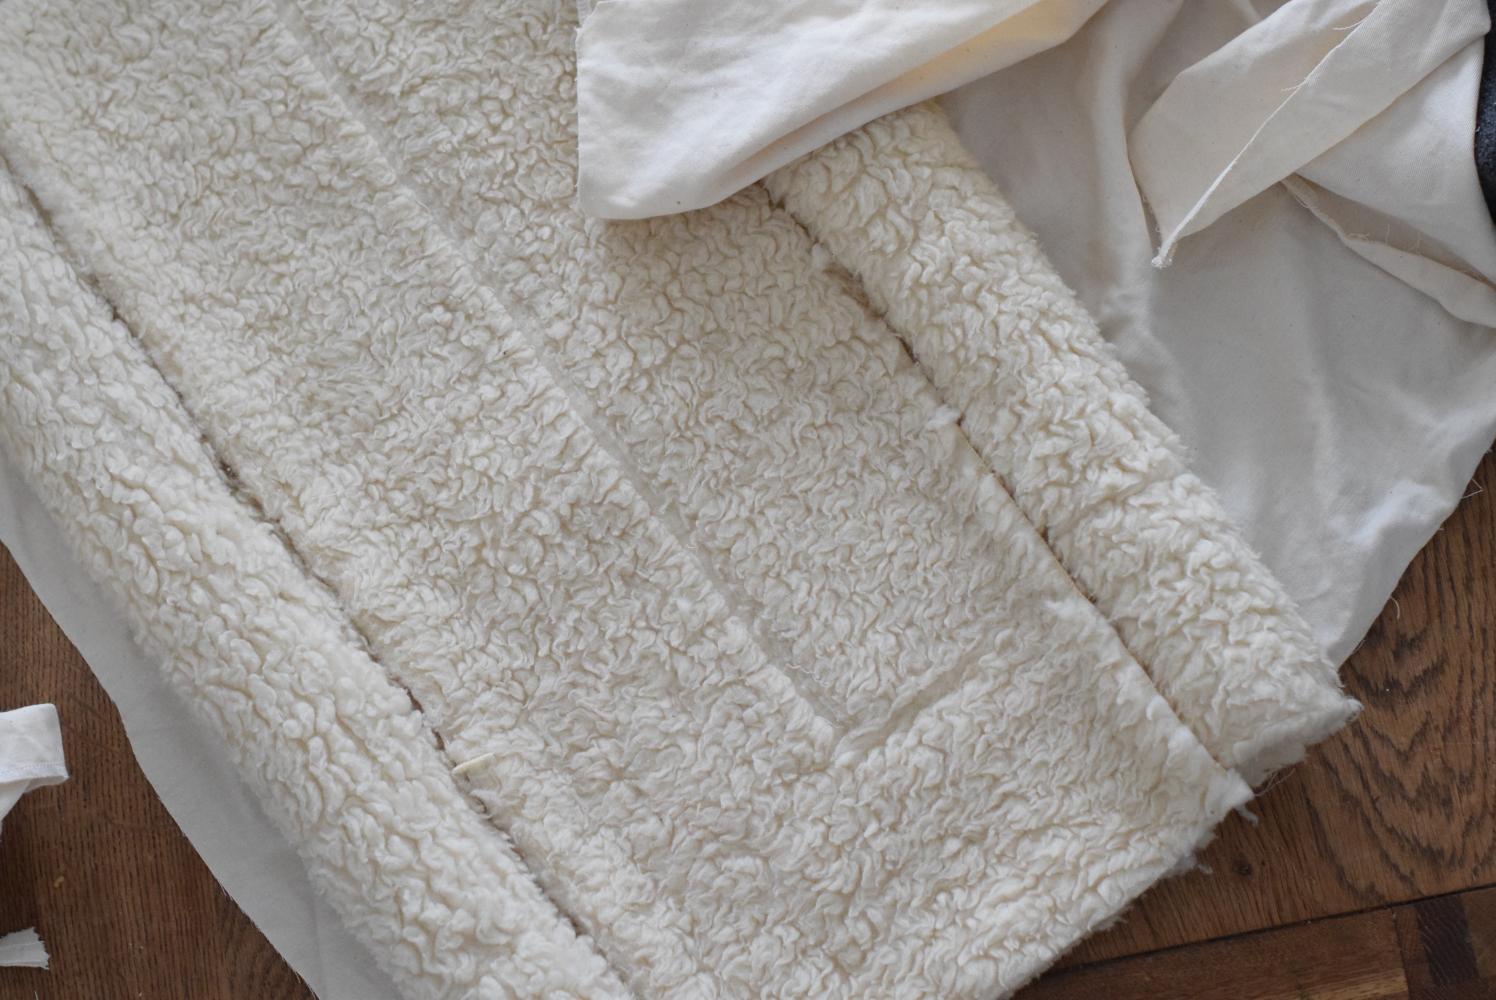
Newborn Essential for a Warm and Cozy Changing Experience
The first week with your baby boy or baby girl is so precious and special. Yes, all the changes and new things to learn are demanding. That’s why it’s good to consider which baby essentials you need in those early days and make it easy for yourself.
Most of a newborn’s energy goes to drinking and staying warm. And this is exactly why, of all the baby items, you want to have a wool changing pad!
Wool has such great heat-retaining properties that it will keep your baby cozy even when you change his diaper. That’s why I can say, as a mother of five, the best choice is a baby changing pad made from natural fibers.
When you’re bathing your baby, changing his diaper, or changing his clothes the temperature changes are big for a little one. I’ve found our babies to be much more content when they don’t have to deal with all these temperature changes. And they can save their energy for growing.
You may wonder if a wool changing table pad is practical because you can’t just throw it in your washing machine. Well, it is. And let me tell you that wool has all the same practical and convenient properties (and more) than its synthetic counterparts!
I talk about the benefits of wool clothes in this post and much goes for a wool changing pad as well. Firstly, it’s a fantastic way of keeping a baby warm, that way baby can save energy and grow!
Next, a wool changing pad is a good idea because it’s easy to clean. Wool and easy to clean in one sentence?! Absolutely!
Because wool has a natural fat called lanolin it is anti-bacterial and water-repellant which makes it great for diaper changes. Little accidents can be wiped off just as easily as on a plastic-wrapped change table. In case of a big accident, you can spot-clean the area, air dry, and use it again.
If you want to keep your wool change pad in particularly good shape, regularly use a lanolin spray on the top mat.
A DIY wool changing pad is not hard to make. I think it’s an easy and very rewarding beginner project. If you can sew a straight line on your sewing machine, you can sew your own high-quality wool changing table pad.
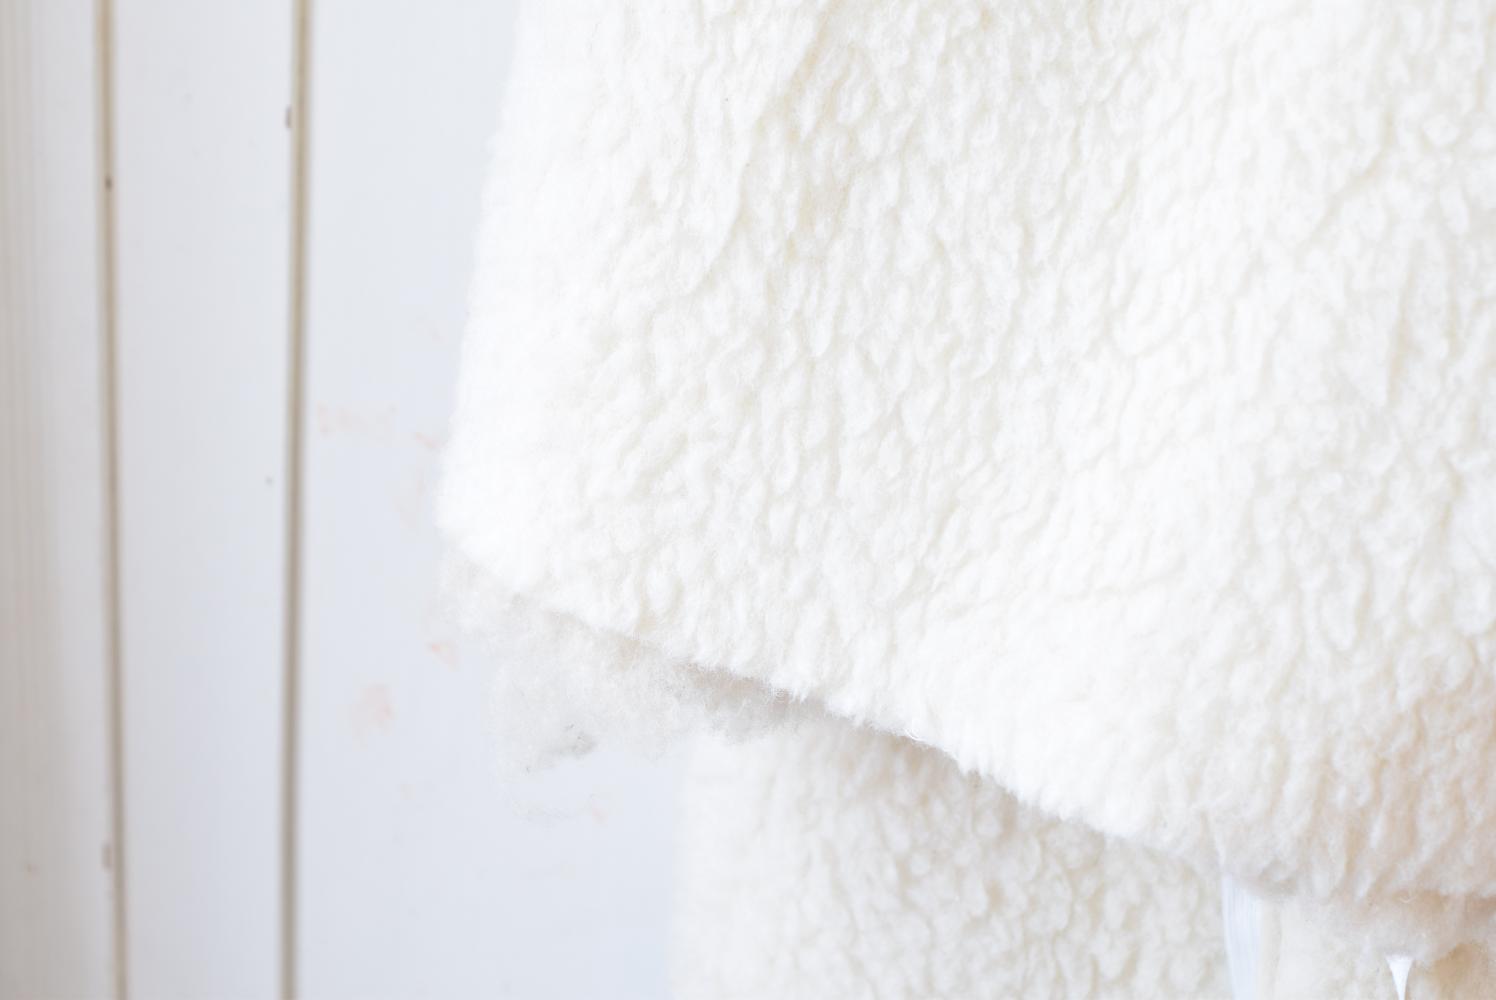
Supplies for a DIY Wool Changing Pad
You don’t need that many supplies to make a wool changing pad. I’ll share the supplies I used and give you some helpful tips to make this a fun and successful DIY project.
- Wool blanket or wool teddy fabric
- (Organic) cotton canvas/ (organic) linen fabric/ (organic) cotton sateen twill
- Sewing machine
- Thread
You need a good sewing machine, as you will sew through different layers of fabric. I have good experience with Husqvarna Viking and Pfaff. It’s better to buy a more affordable second-hand sewing machine from a reputable brand than a cheap sewing machine. Visit your local sewing machine shop for more advice.
If you want to make this wool change pad all organic. Choose fabric with a GOTS certification (Global Organic Textile Standard) and use wool that’s organically certified. Organic materials with a GOTS certification are produced by a “…standard for organic fibres, including ecological and social criteria, backed up by independent third-party certification of the entire textile supply chain”.Or, source locally so you know how the animals are raised and treated.
As for the thread. You can use regular all-purpose synthetic thread. But when you go the natural route I’d suggest you use a cotton or silk thread. They’re widely available and naturally match the true color of wool and unbleached cotton, which I think looks lovely.
Practical Tips for Sewing a Wool Changing Pad
If this is your first time making something like this DIY wool changing pad it’s smart to make sure you have all supplies ready before you start.
For this wool change pad, I made an easy-to-wash top layer to put on top of the pad for extra protection.
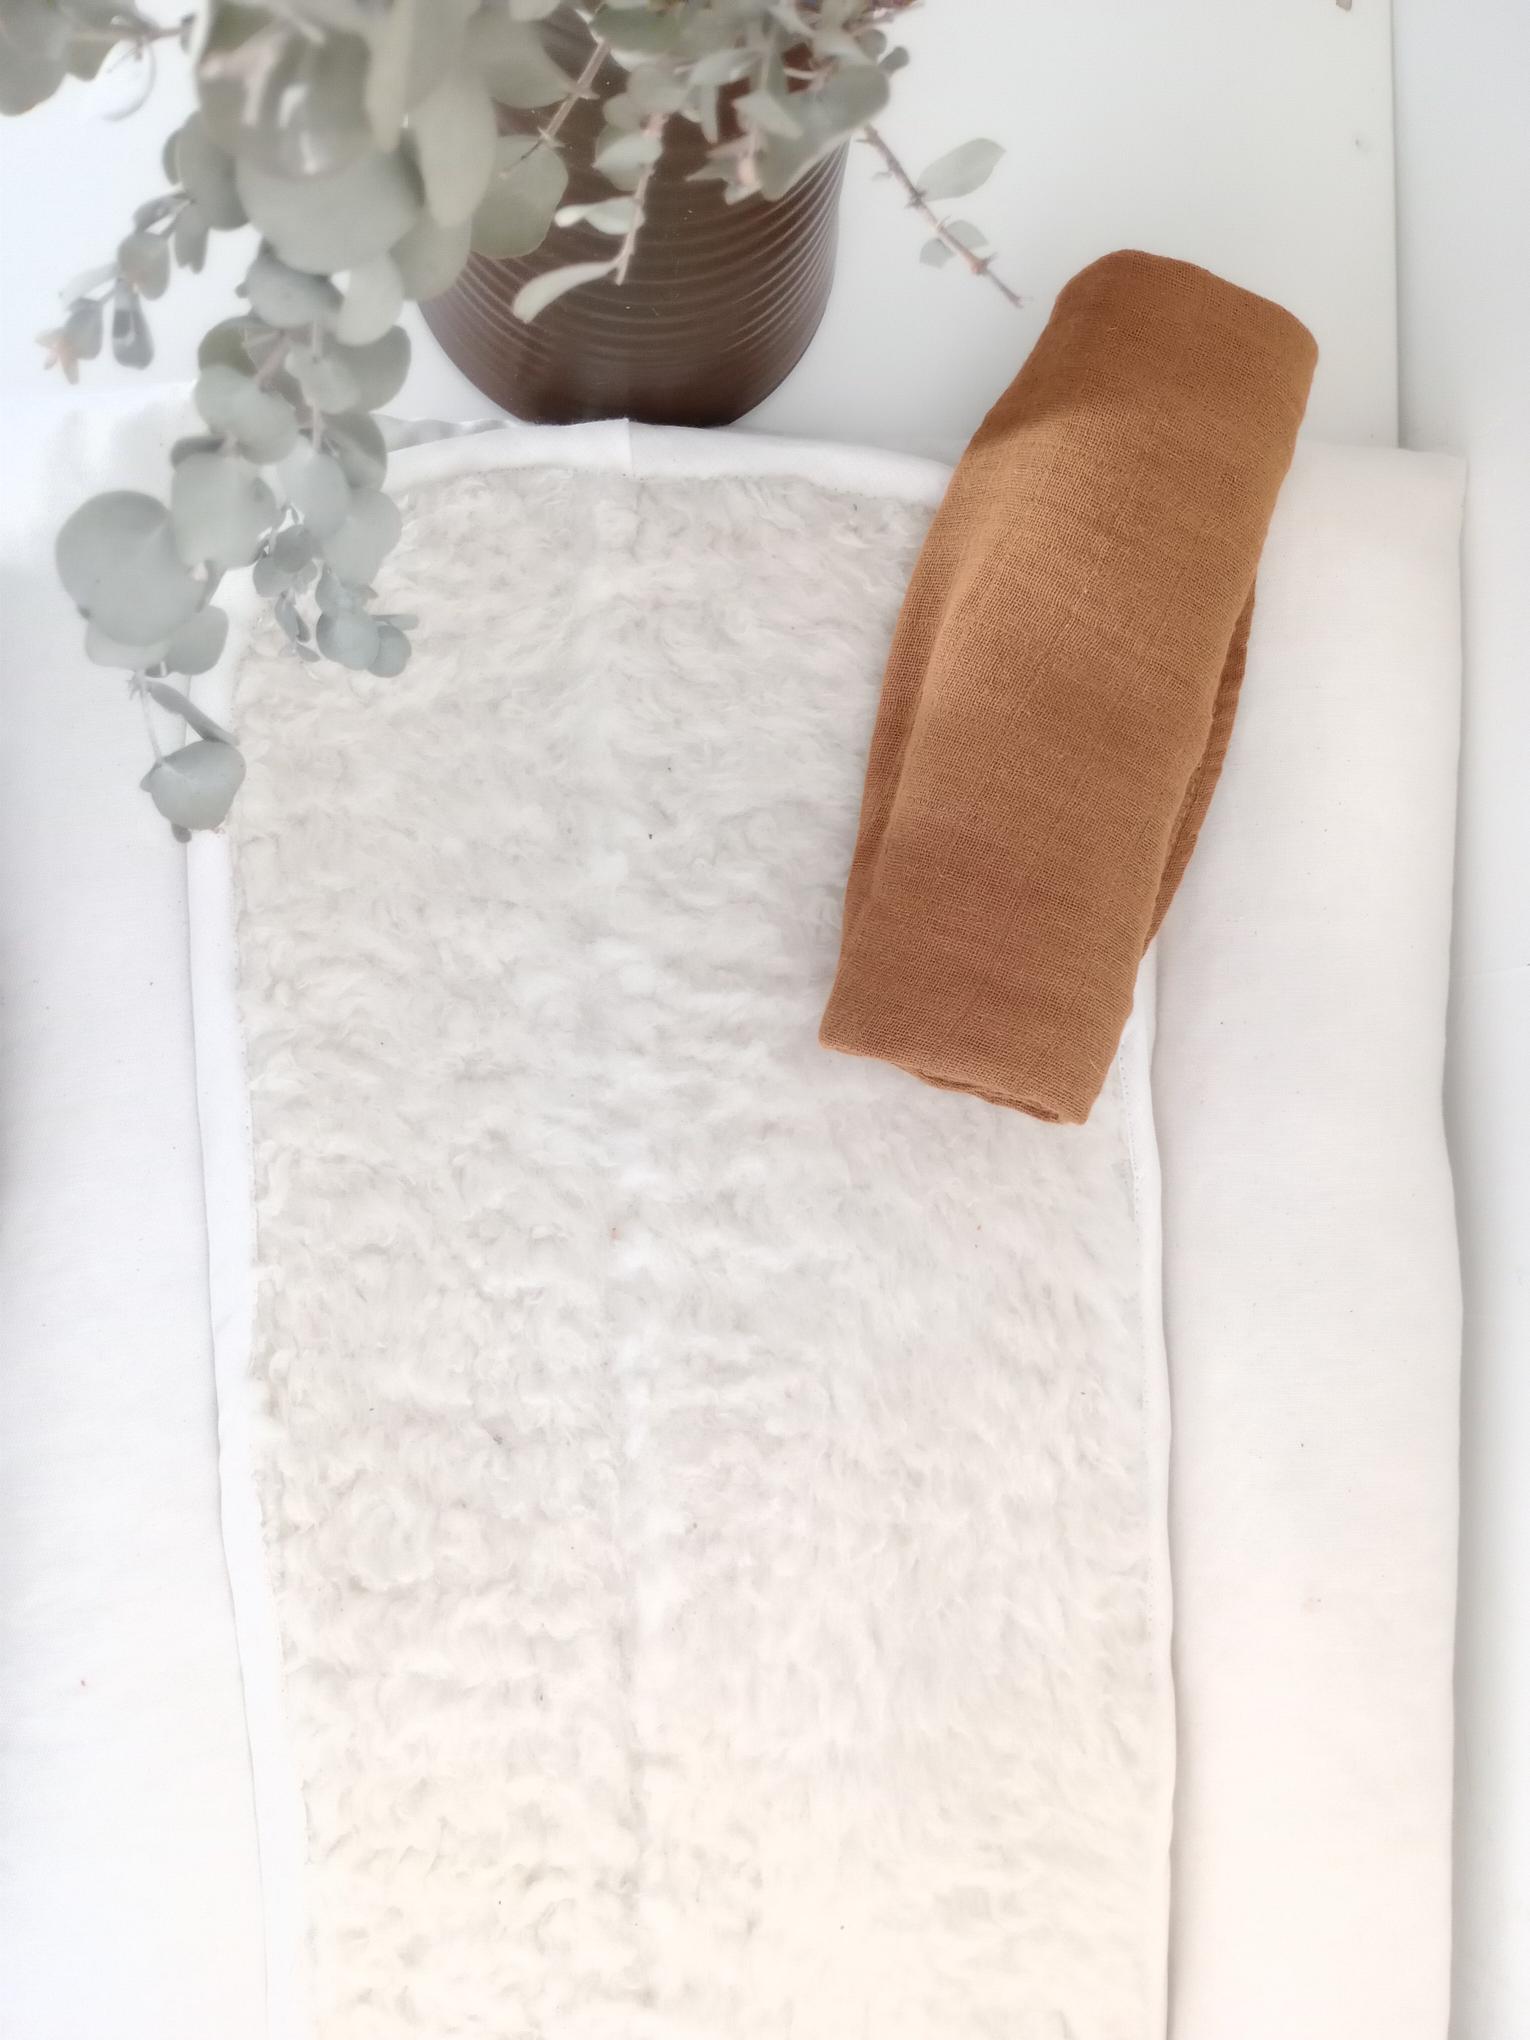
This is optional but highly recommended since it’s easier to wash the little mat than to wash the whole wool change pad, as it will take a long time for the wool to fully dry.
I liked to use this wool changing pad with the extra wool liner and a muslin cloth on top.
Because every change table or dresser is different, I suggest you do your own measurements on how big you want this change pad to be. It’s easy to do and I’ll explain how you can do that, both in cm’s and inches in the graphics below.


Always sew right sides together, except for when you sew the cover closed. The open end of the cover is closed by folding the sides in and then sewing over both sides to close. You can do this on the short side or the long side.
This design wasn’t made for the use of a safety strap, but if you prefer to use safety straps or any kind of safety buckle you can sew these to the bottom when you sew along the rolled sides at the end and then pull them over the wool change pad.
But, as I mentioned before, you should never leave your baby unattended at any changing pad, even if the changing pad has safety straps. You can only keep the baby safe by staying there with him.

Instructions: How to make a DIY natural wool changing table pad
This all-natural wool changing table pad DIY tutorial is a great beginner sewing project. It will keep your baby cozy and warm during those many diaper changes to come.
Materials
- Wool blanket or wool teddy fabric
- (Organic) cotton canvas/ (organic) linen fabric/ (organic) cotton sateen twill
- Thread
Tools
- Sewing machine
Instructions
- Measure your change table/ dresser and write down the preferred size of your wool changing table pad. (Use the graphics in the blog post to determine how to take correct measurements).
- Cut the wool teddy fabric for the bottom and the sides.
- Cut the wool teddy fabrics for the middle part.
- Place the middle part of the teddy fabric on the middle of the teddy fabric for the bottom and the sides.
- Roll the sides to the middle part. With a few hand stitches secure the rolled sides to the bottom to keep them rolled up.
- Place your cotton fabric over the inner part to determine the size needed for the wrap fabric.
- Fold the outer fabric and sew along two sides. Leave one side open.
- With the outer fabric turned inside out, take the inner part and fold the outer fabric over the Inner piece.
- Fold the sides of the outer fabric in and top stitch to close the outer wrap fabric.
- Stitch along the folded sides to secure the outer cotton fabric to the inner wool part.
OPTIONAL: if you prefer to use the wool changing pad with an easy-to-change wool top mat, make this now. When you use bias tape, take some of the wool teddy fabric and cut it the same length and width as the middle part of the wool change pad. Sew the bias tape around the edge to finish the raw edges.
If you don’t want to use bias tape you can add about ½ inch or 1 cm for seam allowance. Fold the ½ inch or 1 cm to the back and secure with a zigzag stitch.
Suppliers for a Natural Changing Pad
If this DIY project is a little too much for you, don’t feel bad because there are small businesses out there that you can support by buying a high-quality wool change pad from them.
Holy Lamb Organics has a beautiful range of natural bedding, nursing pillows, and the like for mom and baby. They also sell this natural child’s changing table pad. Made from organic cotton canvas and filled with wool.
Another beautiful family business that produces under sustainable practices is Home of Wool. They too sell high-quality natural mother and baby essentials, like a wool-filled changing pad.
Caring for Your Wool Changing Table Pad
When you finish making your wool changing table pad you can take good care of it by not washing it very often. Instead, use a thin cotton blanket of muslin cloth on top of the wool changing pad.
Also, have some paper towels on hand so you can wipe away any accidents right away.
If you need to wash the wool pad, use mild soap suitable for wool and add a little bit of lukewarm water, avoid warm water and never use hot water on wool.
Wash topically and press the pad between towels to remove excess water.
I don’t recommend washing the wool changing pad in the washing machine.
Never use fabric softener, wool doesn’t like that. You can use vinegar and a lanolin spray to soften.
It’s best used with the easy-to-wash top layer, this one can be washed in the washing machine with mild detergent on the wool setting. Never put it in the dryer or it will shrink and felt and you’ll be left with a very small liner.
If you have any questions, feel free to comment below or reach out to me on Instagram!
If you finished yours, well done momma, I’d love to see the results!
I hope you’ll have many warm, soft, and cuddly moments with your little one on this DIY wool changing pad!
