Written by: Tahnee Wientjes
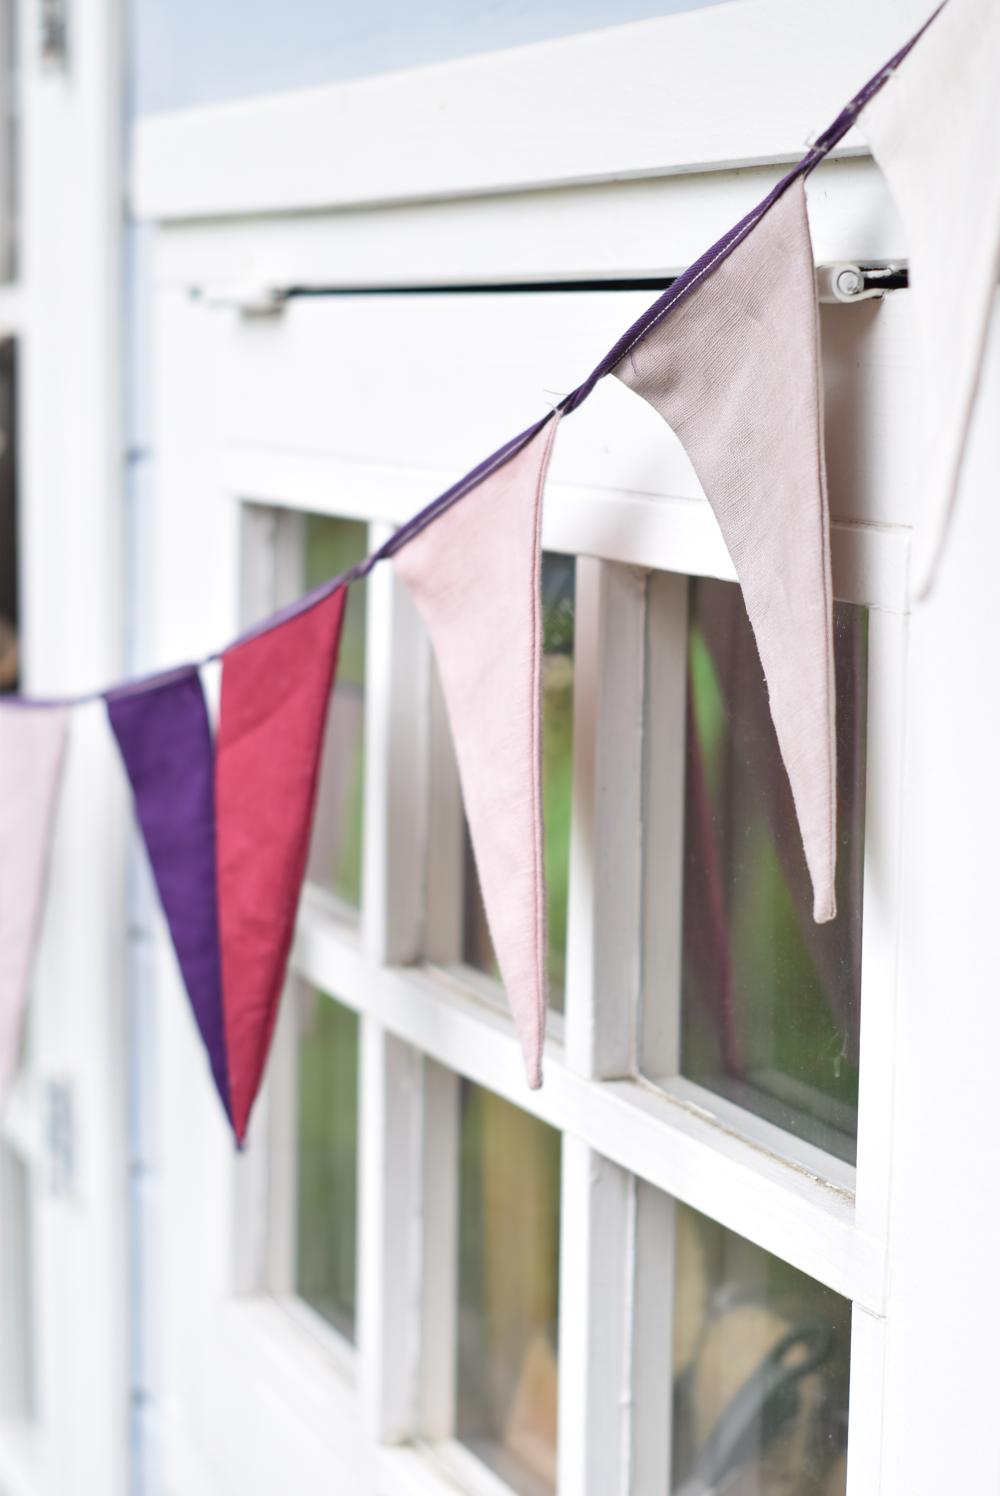
We enjoy a sweet birthday party over here. With this simple tutorial, you’ll always have your beautiful bunting flags ready for any special occasion.
Table of Contents
How to sew bunting with linen fabric?
With every birthday party, I liked to decorate around a theme and buy matching bunting, plates, balloons, etc. But, this added to so much waste, costs, and leftover colored balloons and birthday decorations that didn’t match the next birthday theme. So, I decided to tackle the birthday decor crisis once and for all.
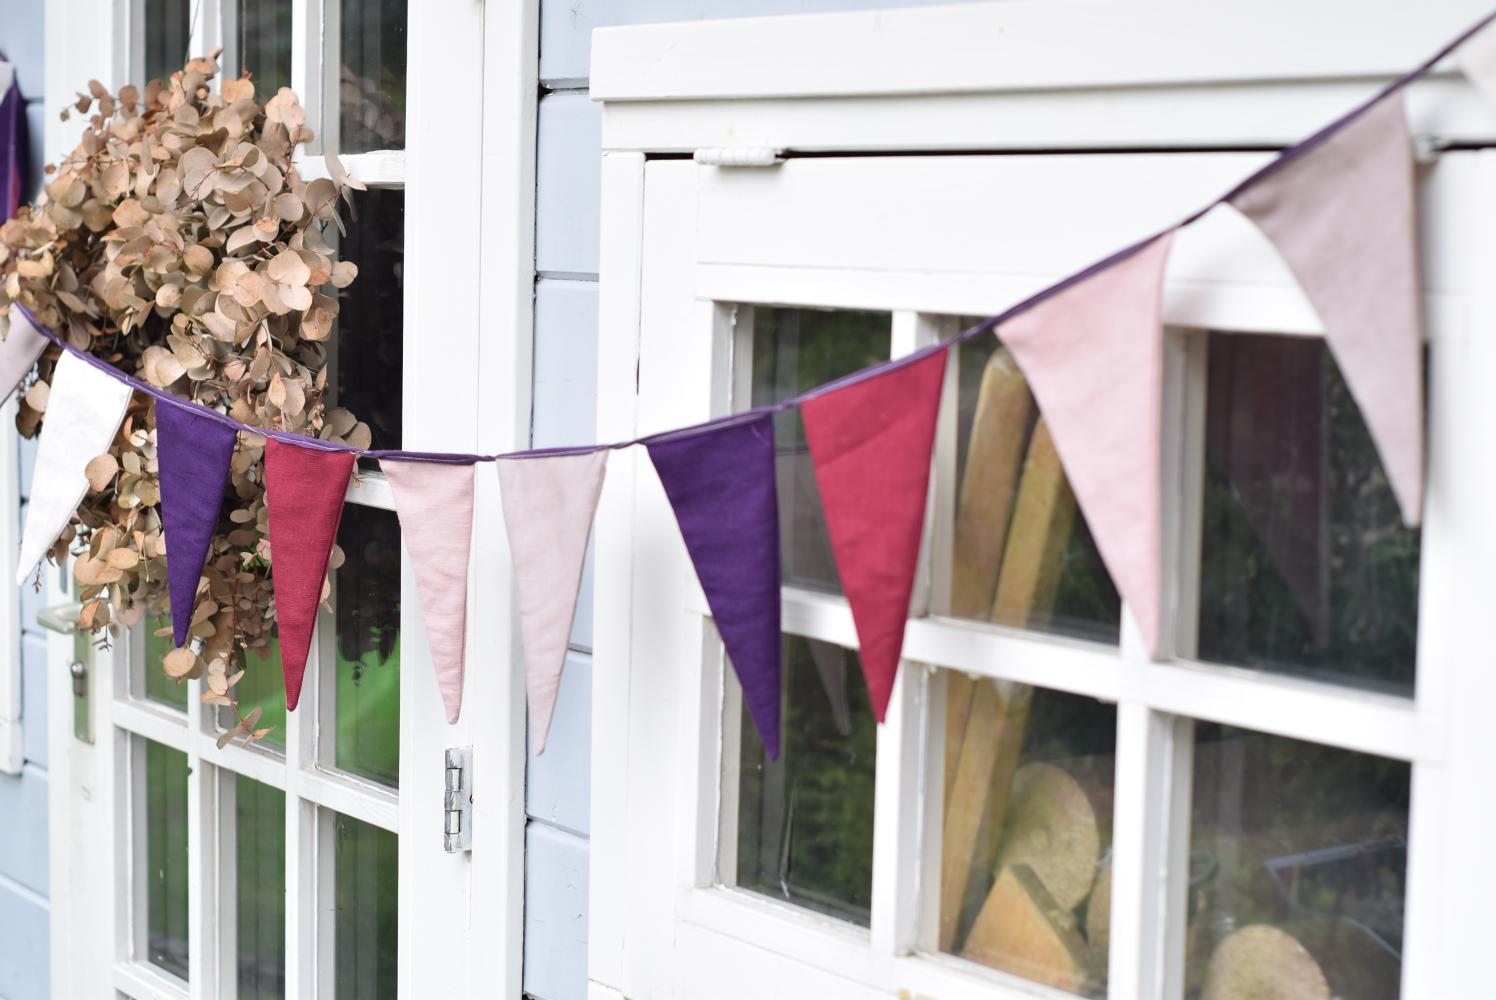
For the girls’ birthdays, I made a bunting with pink shades; for the boys, I’ll make a blue and green shaded bunting.
I went for linen fabric since I love the look and feel of linen. You can make this bunting with different fabrics. This is also a great project to use leftover fabric scraps!
Fabric for a DIY bunting
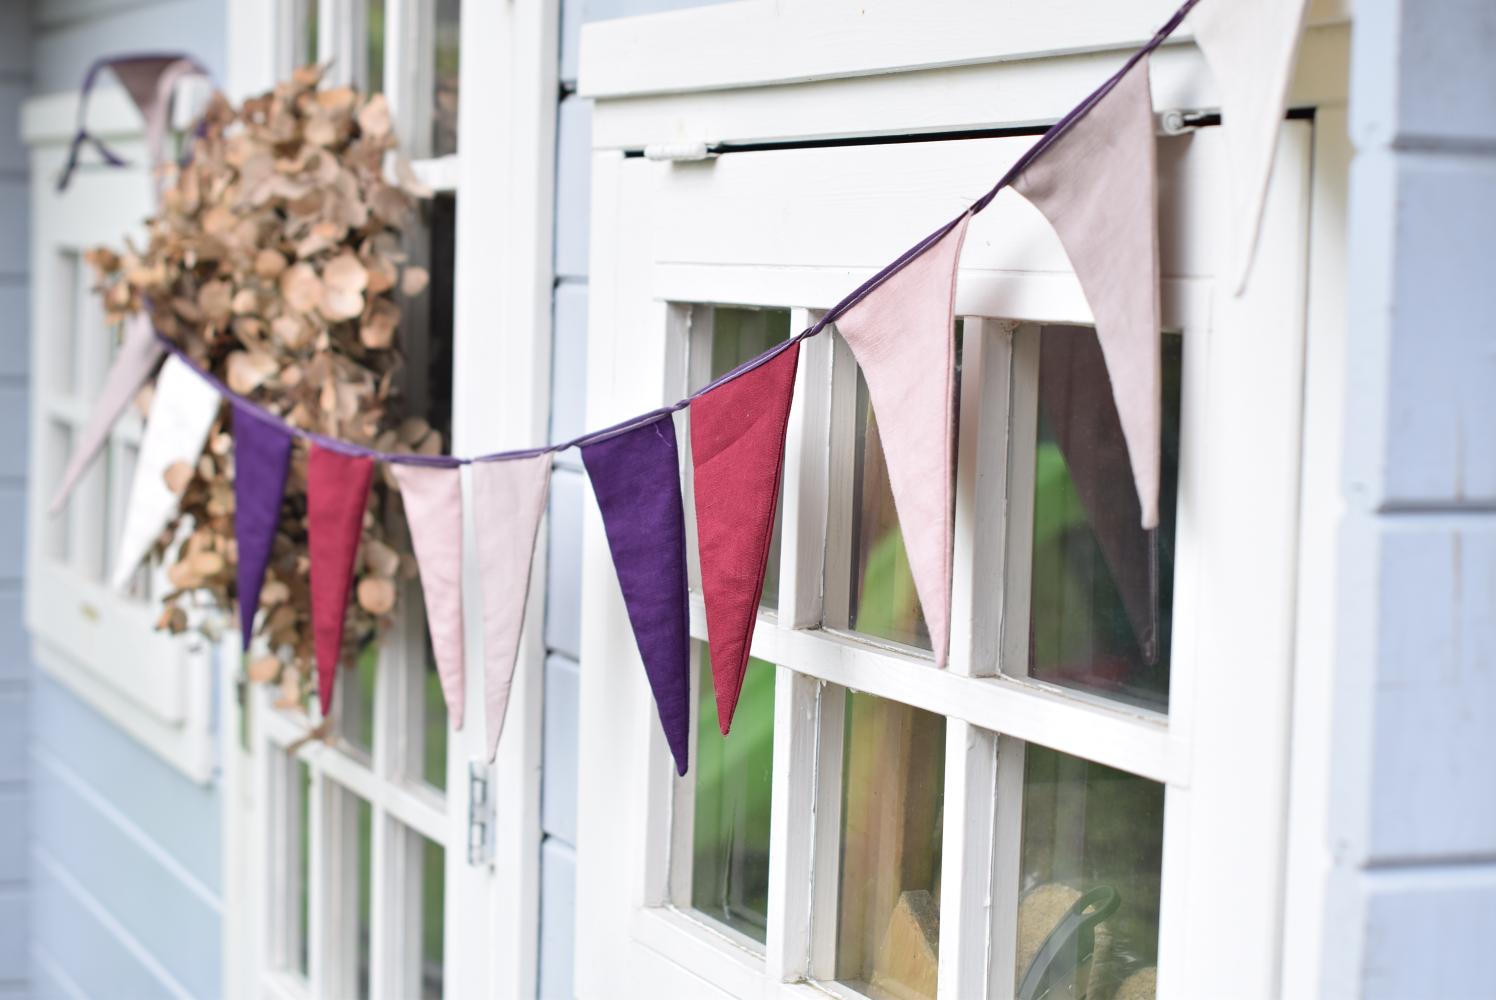
I choose to make this fabric bunting in pink tinted colored linen fabric for our girls’ birthdays. I plan on making another one in green and blue linen for our boys.
Linen is a beautiful and sustainable fabric. It’s strong and durable and is readily available in various colors. I like the rustic look of linen and it comes in so many beautiful shades.
Yardage for a DIY bunting
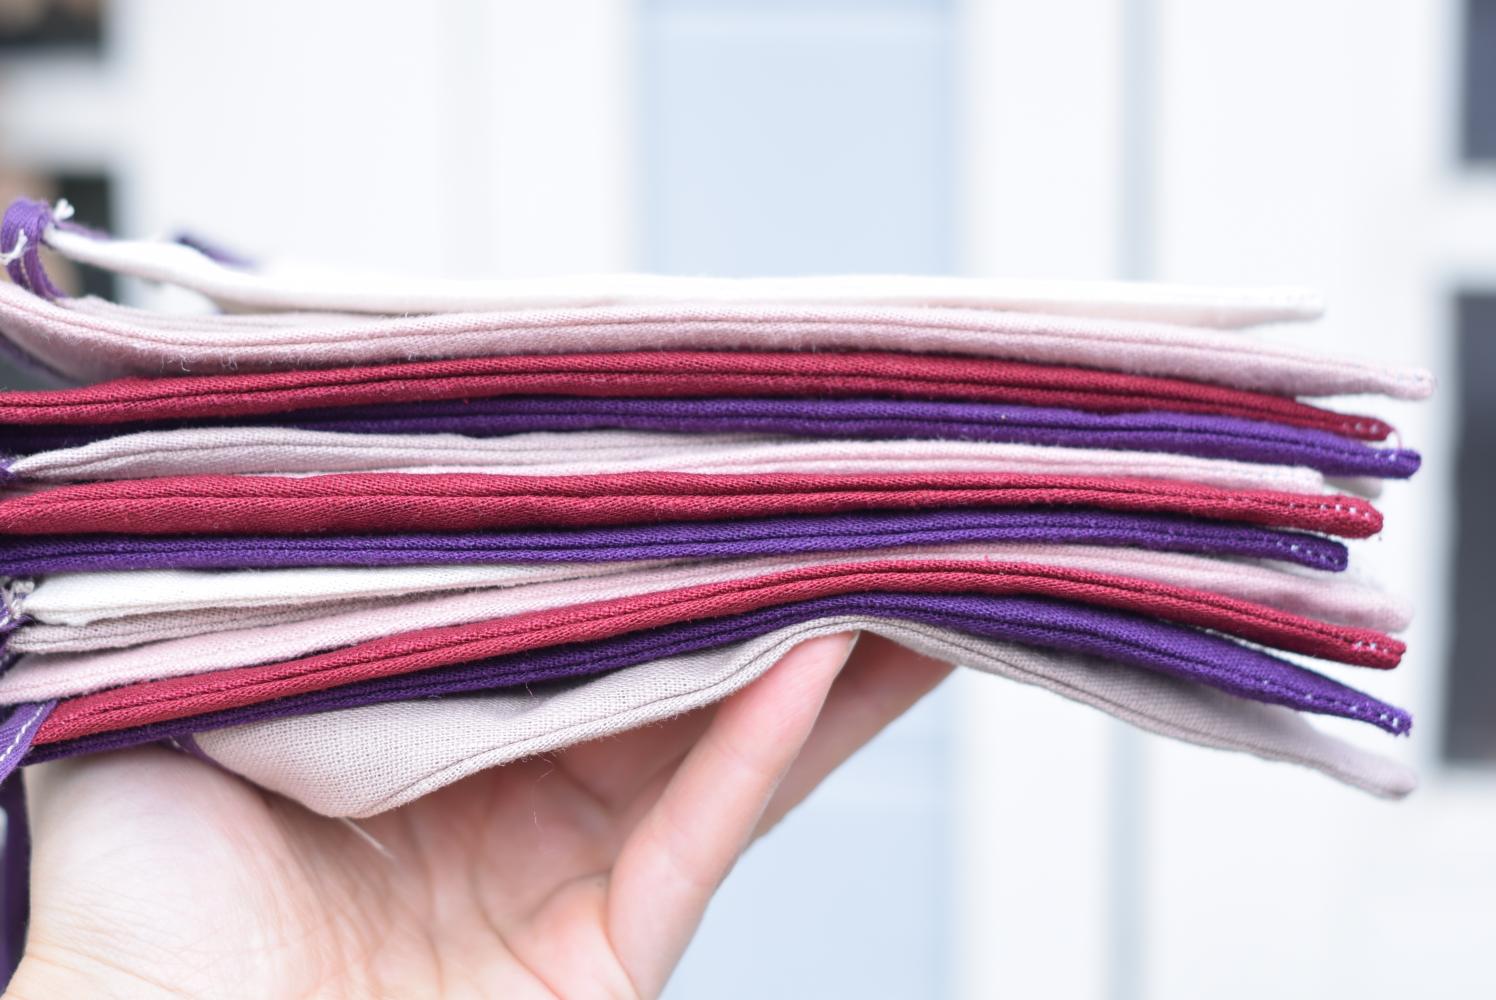
Depending on the size of the flags, you’ll need more or less fabric. Half a yard or appr. 0.5 meters per color should be plenty to make a nice bunting.
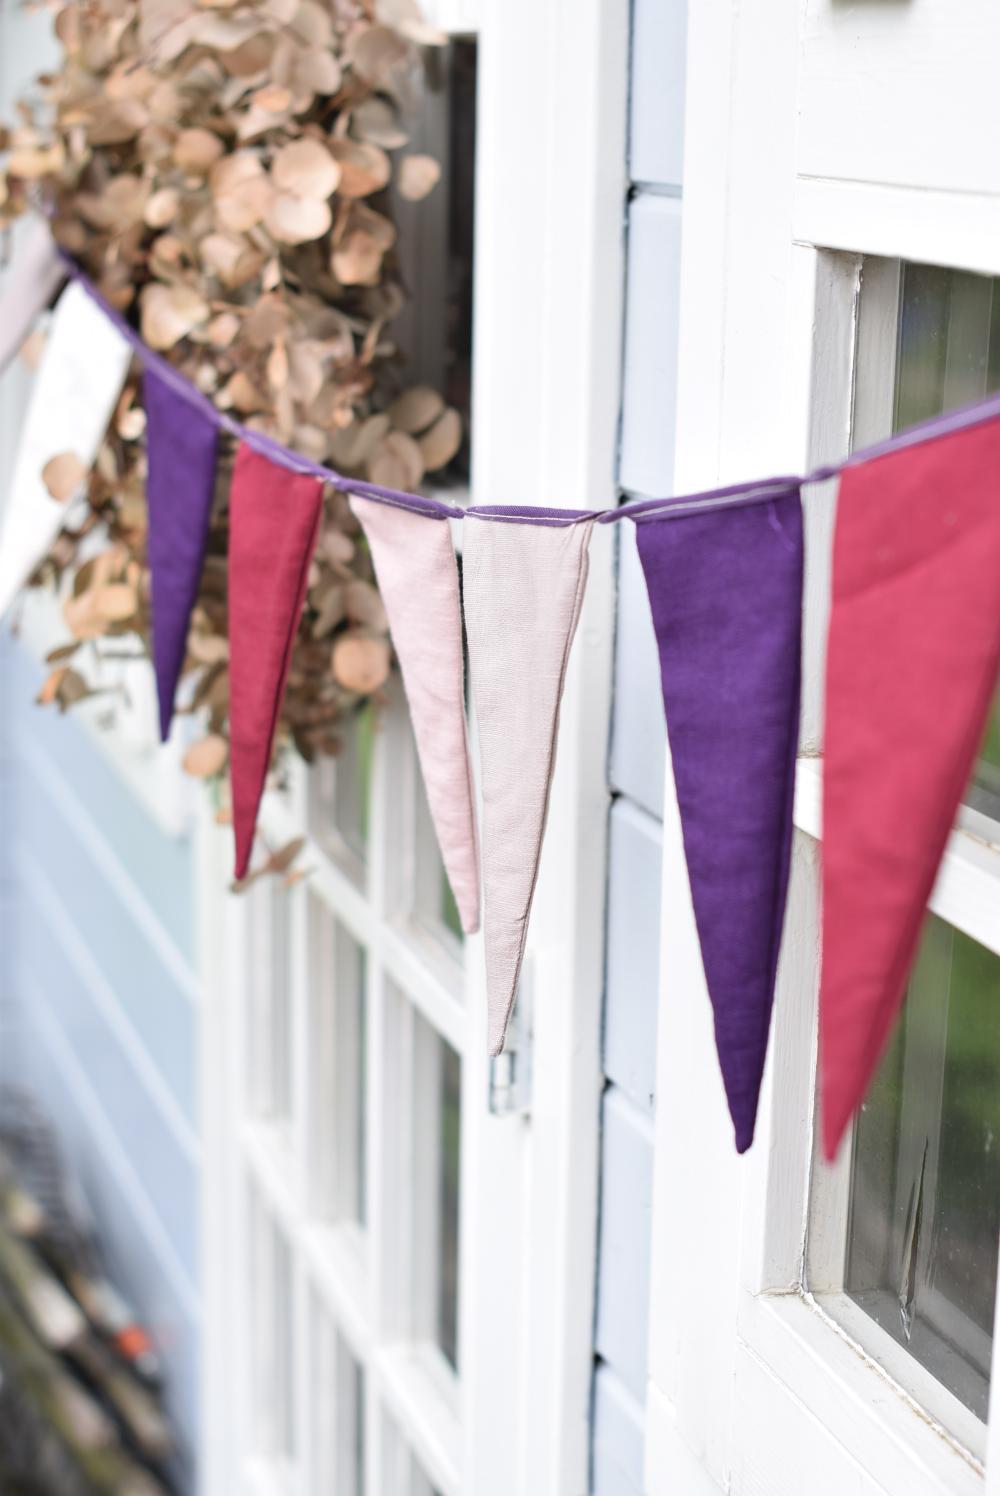
For each fabric bunting, I used 5 different colors. To create a nice varied bunting pattern I mixed the order of the fabric triangles.
There are 15 flags per 3 meters of bias tape. I ordered enough fabric to make four, 3-meter-long buntings. A few fat quarters might be enough if you use fewer fabric triangles per meter.
Step-by-step tutorial for a DIY bunting
Cutting the fabric
Decide the size of the flags and draw a template on a piece of paper. I made mine 15 cm wide and 23 cm long (appr. 6 by 9 inches).
I prefer a 1 cm (1/2 inch) seam allowance but feel free to use more or less.
The pattern template can be traced on a piece of cardboard, making tracing the triangle segments a little sturdier and easier. Of course, you can use the dimensions from the paper template and a ruler and tailor’s chalk to copy the triangle directly to your fabric.
Using the template, I prefer cutting my fabric with a rotary cutter on a mat.
Fold the fabric on the center fold and use a fabric pen or tailor’s chalk to trace the triangle shapes. We will open up the top edge of the fabric later.
Sewing the little fabric triangles
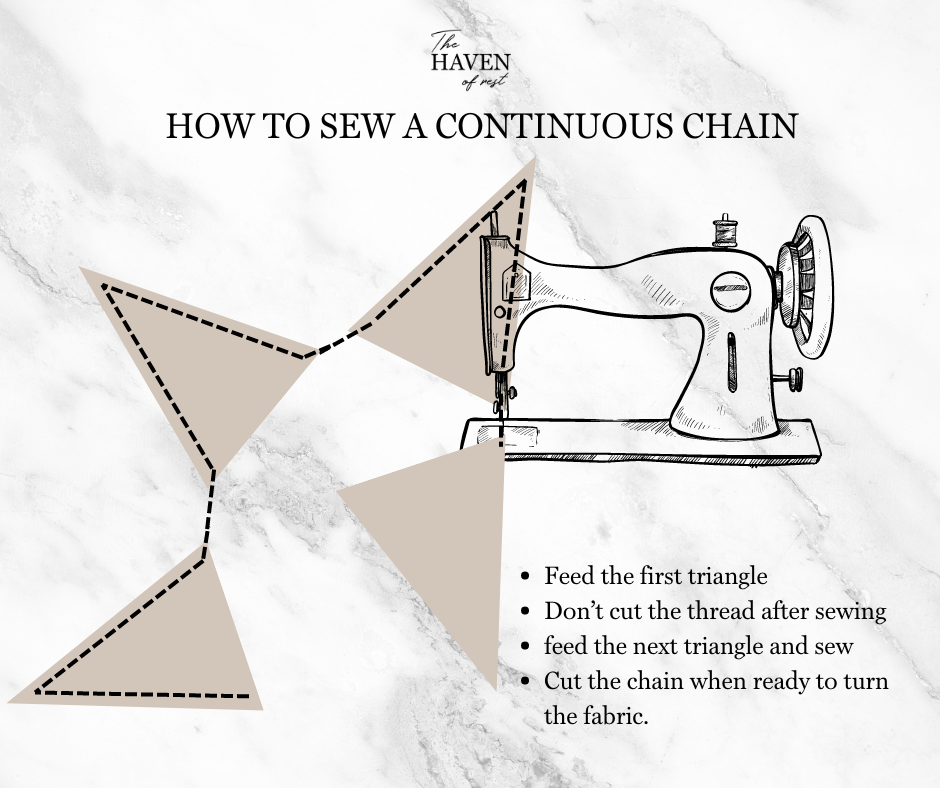
With the right sides together sew the first triangle on your sewing machine using a straight stitch. Only sew along the diagonal sides of the triangles.
Note: You can create a continuous chain by placing the next fabric triangle under your presser foot immediately after finishing the previous triangle’s second side. This will create a long chain of triangle shapes. Once you’ve completed all the fabric triangles, cut the chain.
Trimming the triangular shapes
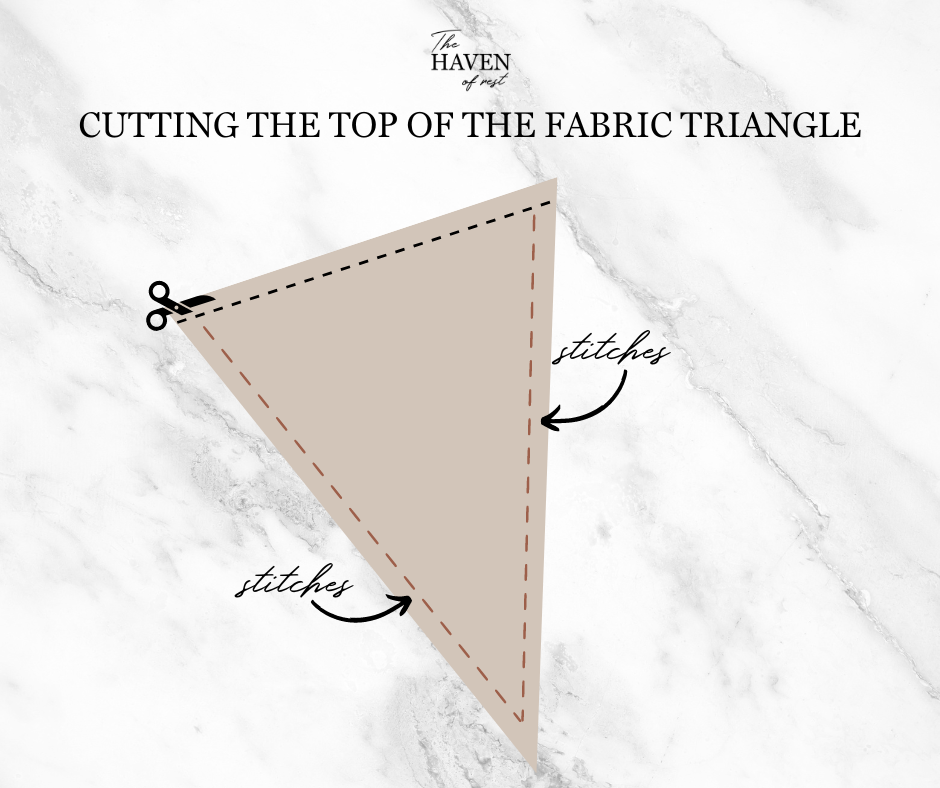
Using a ruler and rotary cutter, cut along the top of the flag to open the triangular shape.
Trimming the triangular shapes
Using a ruler and rotary cutter, cut along the top of the flag to open the triangular shape.
Trim the diagonal edges if there’s a lot of fabric from the seam allowance. Having a lot of fabric might make it harder to get a clean finish later.
There’s no need to serge or zigzag the raw edge of the triangle since they will be on the inside of the triangle. Pinking shears is a quick way to trim and finish the diagonal edges if you prefer to give them a finished look.
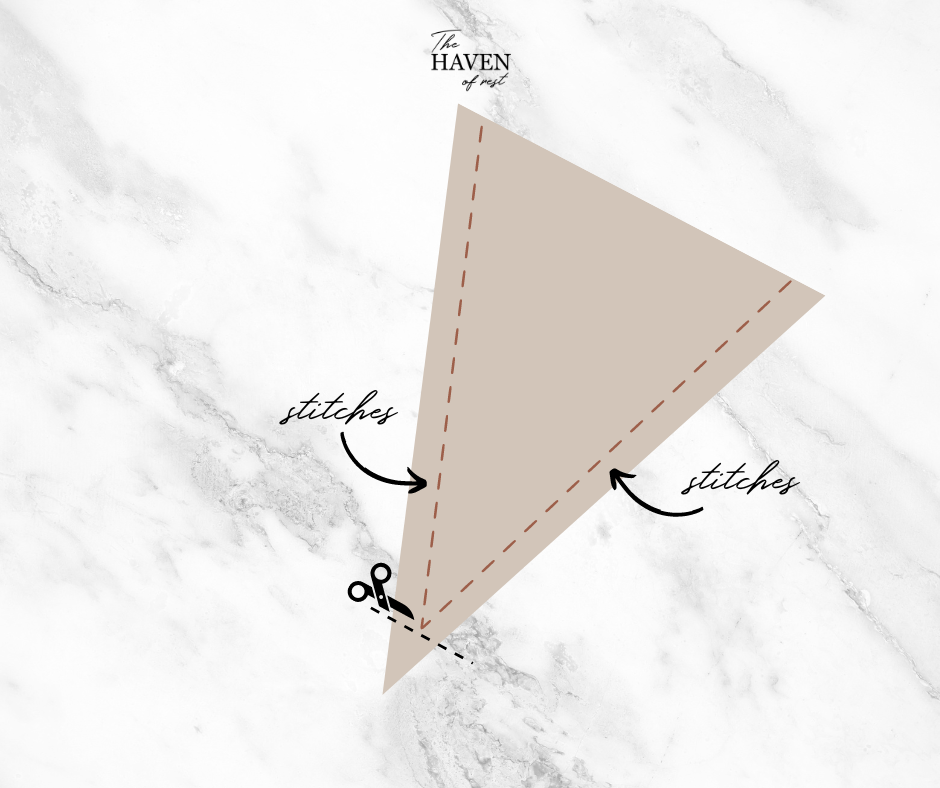
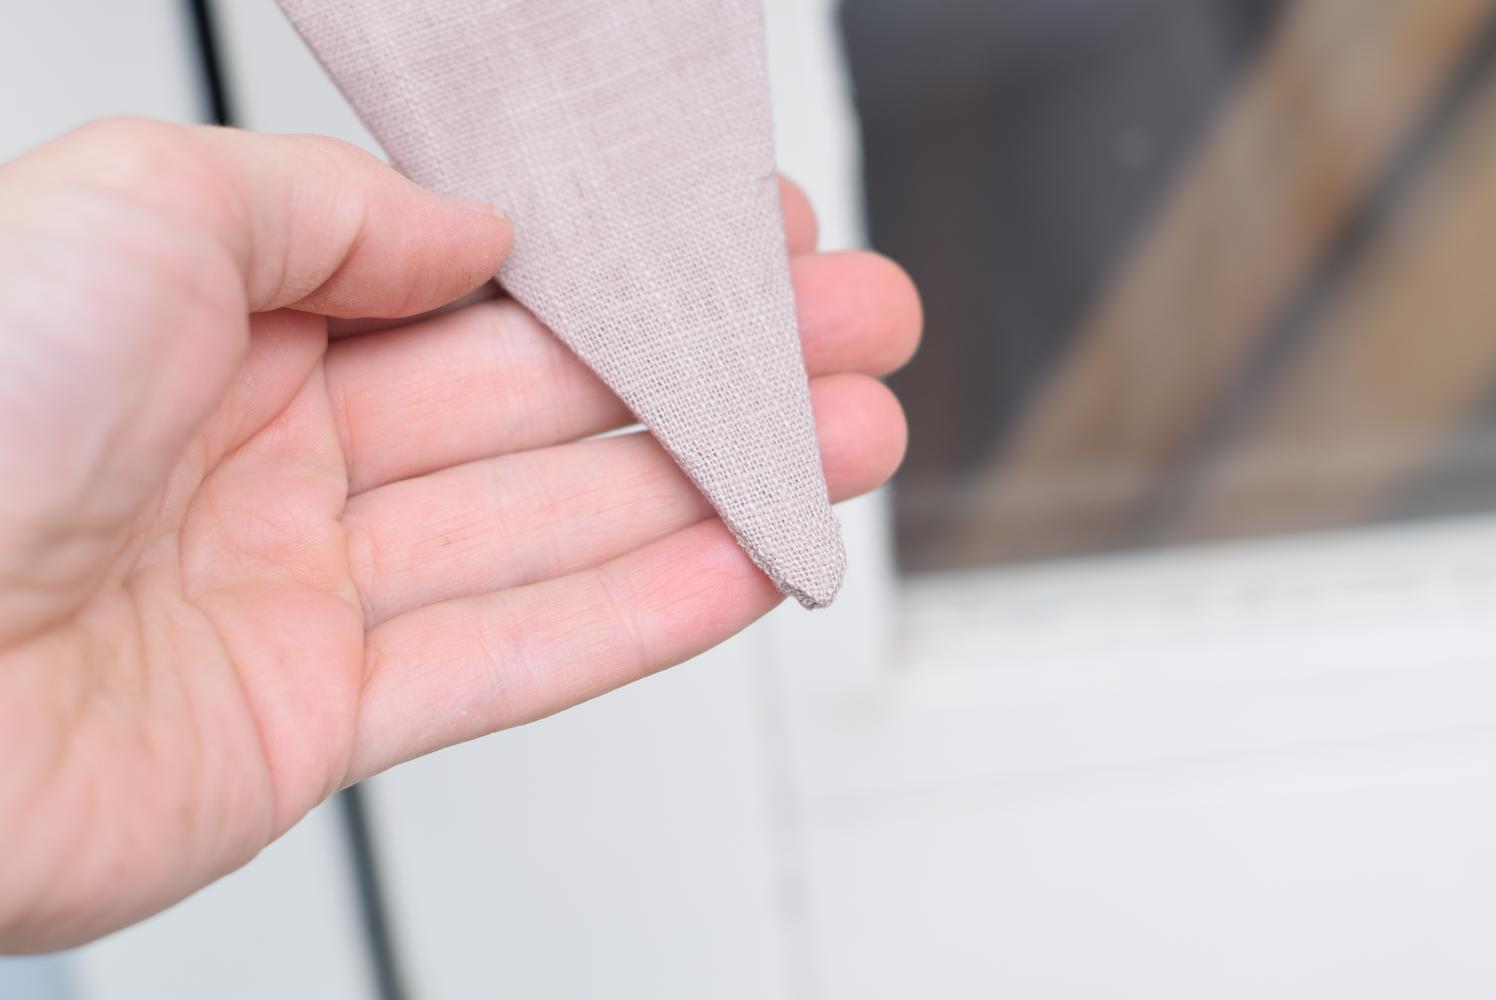
Cut the excess fabric from the point of the triangle. This will give a crisp and nice point at the bottom of each triangle. Make sure you cut close to the stitch line, but not through the stitches from the diagonal sides.
Turning the fabric
The wrong sides of the fabric triangles are still on the outside. With the open tops, turn the fabric triangles.
Give them a good press with a hot iron. If you prefer, you can top stitch around the diagonal sides of the triangles. Use a straight stitch and a short stitch length.
Adding the bias tape
Use double-fold bias tape and start adding triangles about 20 cm from the start of the bias tape.
Place the top of the bias tape on the top of the triangle, right sides together.
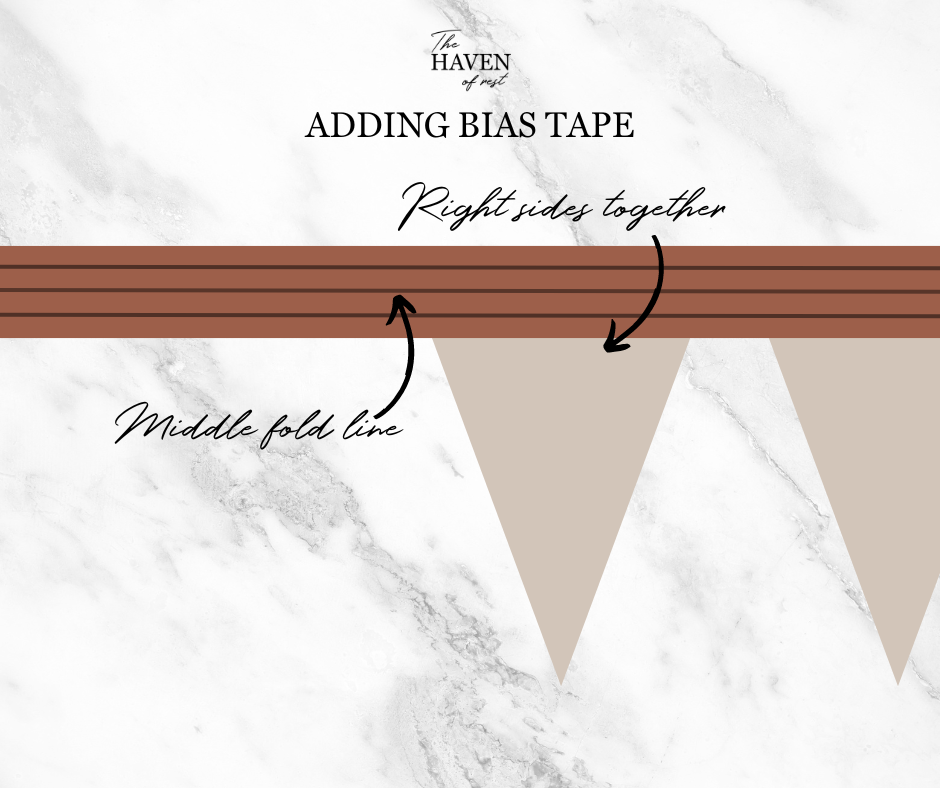
Sew all triangle shapes to the bias tape. Then, fold the bias tape over the other side of the triangles. Place the middle fold over the top of the triangles. Top stitch the bias tape over the whole length of the bunting.
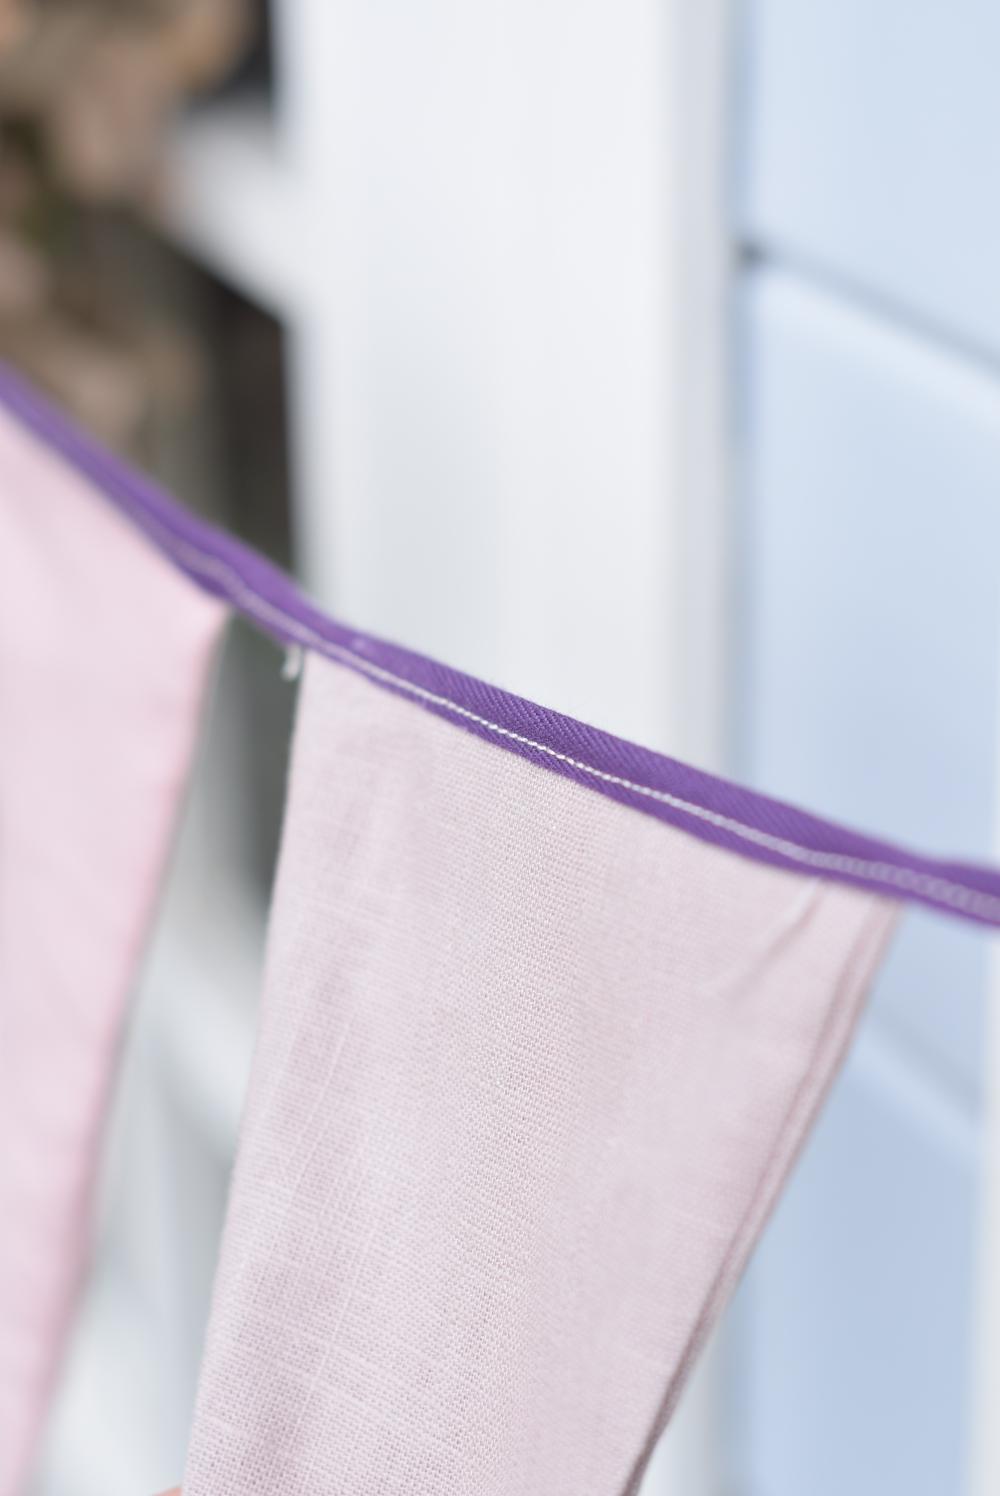
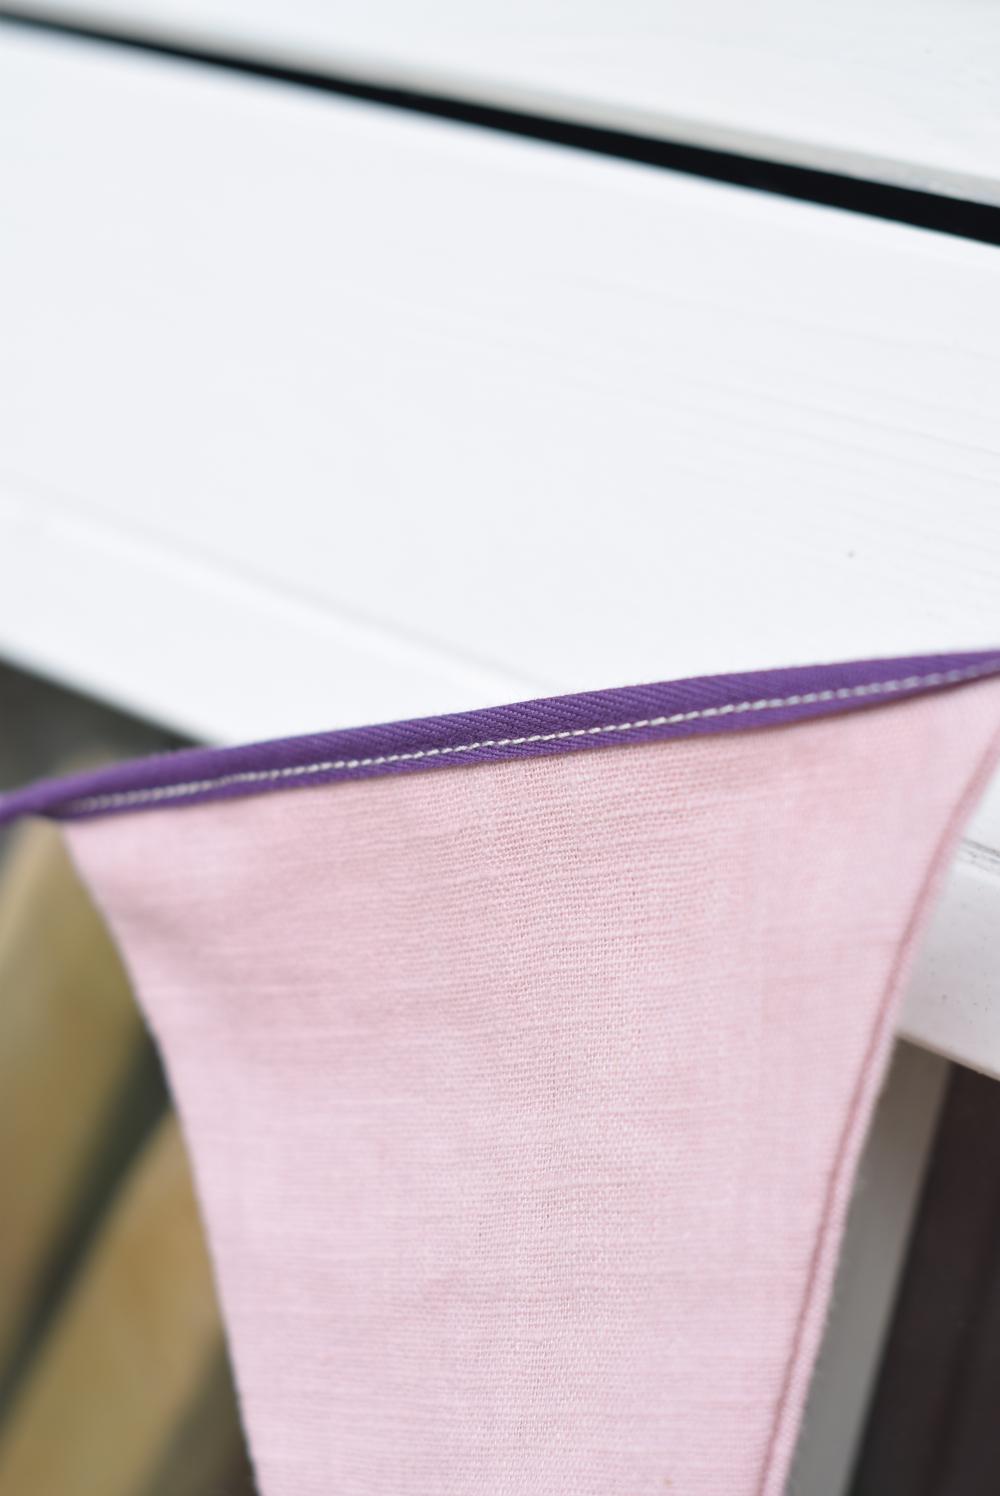
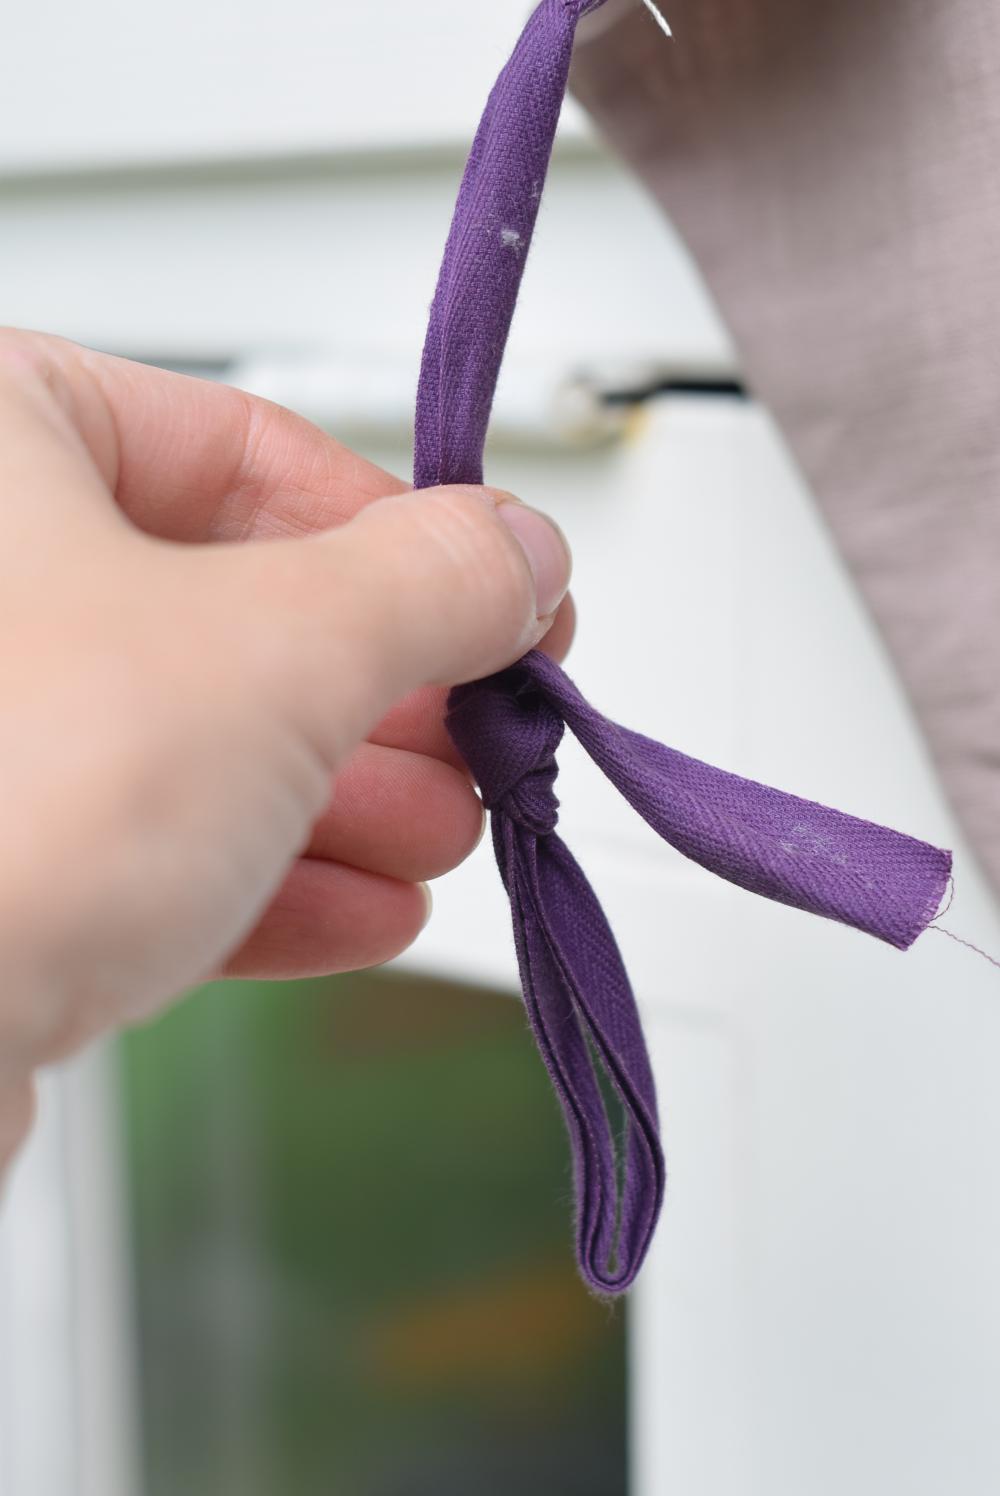
Lastly, tie a knot at the open edge of the bias tape (at the end of the tape) and do the same at the opposite end and you’re done!
Notes
- To make this DIY fabric bunting extra special, you can decorate each point of the triangle with pom poms.
- With a few simple steps, you can make your own bias tape using a bias tape maker or just a measuring tape and iron. Cut wide strips of fabric and make a double fold using a hot iron. Be sure to cut the strips of fabric on the diagonal.
- Old clothes or leftover pieces of fabric can be used to make a gorgeous bunting unto a nice upcycling project.
This is a fun and simple project that’s great for beginners. It can be made in a few hours, but don’t underestimate the time it takes. Though this is a fairly easy project to make, it takes some time to trim, turn, and press all triangle shapes.
Save for later…
