Written by: Tahnee Wientjes
Hi there fellow homemakers and naturally-minded friends! I’m super excited to share with you a fun and easy DIY project that helps reduce single-use plastic waste. These reusable fabric bowl covers offer a reusable alternative to disposable plastic wrap.
Table of Contents
Fabric bowl covers as an alternative for disposable plastics
One area where we often rely heavily on disposable plastics is in the kitchen, especially when it comes to covering leftovers or storing food.
But, items like disposable plastic wrap are also something we’ve just gotten accustomed to. When our grandparents were little, there was no such thing as cling film or a plastic lid to cover rising bread dough. They exclusively used renewables and reusables.
A cloth bowl cover is a great cost-effective and waste-reducing kitchen item. It’s also very versatile as it can serve multiple purposes and cover bowls of different sizes. Also, leaning fabric bowl covers is easy, but more on that later. It’s the perfect, easy-to-sew, replacement for cling film.
How reusable bowl covers work
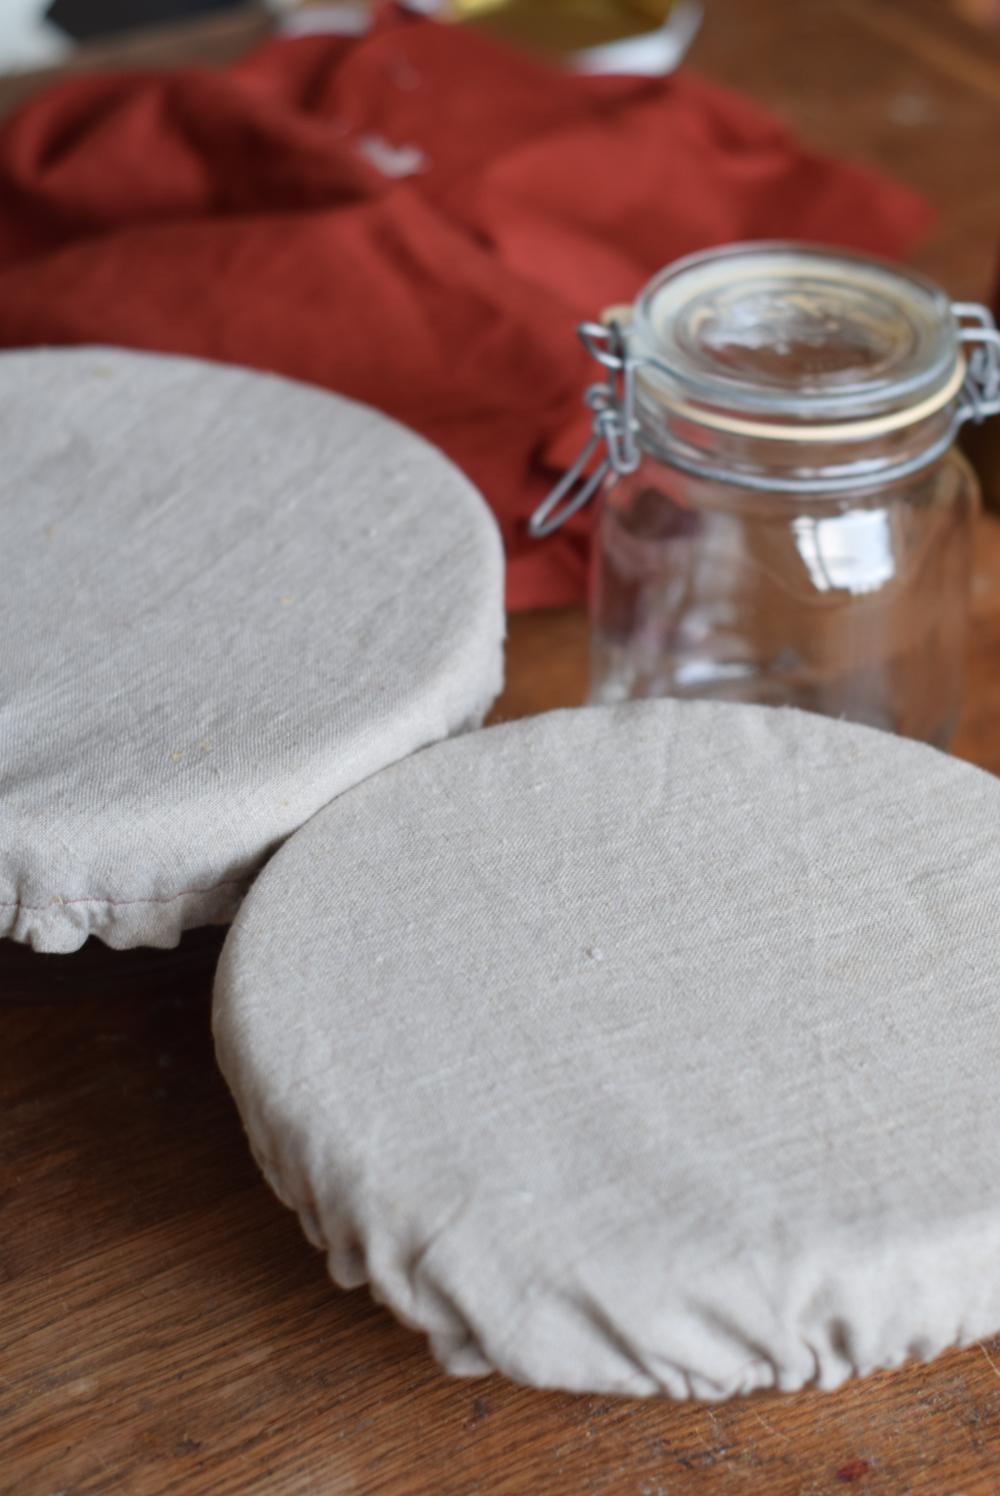
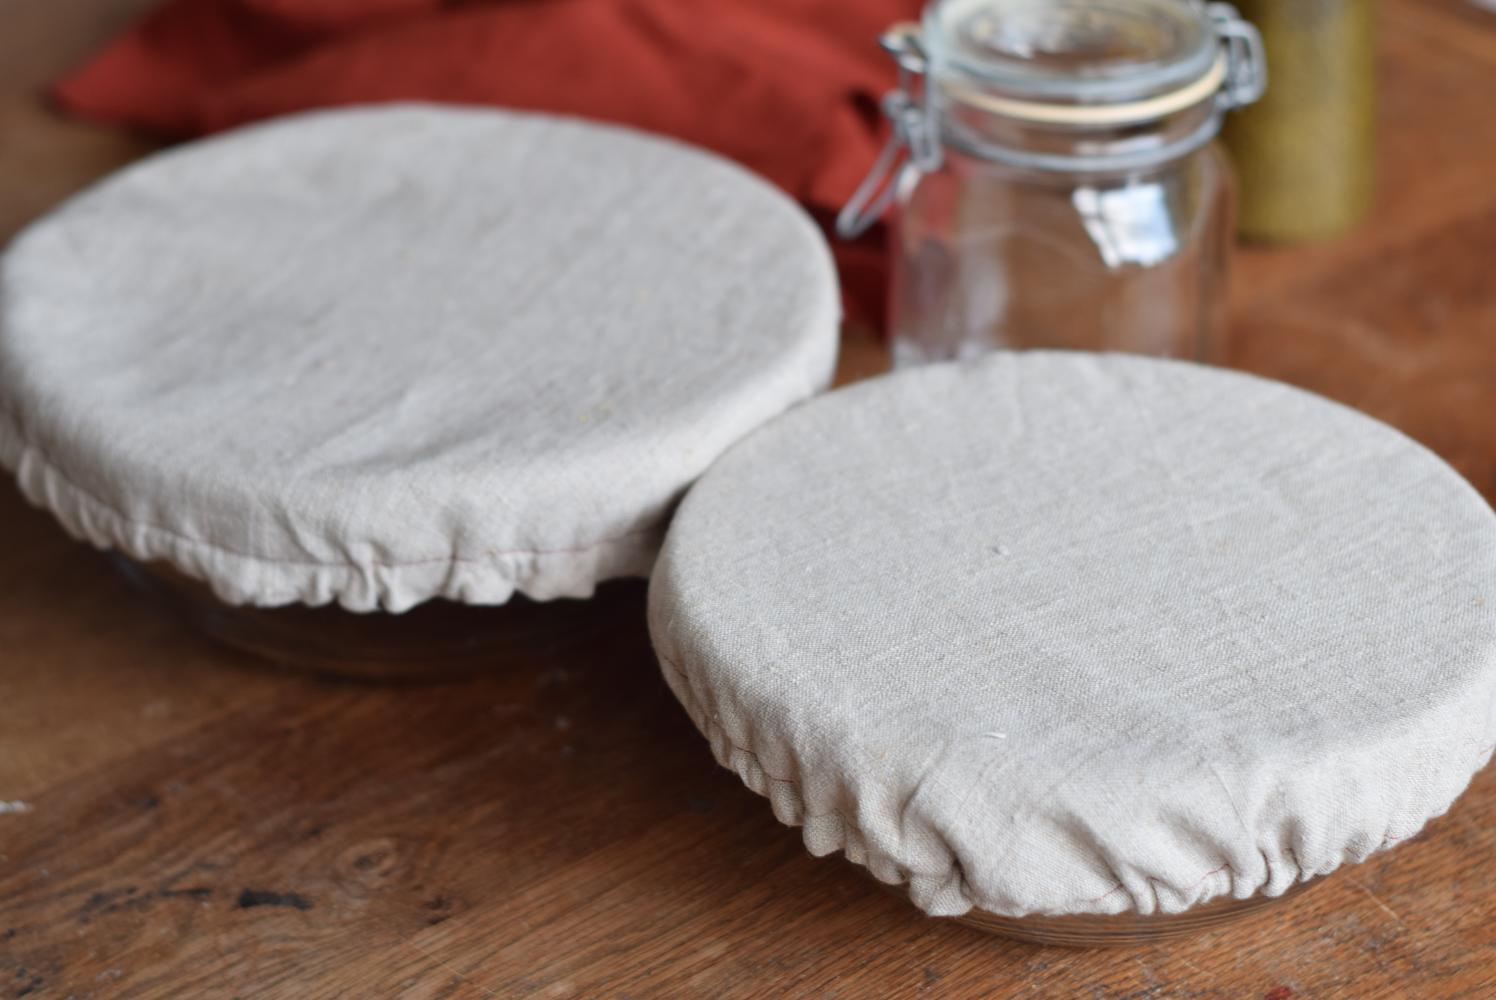
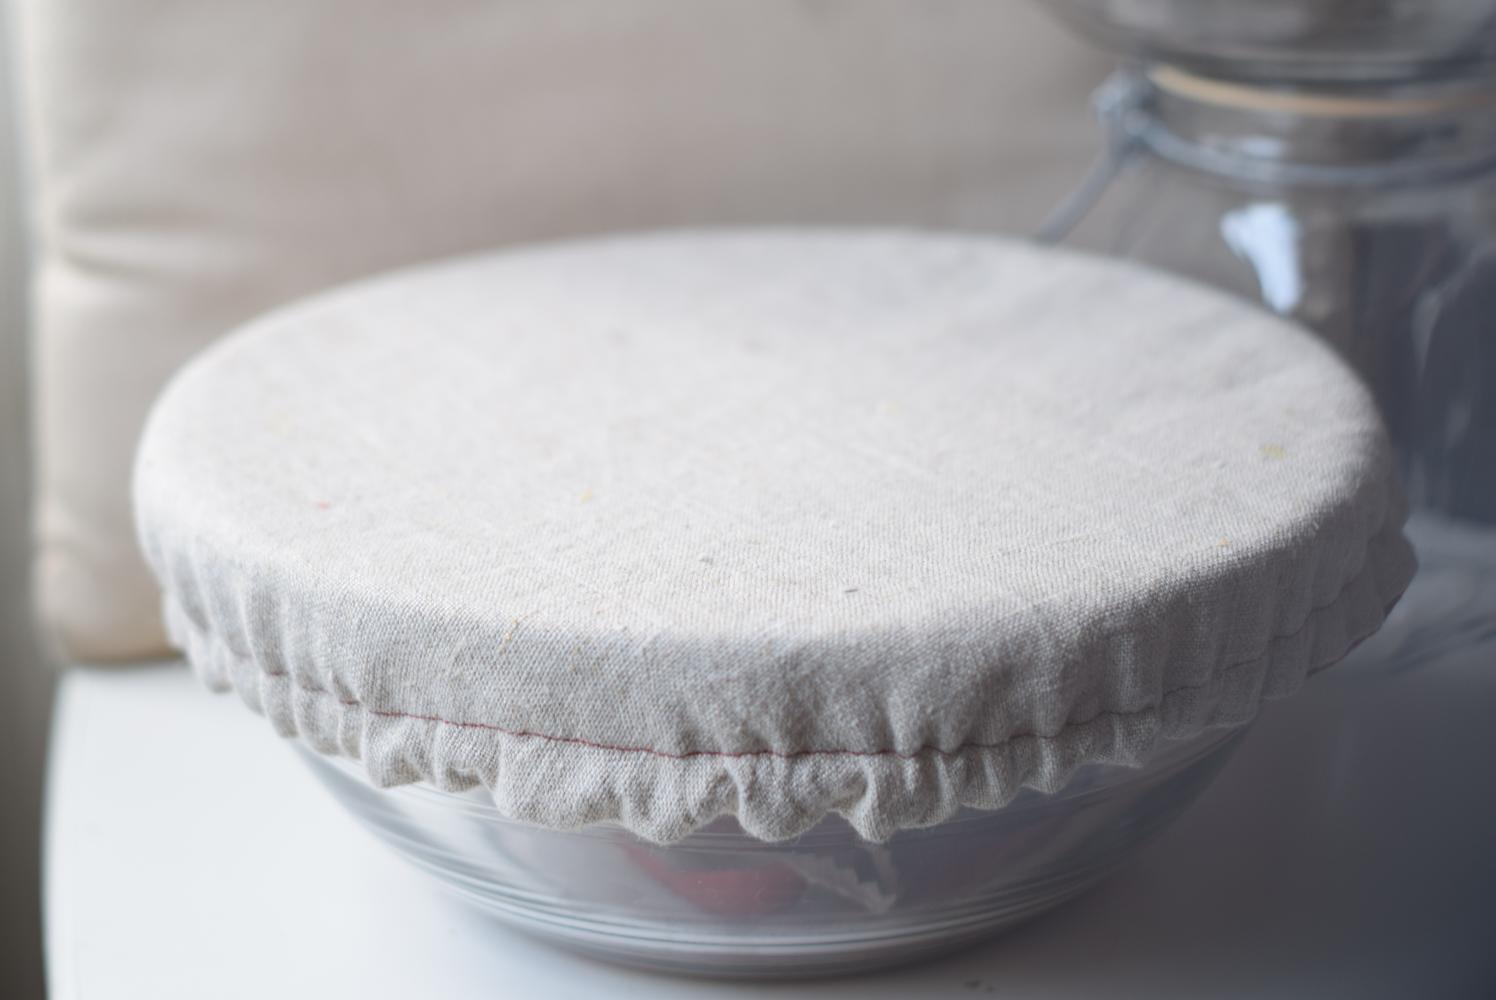
Here’s how reusable fabric bowl covers work. They look much like a shower cap! The elastic around the circumference of the cloth bowl cover makes sure the reusable bowl cover will fit snuggly around the circumference of the bowl.
When to use a bowl cover
A reusable bowl cover can come in handy when you need to cover food in a bowl. You can use it to proof bread dough, keep food covered during a picnic to prevent bugs from getting on it, or even to cover a salad or sourdough starter in the fridge. A fabric bowl cover is a great option for different purposes.
Fabric bowl cover sizes
Depending on the different sizes of bowls you have you can make larger and smaller cloth bowl covers. Reusable bowl covers can be made into different sizes so you can cover just about all sizes of bowls. From serving bowls to a small bowl.
The great thing about these reusable bowl covers is that they’ll fit bowls of different sizes. So, there’s no need to make a bunch of reusable fabric bowl covers, just one or two will do!
Supplies for making a reusable bowl cover
This is a great beginner sewing project and great for using those scrap fabric pieces.
You will need:
- Fabric
- Elastic
- Thread
- Small Safety Pin
- Sewing machine or needle and thread
Your fabric choices are limited to any food-safe fabric you have around. This can be a nice printed cotton, linen cotton blend, or pul fabric.
Pul fabric is the type of fabric used for making cloth diaper covers. Pull fabric or laminated cotton is a good choice if you want the cover to be waterproof. However, I would personally prefer to cover the cloth bowl covers in beeswax over laminated fabric or pull fabric to make them water-resistant.
How to make a fabric bowl cover
Making these reusable fabric bowl covers is a breeze! Even if you’re not a seasoned crafter, you’ll find this is one of those simple sewing projects that is delightfully simple and fun. I’ll provide you with step-by-step instructions below.
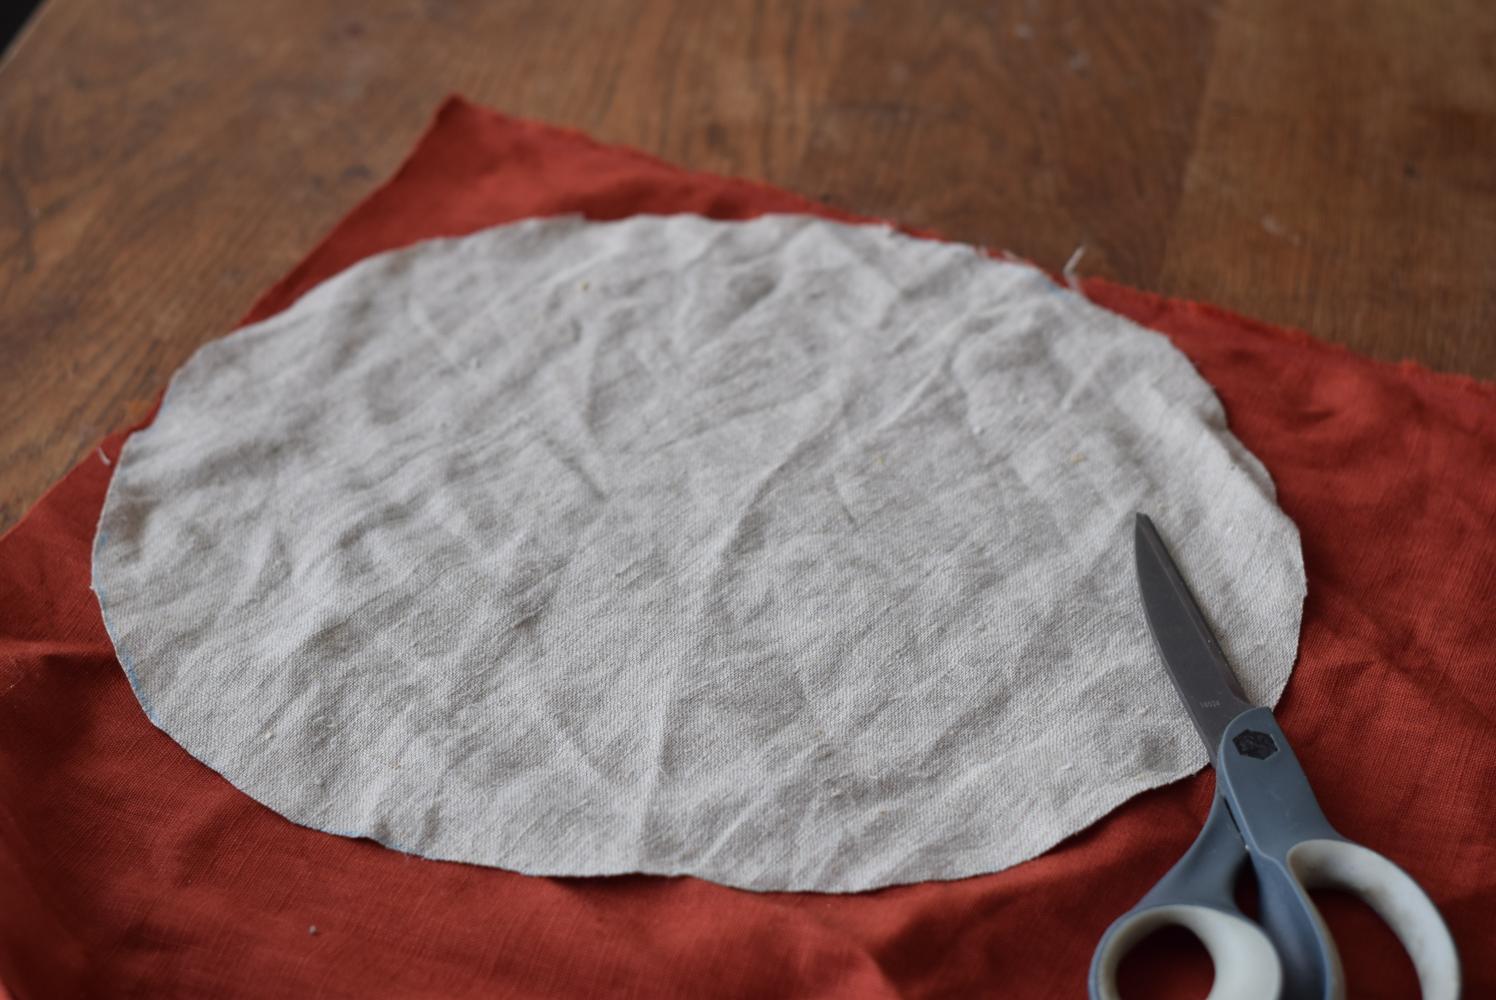
For this bowl cover, you’ll need two (different) pieces of fabric. One will be the top fabric that will cover the bowl face and the other will be the inner fabric. This bowl cover is reversible though.
Depending on the desired number of bowl covers you’ll need more or less fabric. But, always two circles of fabric per bowl cover.
You can make the fabric bowl covers in a range of sizes. I would suggest measuring the diameter of your largest bowl because these reusable bowl covers will also fit a slightly smaller bowl.
- Measure the circumference of the bowl that you want to make a reusable bowl cover. Add about 2-3 inches.
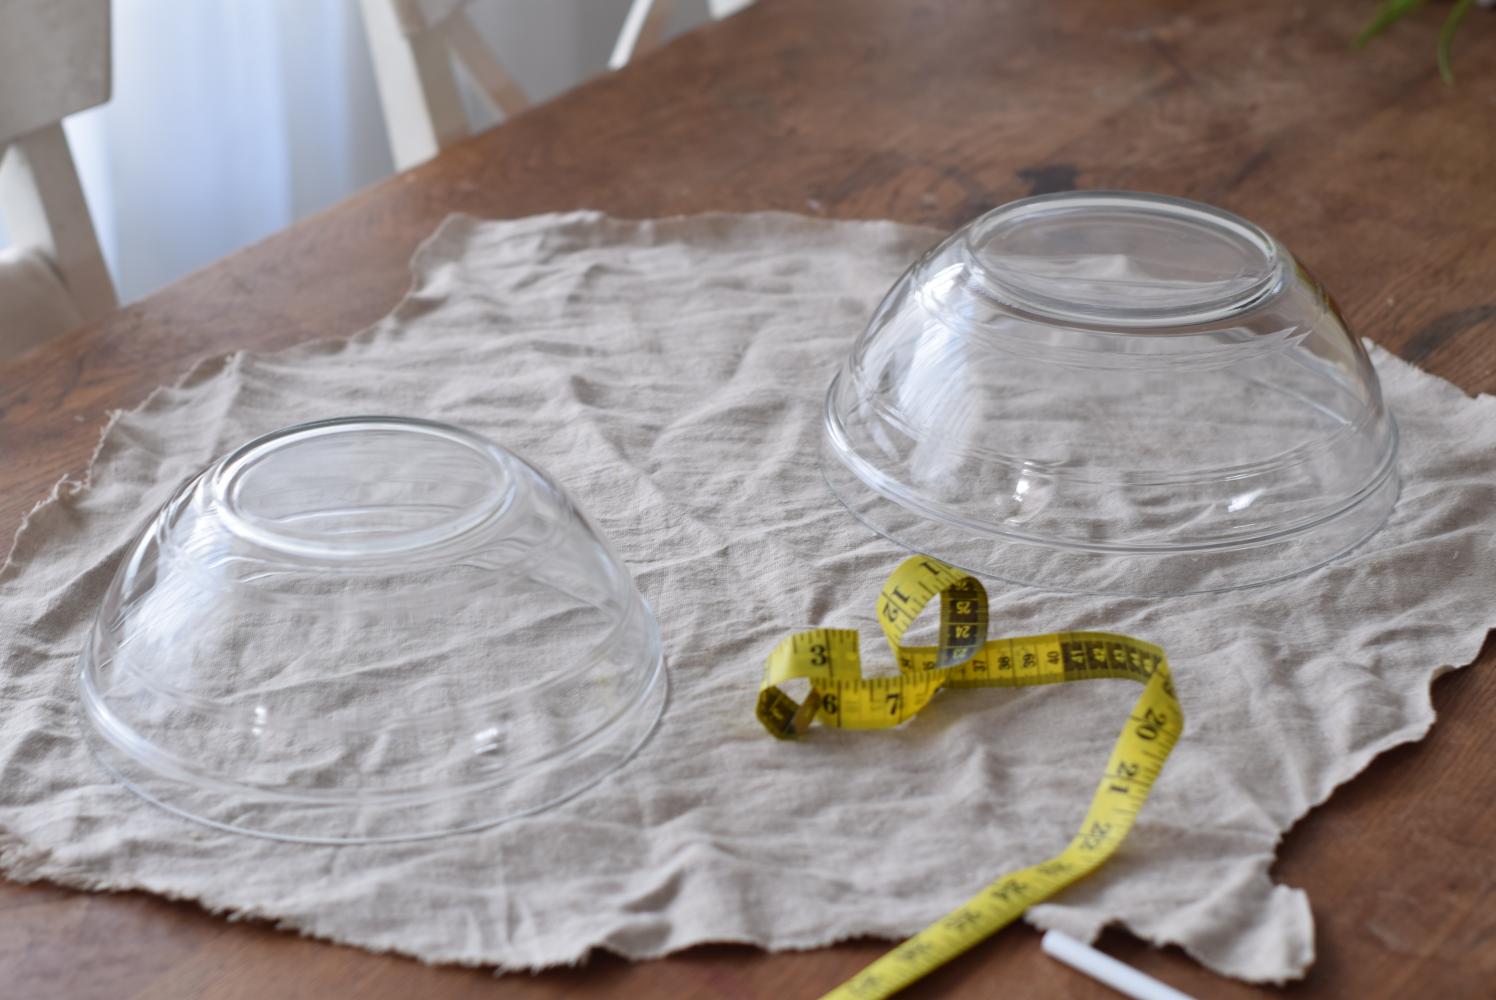
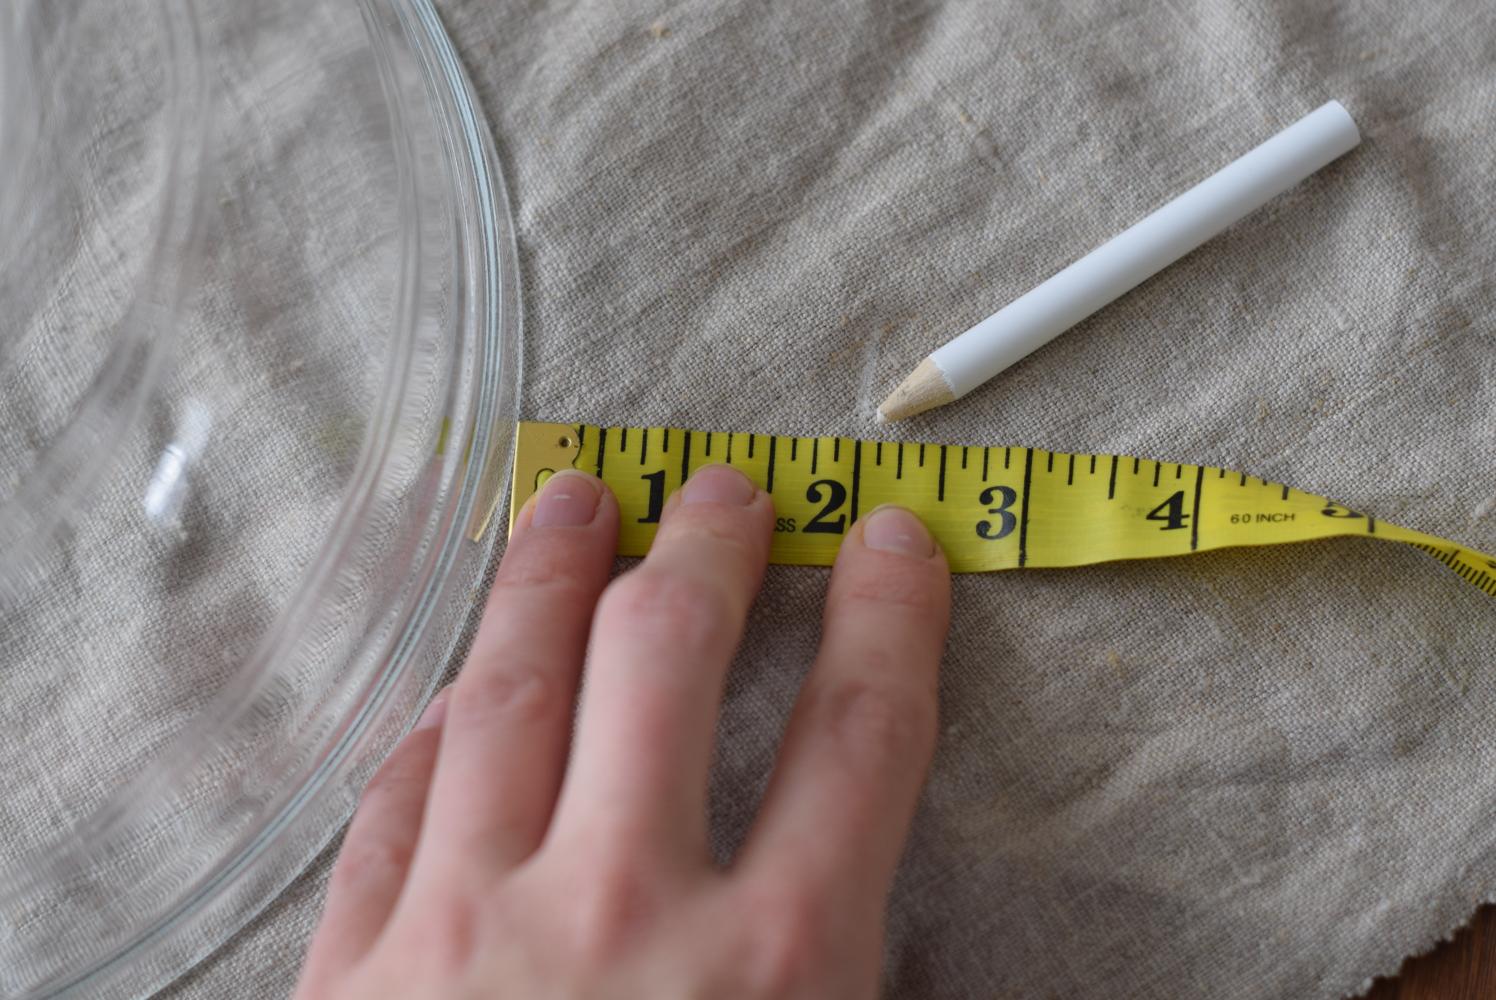
- Cut the fabric around the larger circle and use the first circle to cut out the second circle from the inner fabric. TIP: Cut the second piece of fabric BIGGER than the first circle. This will make sewing much easier. Press before you start sewing the circles together.
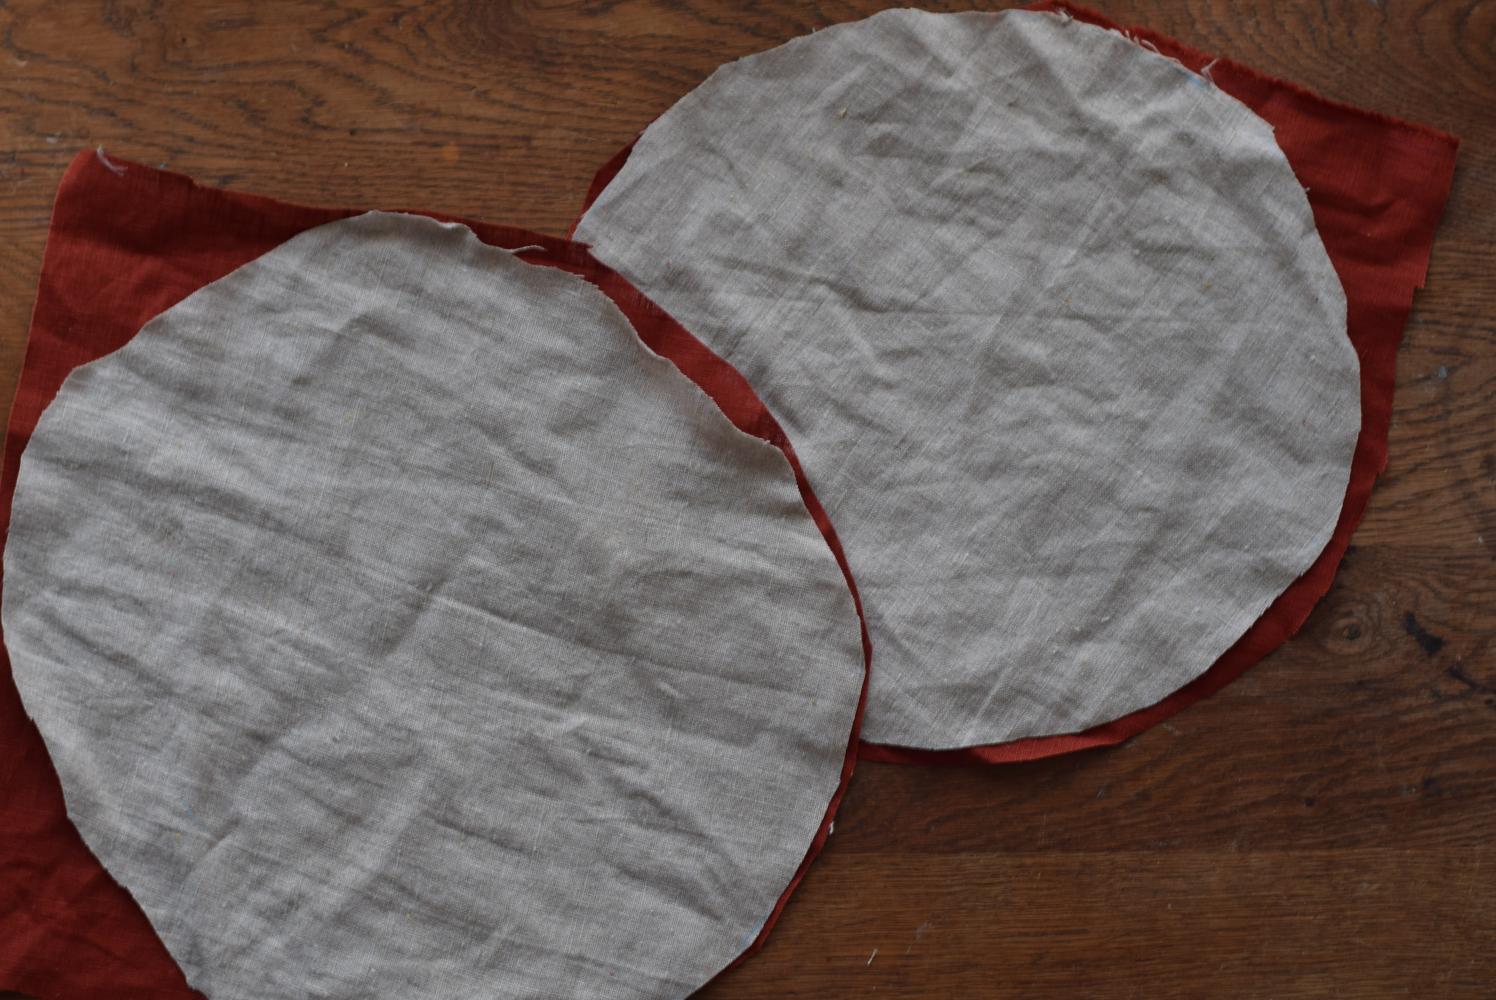
- With right sides together, stitch the two pieces but leave a small gap to turn the fabric.

- Clip around the sides. There’s no need to use a zig-zag stitch to prevent the raw edges of the fabric from unraveling since the edges will be on the inside.
- Make small notches or use pinking sheers.
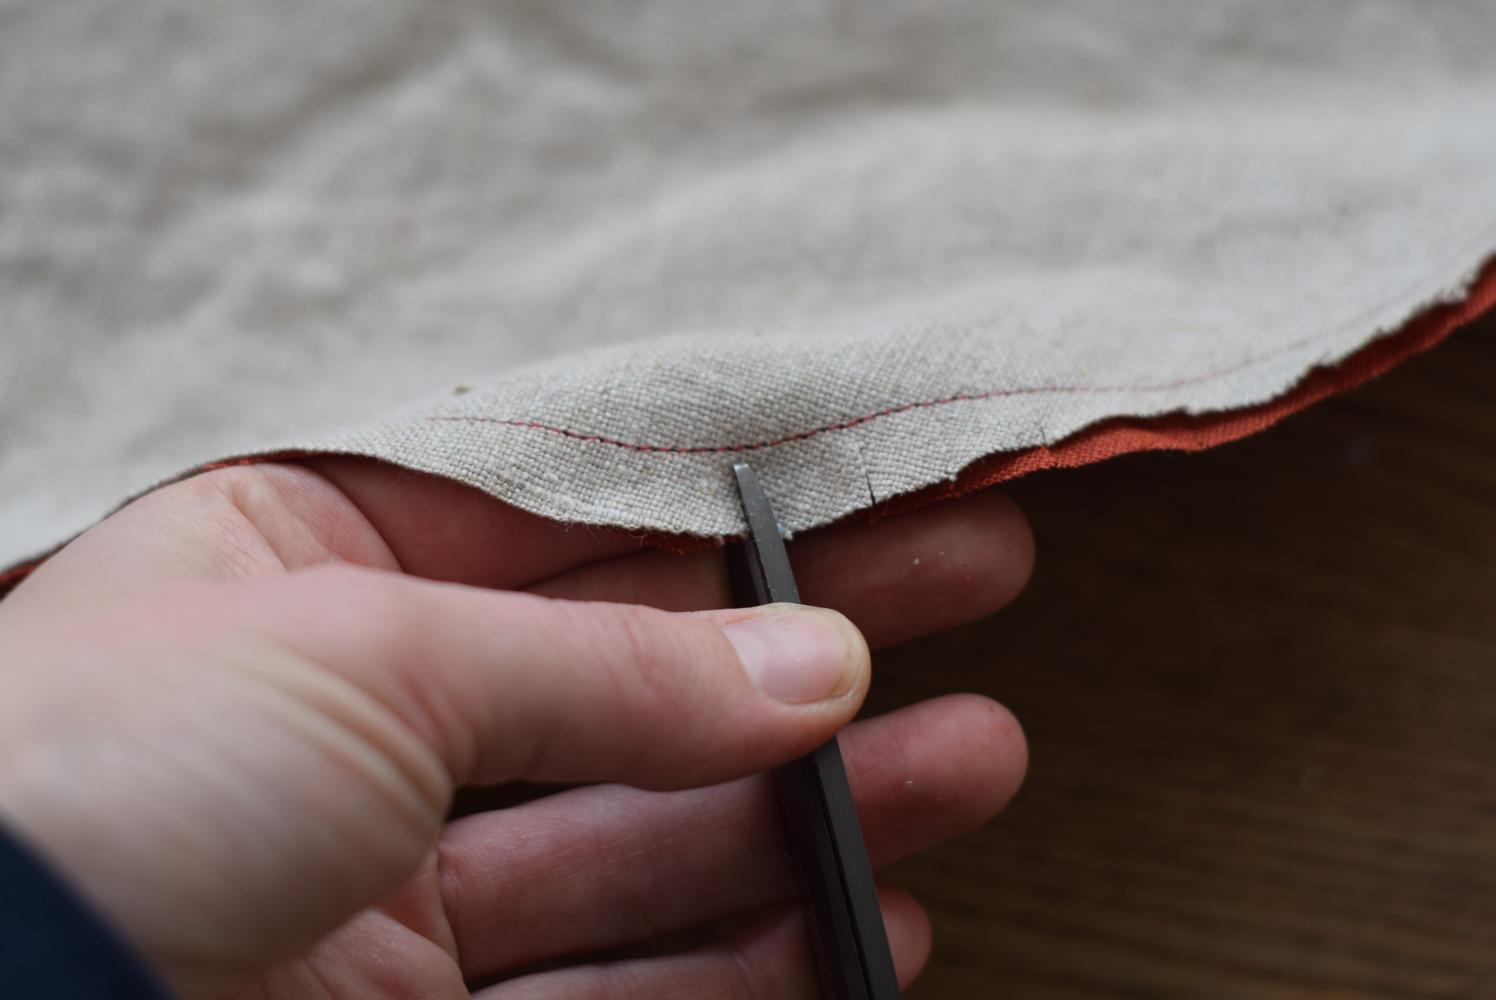
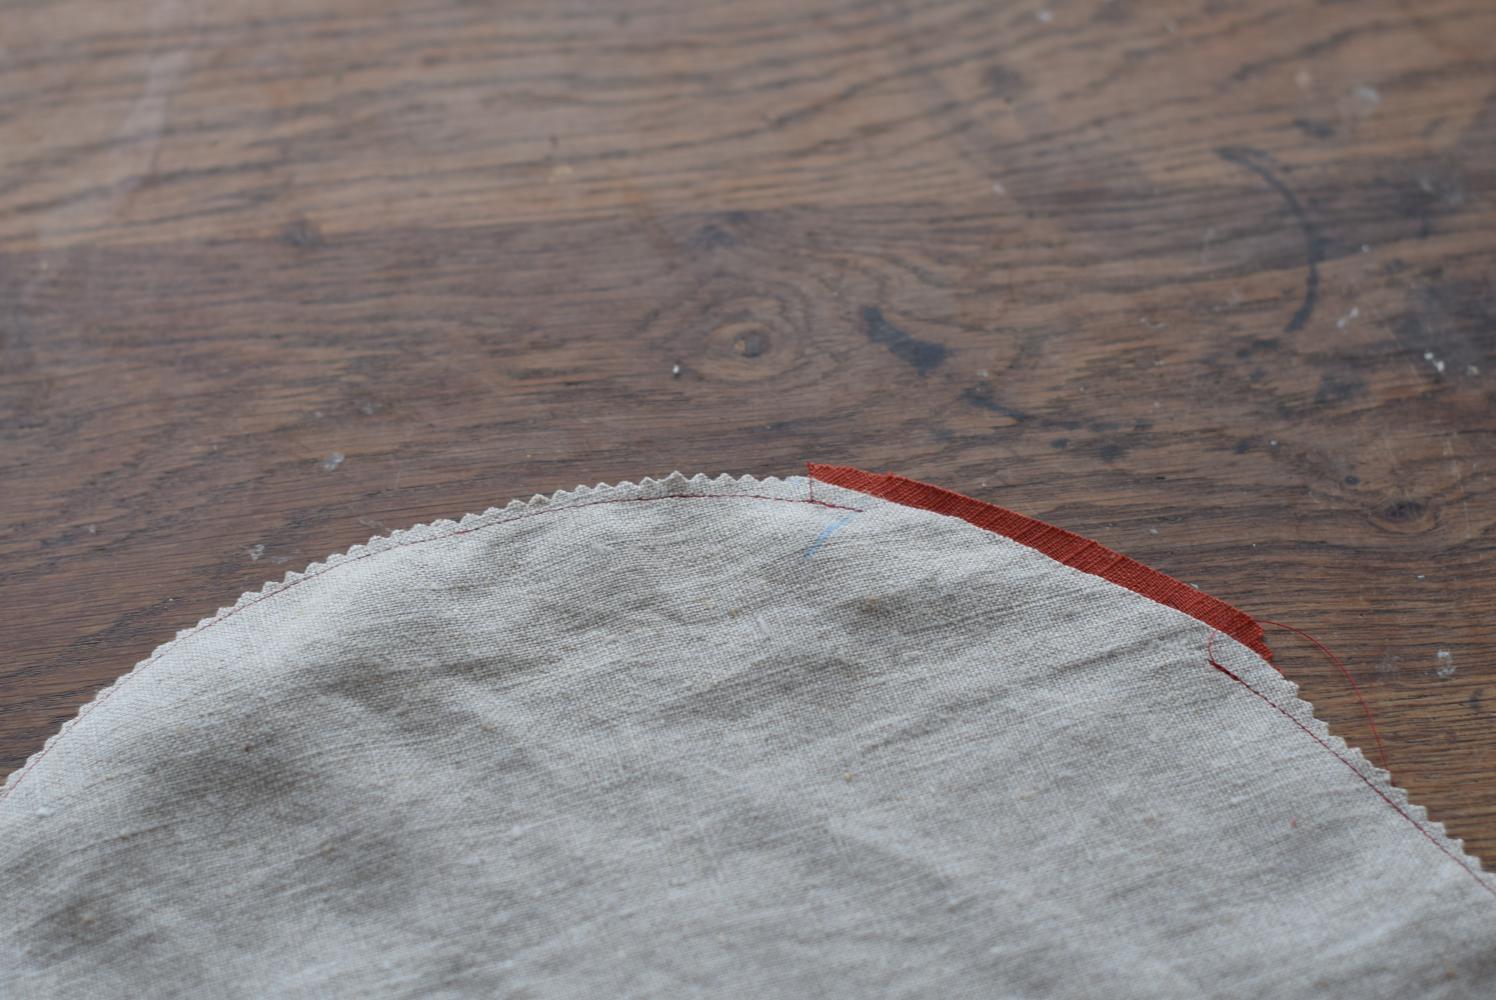
- Turn right sides out and press with a hot iron.

- Next, sew around the edge of the whole circle about 1/2 inch or 1,5 cm from the sides. Sew the (smallest!) circle closed.
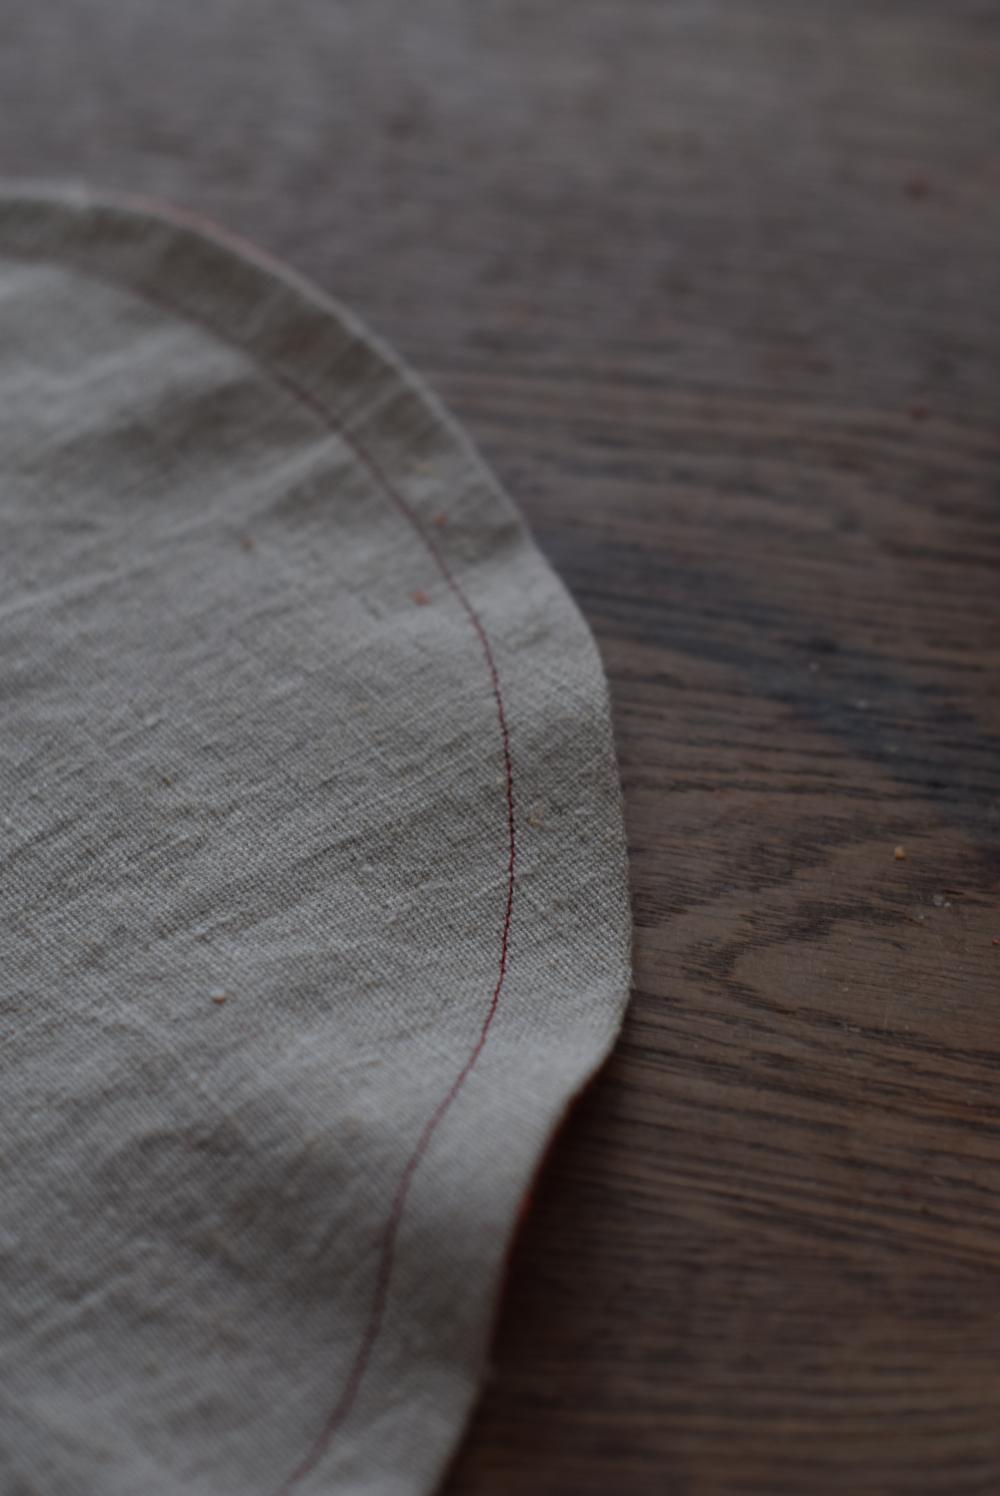
- Measure around the circle of the bowl to determine the length of the elastic.
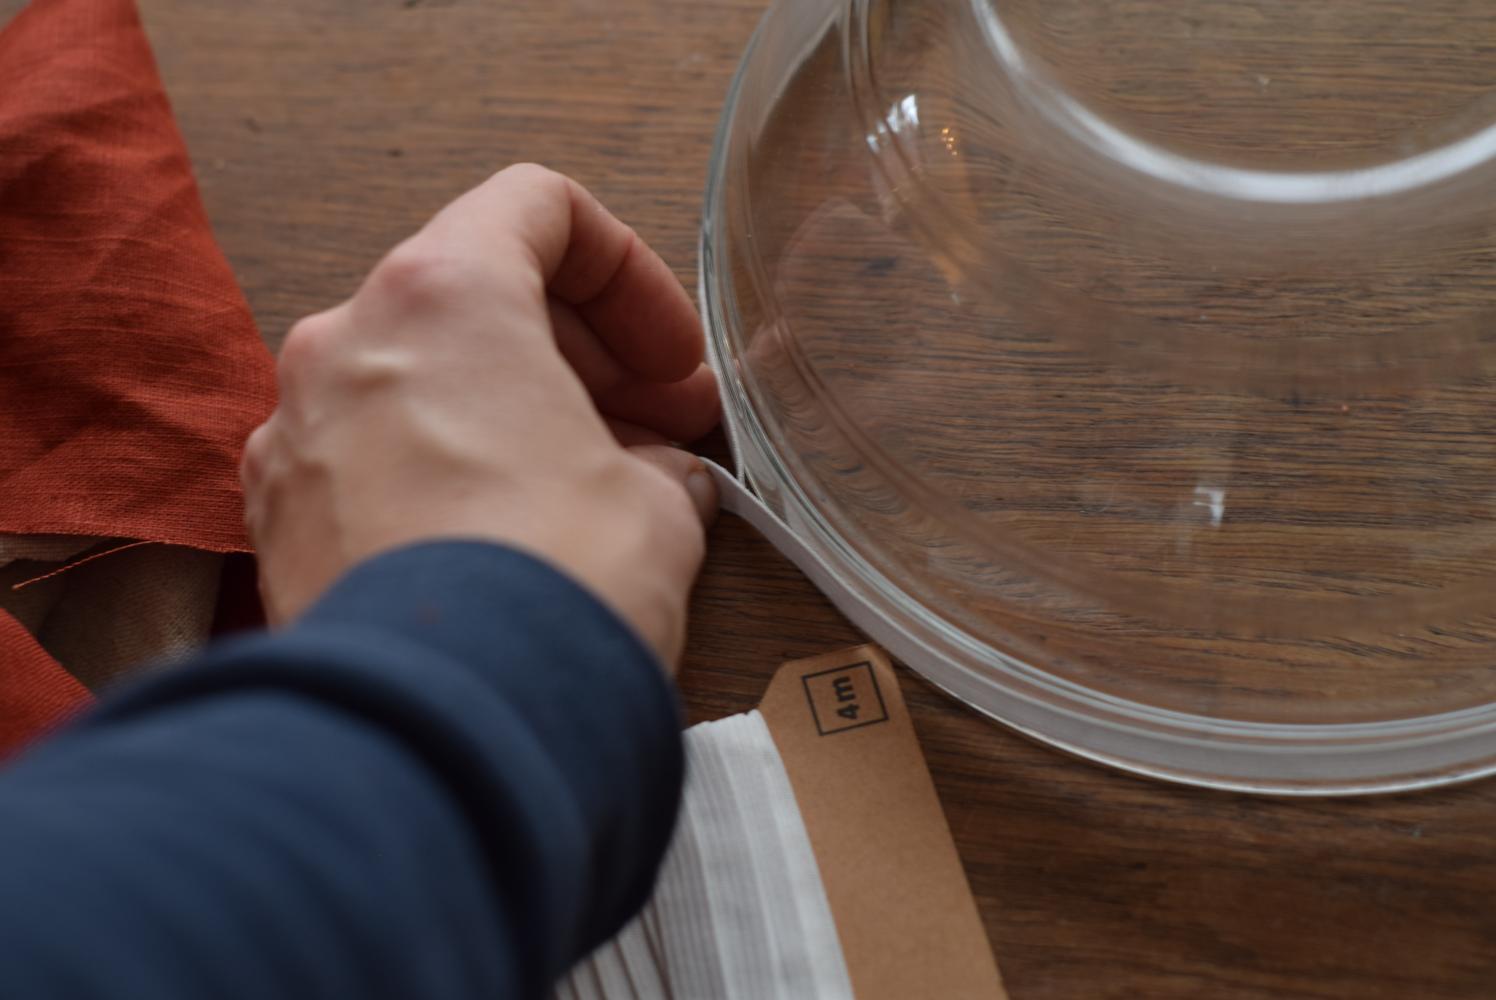
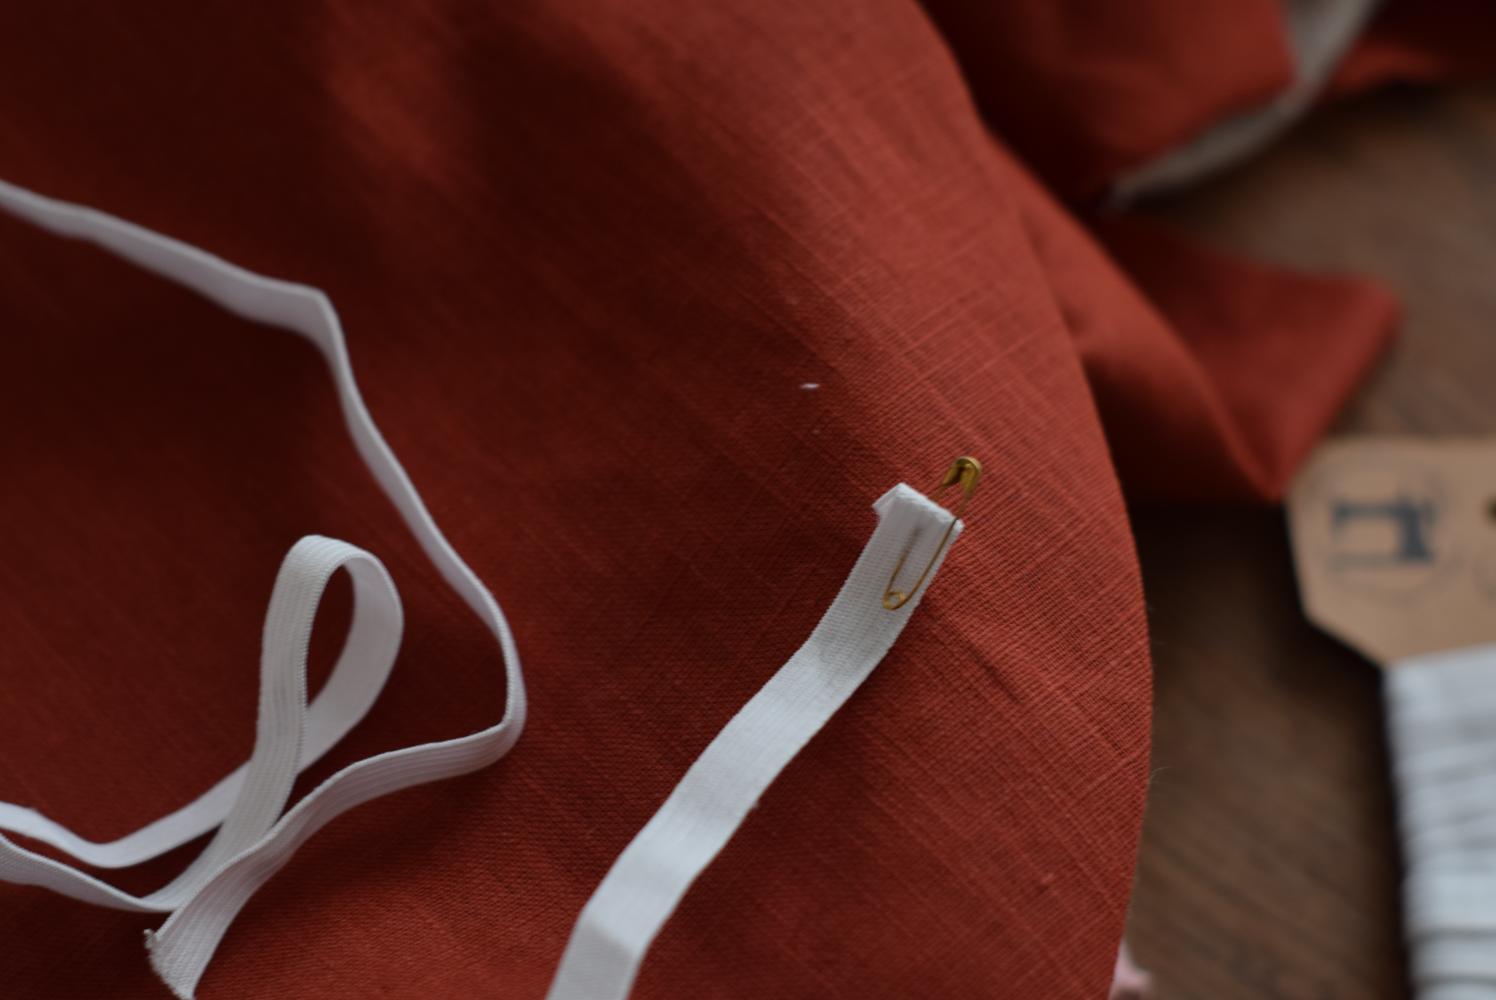
- Attach the safety pin to the elastic and pull the elastic through the tunnel you just created (the elastic should be the same length as the circumference of the bowl).
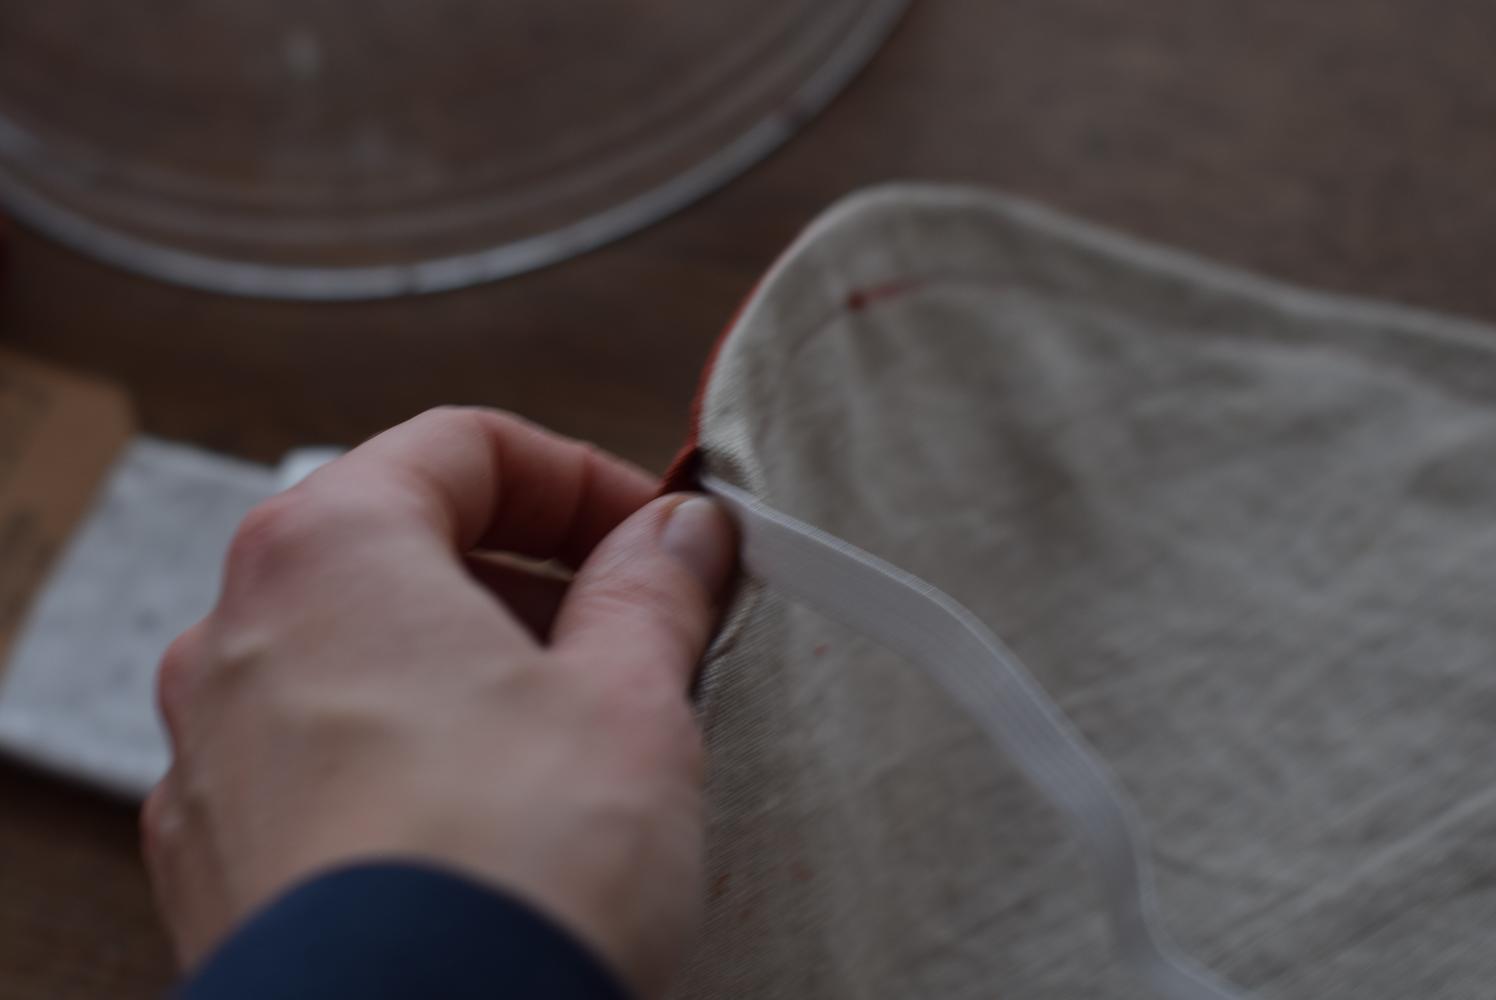
- Sew the gap closed. I like to hand-sew it closed with a slip stitch.
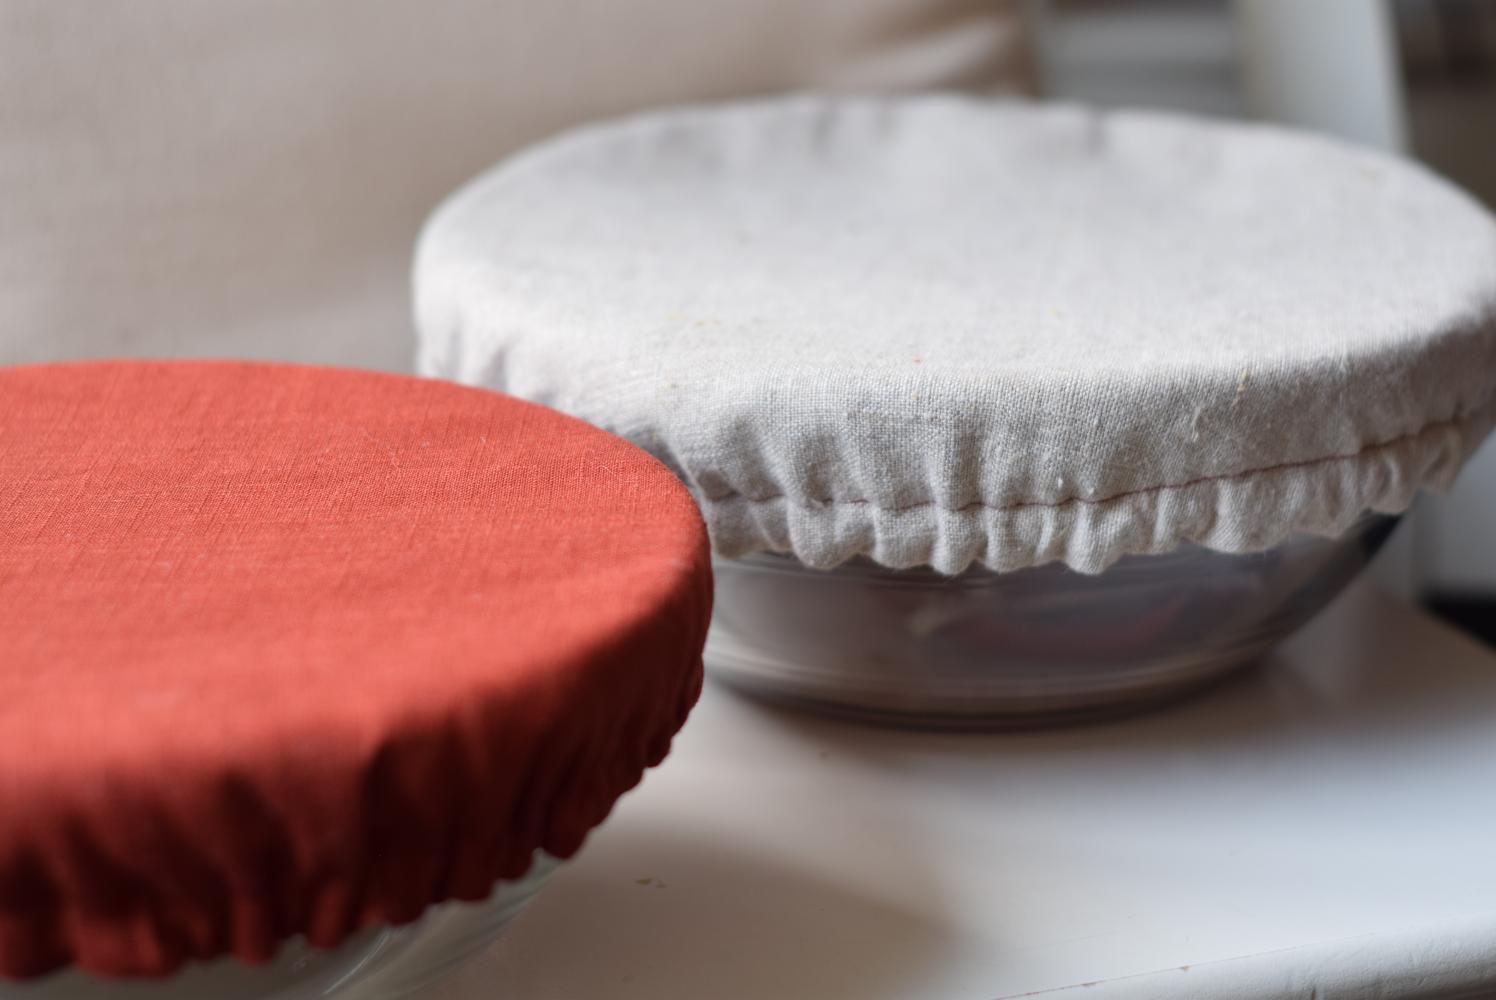
Alternatives and variations for a DIY fabric bowl cover
Reusable bowl covers are super easy to make and very versatile.
You can make these in different shapes for other bowls and baking trays, or to cover a casserole dish.
Beeswax wraps
Beeswax wraps are a great alternative for reusable fabric bowl covers. They will form around the face of the bowl through the warmth of your hands.
Use what you have first
But of course, use what you have. If you have plastic lids that cover your bowls perfectly, don’t toss them just to make reusable bowl covers, that would be wasteful.
Use up those plastic lids and then make yourself some pretty reusable fabric bowl covers. Or, if you can’t wait to get sewing, just gift a few to a dear friend or family member.
Washing fabric bowl covers
Taking care of your fabric bowl cover is a breeze. They are machine washable, so you can just toss them in the washing machine or spot clean with some warm water.
Different fabrics require different settings on the washing machine. Reusable linen bowl covers are best washed on a gentle cycle and air-dried.
Also, when you use beeswax to cover your fabric bowl covers don’t toss them in the washing machine, just spot clean or use some lukewarm water to clean. Dry thoroughly.
Remember, small changes in our daily routines can make a big difference for your home.
Feel free to share your fabric bowl cover creations on social media and tag me—I’d love to see your projects! If you have any questions or need further clarification, don’t hesitate to leave a comment below. Happy sewing!

