As a home gardener, saving your seeds is the process of selecting and storing seeds from the best fruits and vegetables you grow in your garden. It is a critical skill for any gardener interested in maintaining a sustainable garden.
Open-pollinated seeds are the best choice for saving seeds, as they are the most likely to produce good seeds that will be true to type. Good seeds are those that are harvested from healthy, vigorous plants that are free from disease and pests. There are many different varieties of vegetables to choose from when saving seeds, and it is essential to know which ones will grow well in your region.
By saving seeds, you can ensure that you have a steady supply of fresh produce throughout the year and the next! This post, will explore the benefits of saving your seeds, provide tips for how to do it successfully, and explain why it is important to know about the different types of seeds.
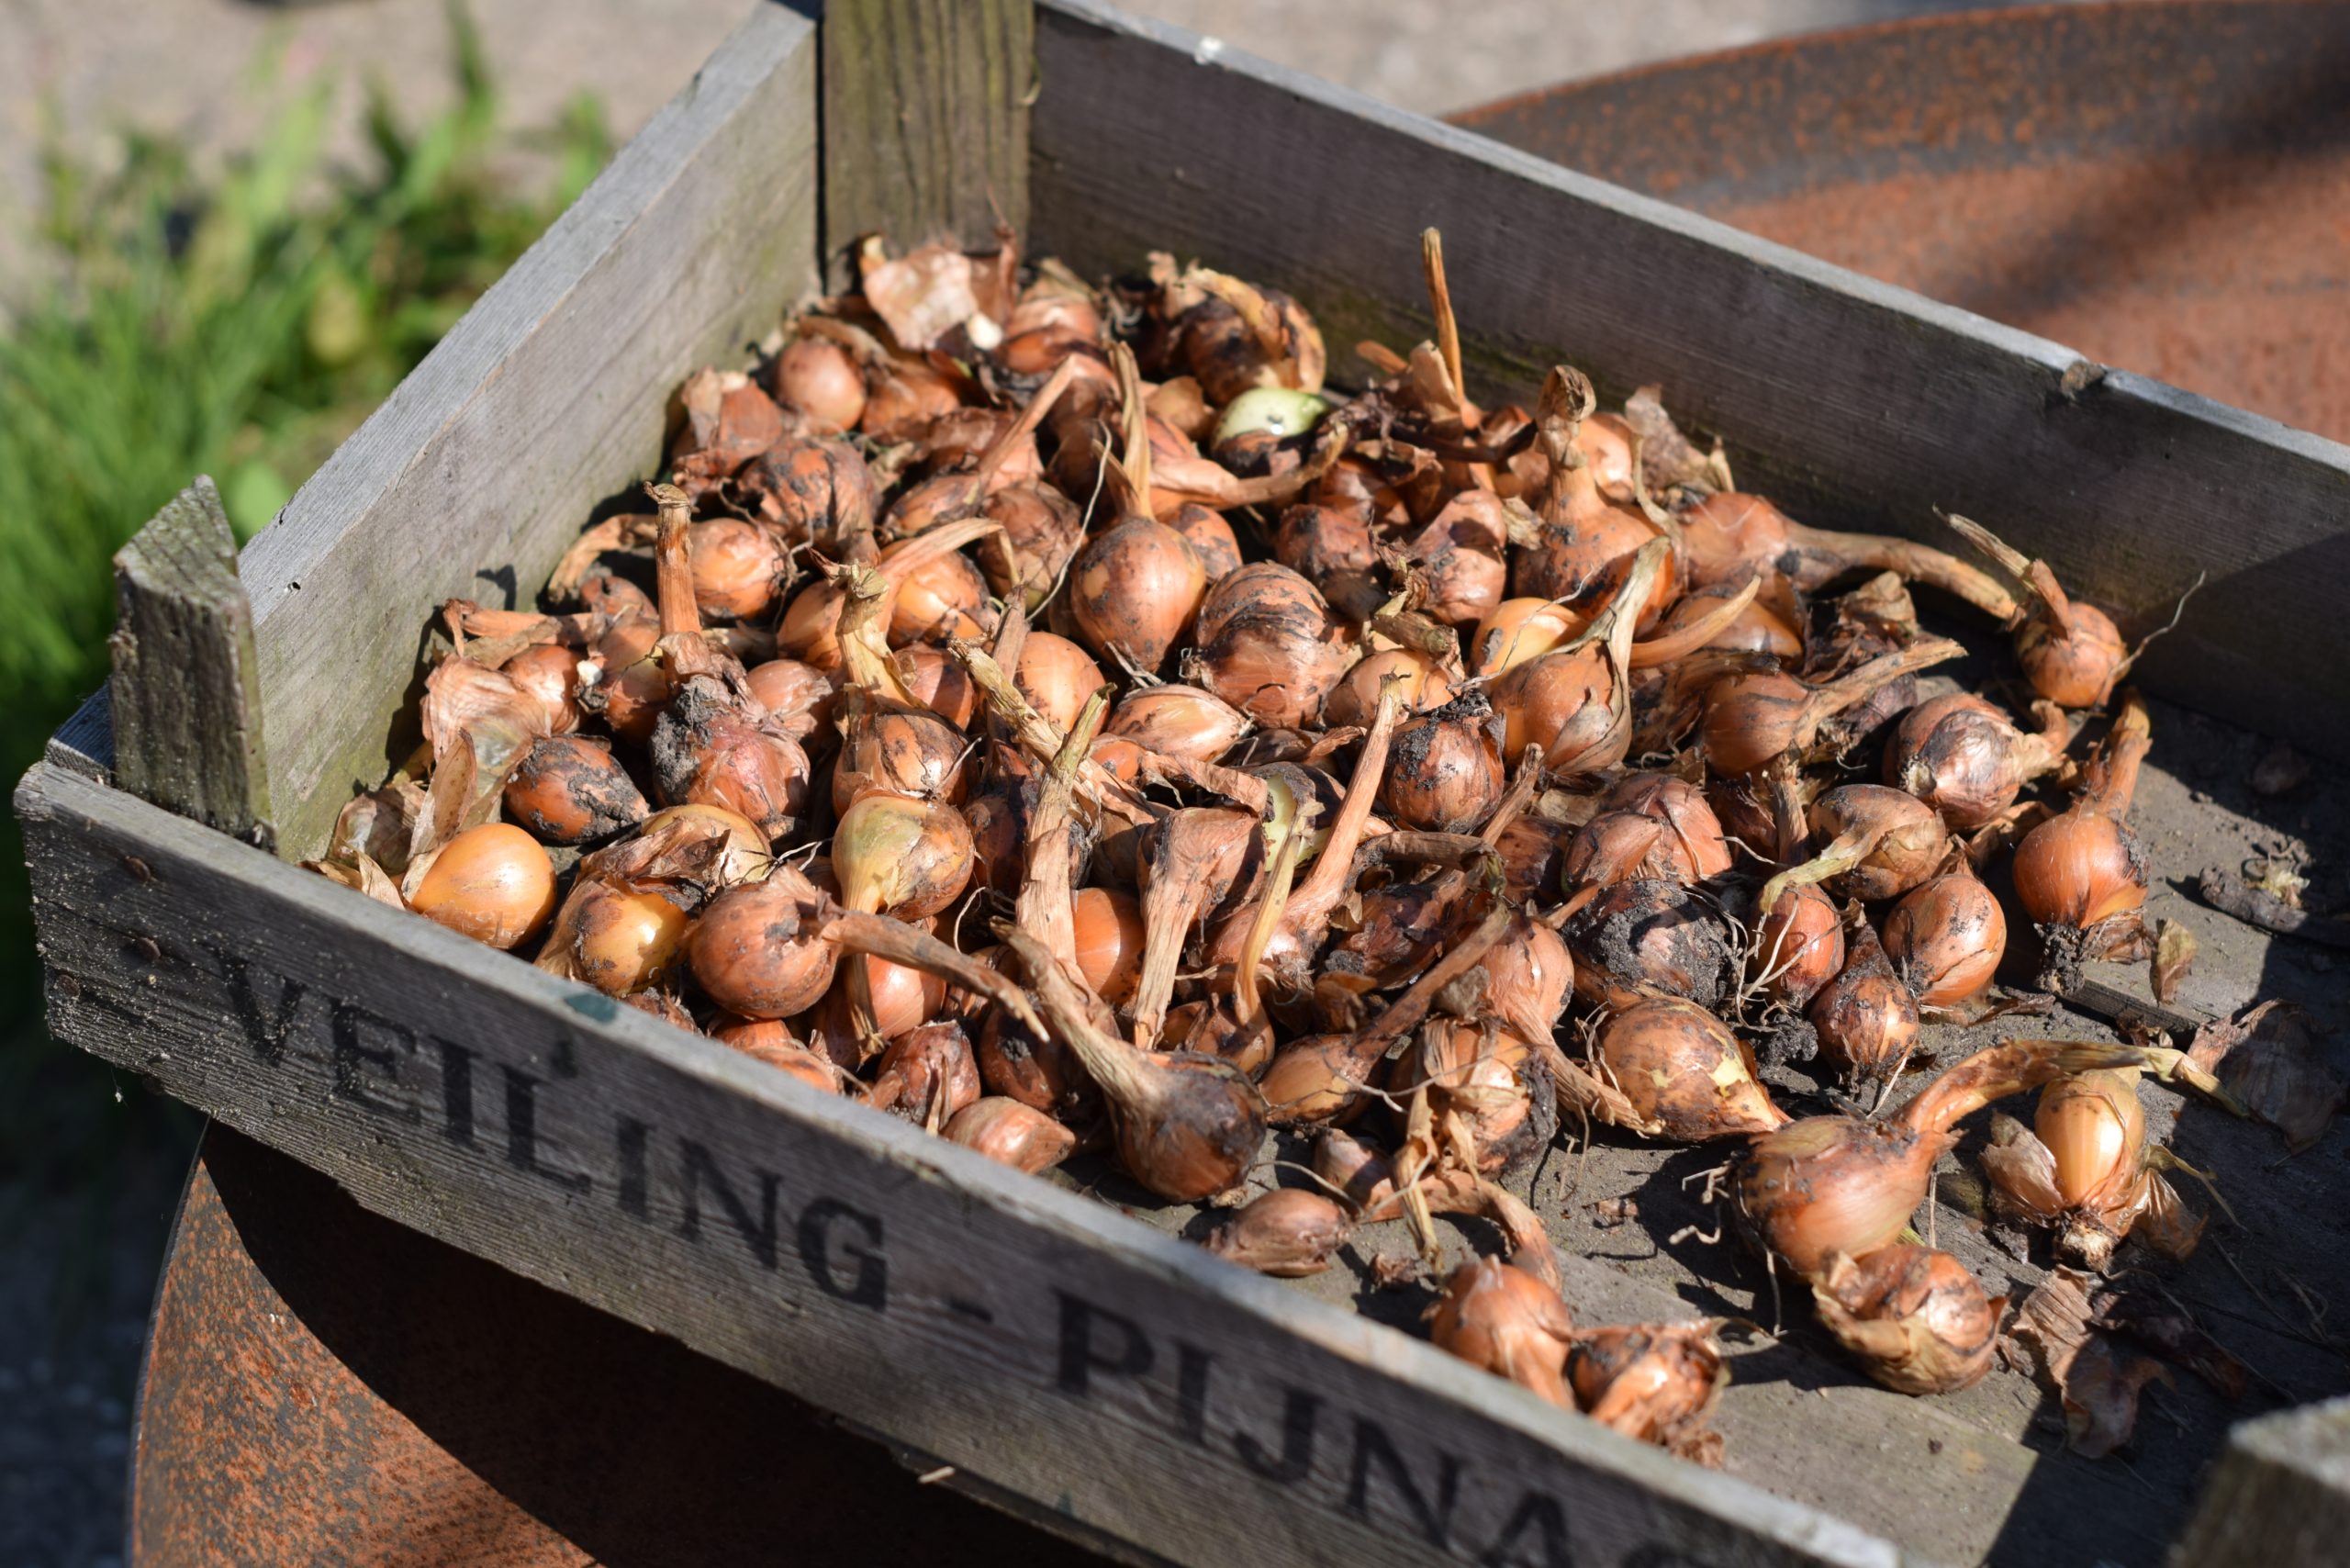
Why save your own seeds?
Saving your own seeds is a cost-effective and sustainable way to grow your vegetable garden. By saving seeds, you can ensure that you have a continuous supply of high-quality, organic seeds that are adapted to your local climate and soil conditions. Also, open-pollinated seeds are more genetically diverse, which means they can better adapt to environmental changes, resist pests and diseases, and produce a wider range of flavors and textures. Interested to know more about open-pollinated seeds? Check out my blog post on why you should choose open-pollinated seeds.
Furthermore, by saving seeds from the healthiest and most productive plants, you can ensure that the next generation of plants will have the same desirable traits and produce a bountiful harvest. Also, saving your own seeds can help preserve heirloom varieties that may not be readily available in seed catalogs or garden centers.
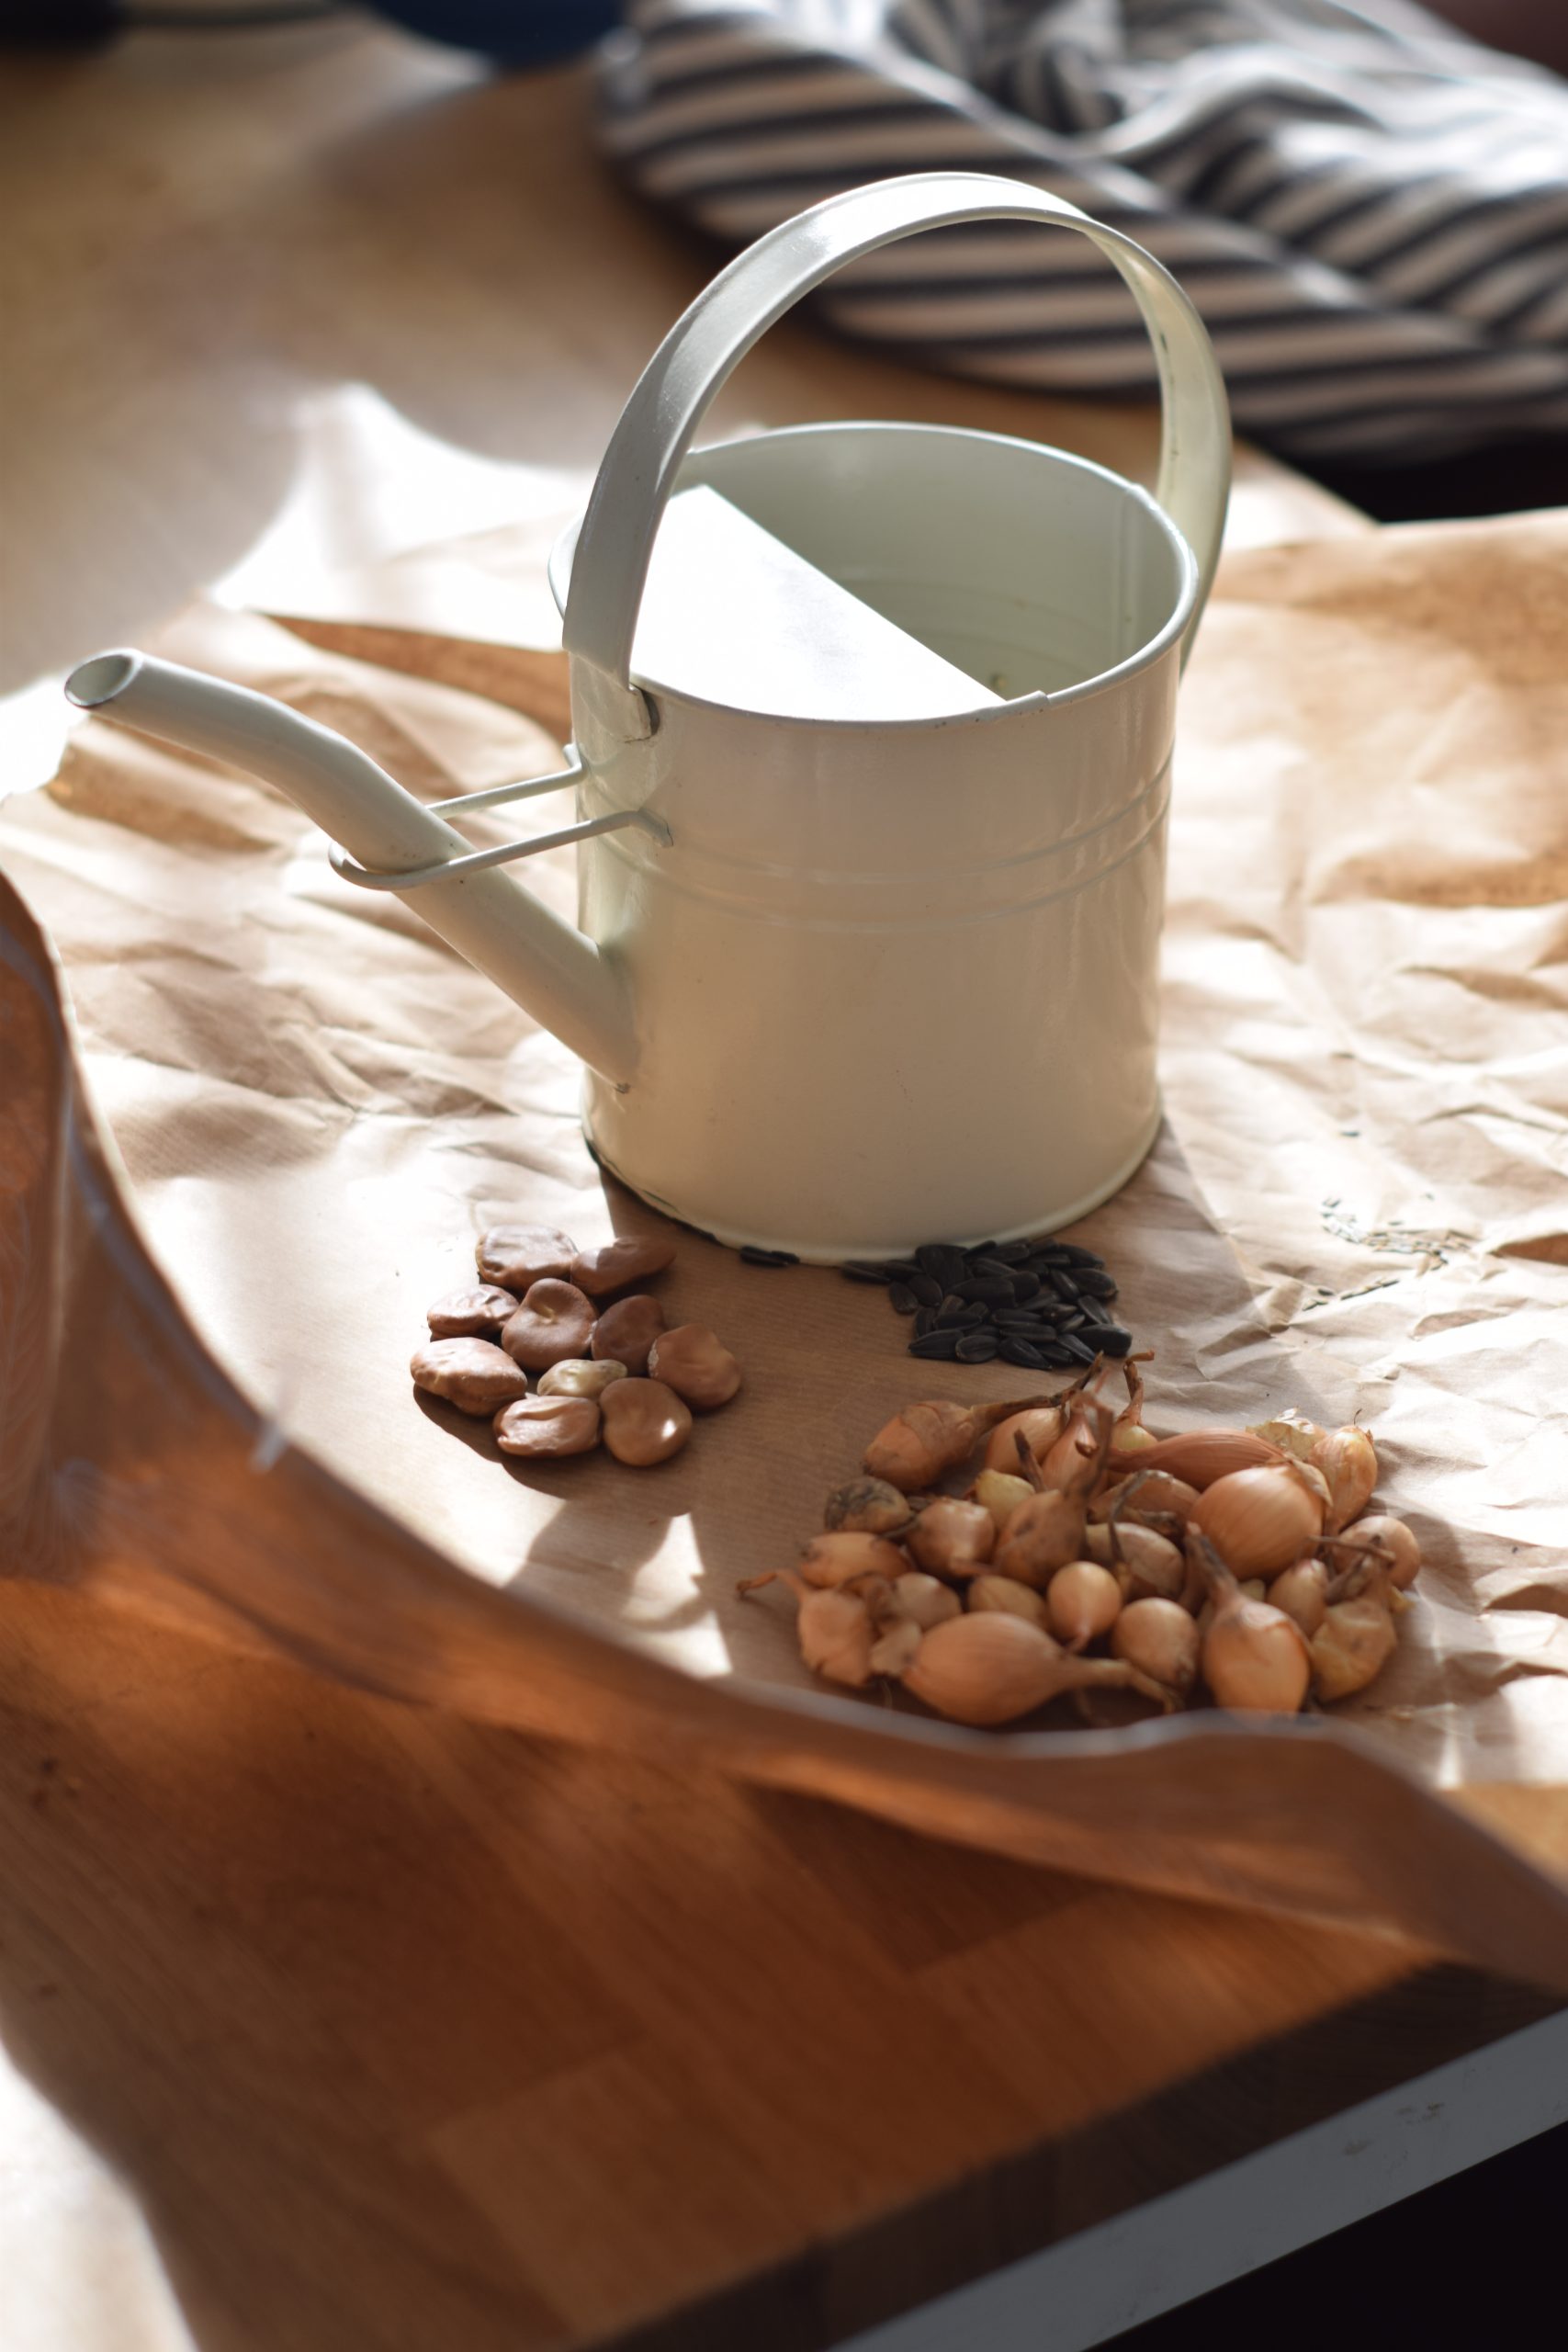
When saving your own open-pollinated seeds, it is important to know which plants to select and how to properly harvest, dry, and store the seeds. By following some simple tips and techniques, such as choosing only the best plants, allowing the seeds to fully mature on the plant, and storing the seeds in a cool, dry place, you can ensure that your seeds will remain viable and produce healthy plants for years to come.
In summary, saving your own open-pollinated seeds is an important and rewarding part of organic vegetable gardening. By learning how to save seeds, you can extend the life of your garden, preserve heirloom varieties, and produce a bountiful harvest of healthy, organic vegetables, with the desired properties, year after year.
Harvesting seeds
Harvesting seeds from your vegetable garden is an important task that can help you save money and ensure that you have a reliable source of organic seeds for the next growing season. Here is a how-to guide on saving seeds from your vegetable garden:
- Choose the best fruits/vegetables/ flowers: The first thing to know is that not all plants produce seeds that are worth saving. Some plants are hybrids and their seeds won’t grow true to type. Choose open-pollinated or heirloom varieties of vegetables, which are more likely to produce seeds that will grow into the same type of plant the following year.
- Let the plant mature: To save seeds, you need to let the vegetables fully mature on the plant. For example, if you are saving tomato seeds, wait until the tomato is fully ripe and starting to rot before harvesting the seeds. Let the pods dry out on the plant if you are saving seeds from beans. If flowers look dry and you can identify the seeds, you can usually just shake them out.
- Collect the seeds: Once the vegetables are fully mature, collect the seeds. This can be done by cutting the vegetable open and removing the seeds, or by shaking the seeds out of the pods. Be sure to label the seeds with the name of the vegetable and the date they were harvested.
- Dry the seeds: It is important to dry the seeds before storing them. Lay them out on a paper towel or a piece of newspaper and let them air dry for a few days. Be sure to stir them occasionally to prevent them from sticking together.
- Store the seeds: Once they are dry, I like to store them in a paper bag in a cool, dry place.

Here are some additional tips to keep in mind:
It’s important to know that some vegetable plants can cross-pollinate, which means that the seeds may not grow true to type if you save them. If you want to prevent cross-pollination, you can isolate plants by distance or time.
Remember to check on your saved seeds from time to time to make sure they haven’t become moldy or spoiled. You can also test the germination rate by planting a few seeds from each batch and seeing how many sprout.
Saving seeds from your vegetable garden is a great way to ensure that you have a reliable source of organic seeds for the next growing season. With a little bit of knowledge and some basic equipment, you can save seeds from your favorite vegetables, fruits and flowers and keep your garden thriving year after year.
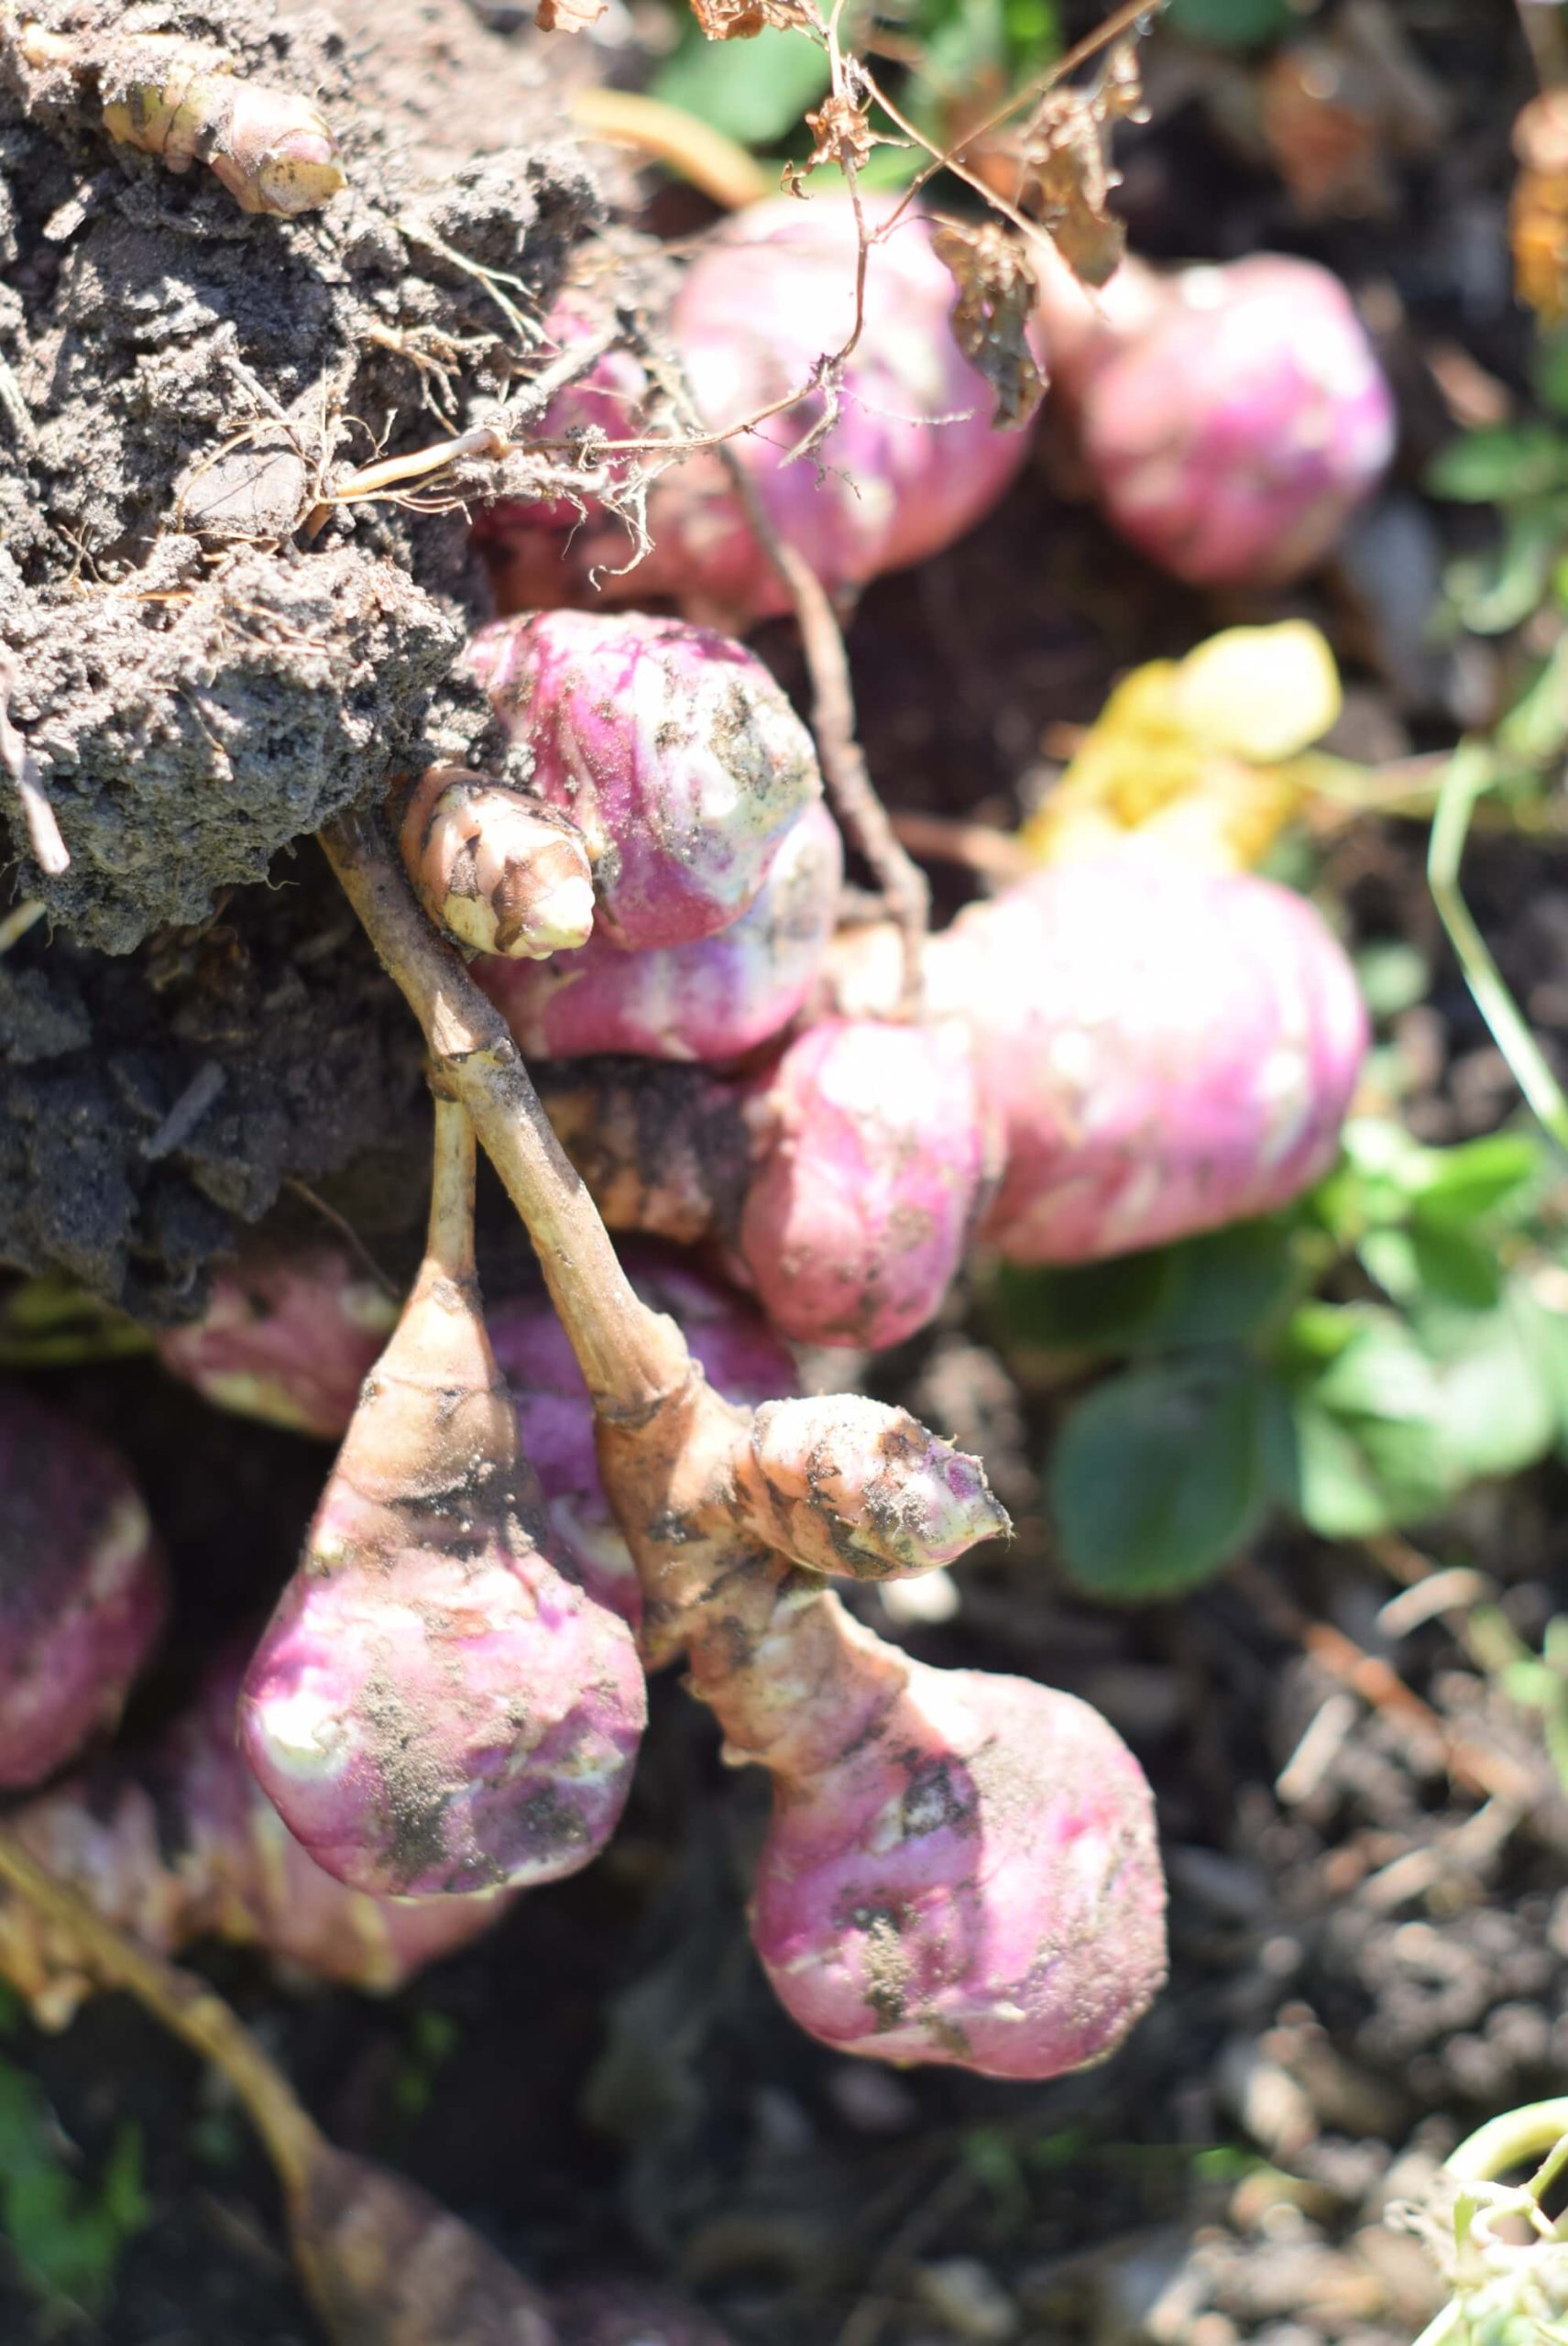
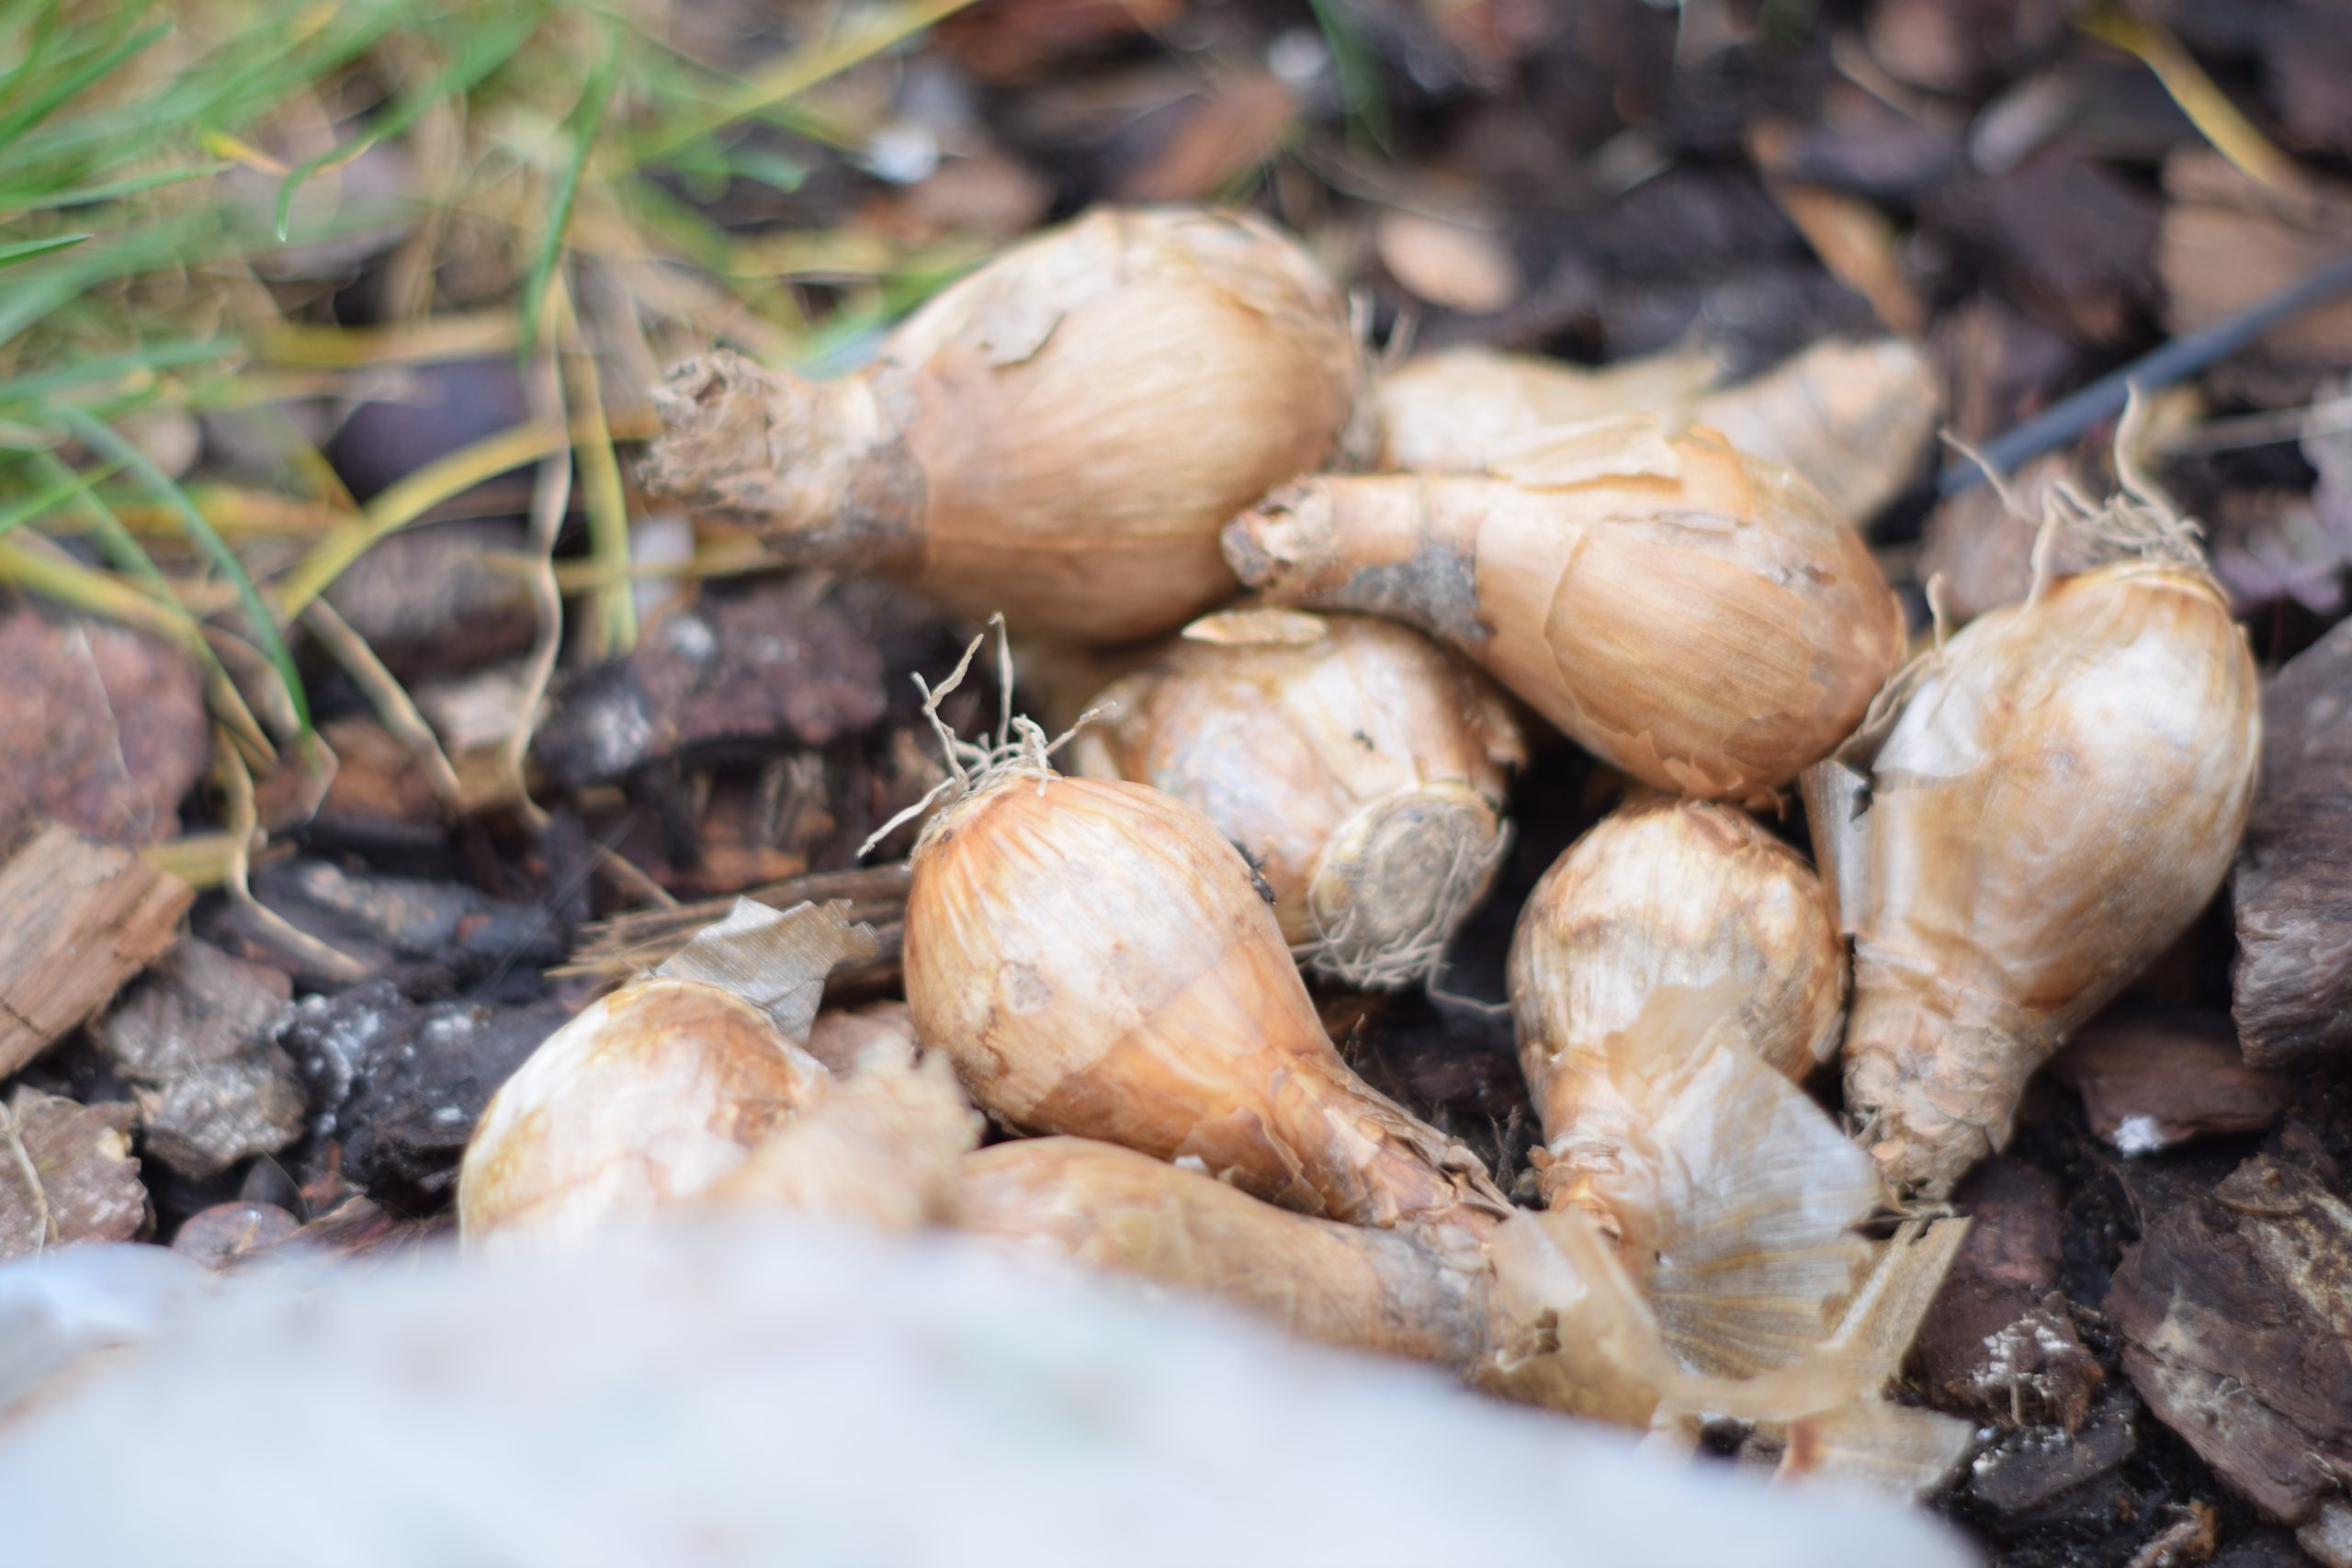
Picture below: I planted one Jerusalem artichoke and I ended up with so many! I could’ve eaten them or let them dry and store them in a cool, dry place and plant them again. Isn’t it amazing how the Jerusalem artichoke multiplies?!
Dry your own seeds
Saving seeds from your vegetable garden is a great way to ensure that you have a reliable source of (organic) seeds for the next growing season. However, once you’ve collected the seeds, it’s important to dry them properly to ensure they stay viable for the long term. We will discuss how to dry seeds from your vegetable garden.
The first step to drying seeds is to ensure that they are fully mature. As we discussed earlier, you should let the vegetables fully mature on the plant before harvesting the seeds. This ensures that the seeds are fully developed and will be viable for planting next year. At this stage, the seeds may already be dry. To ensure they will keep till next year you need to make sure they’re clean and fully dry.
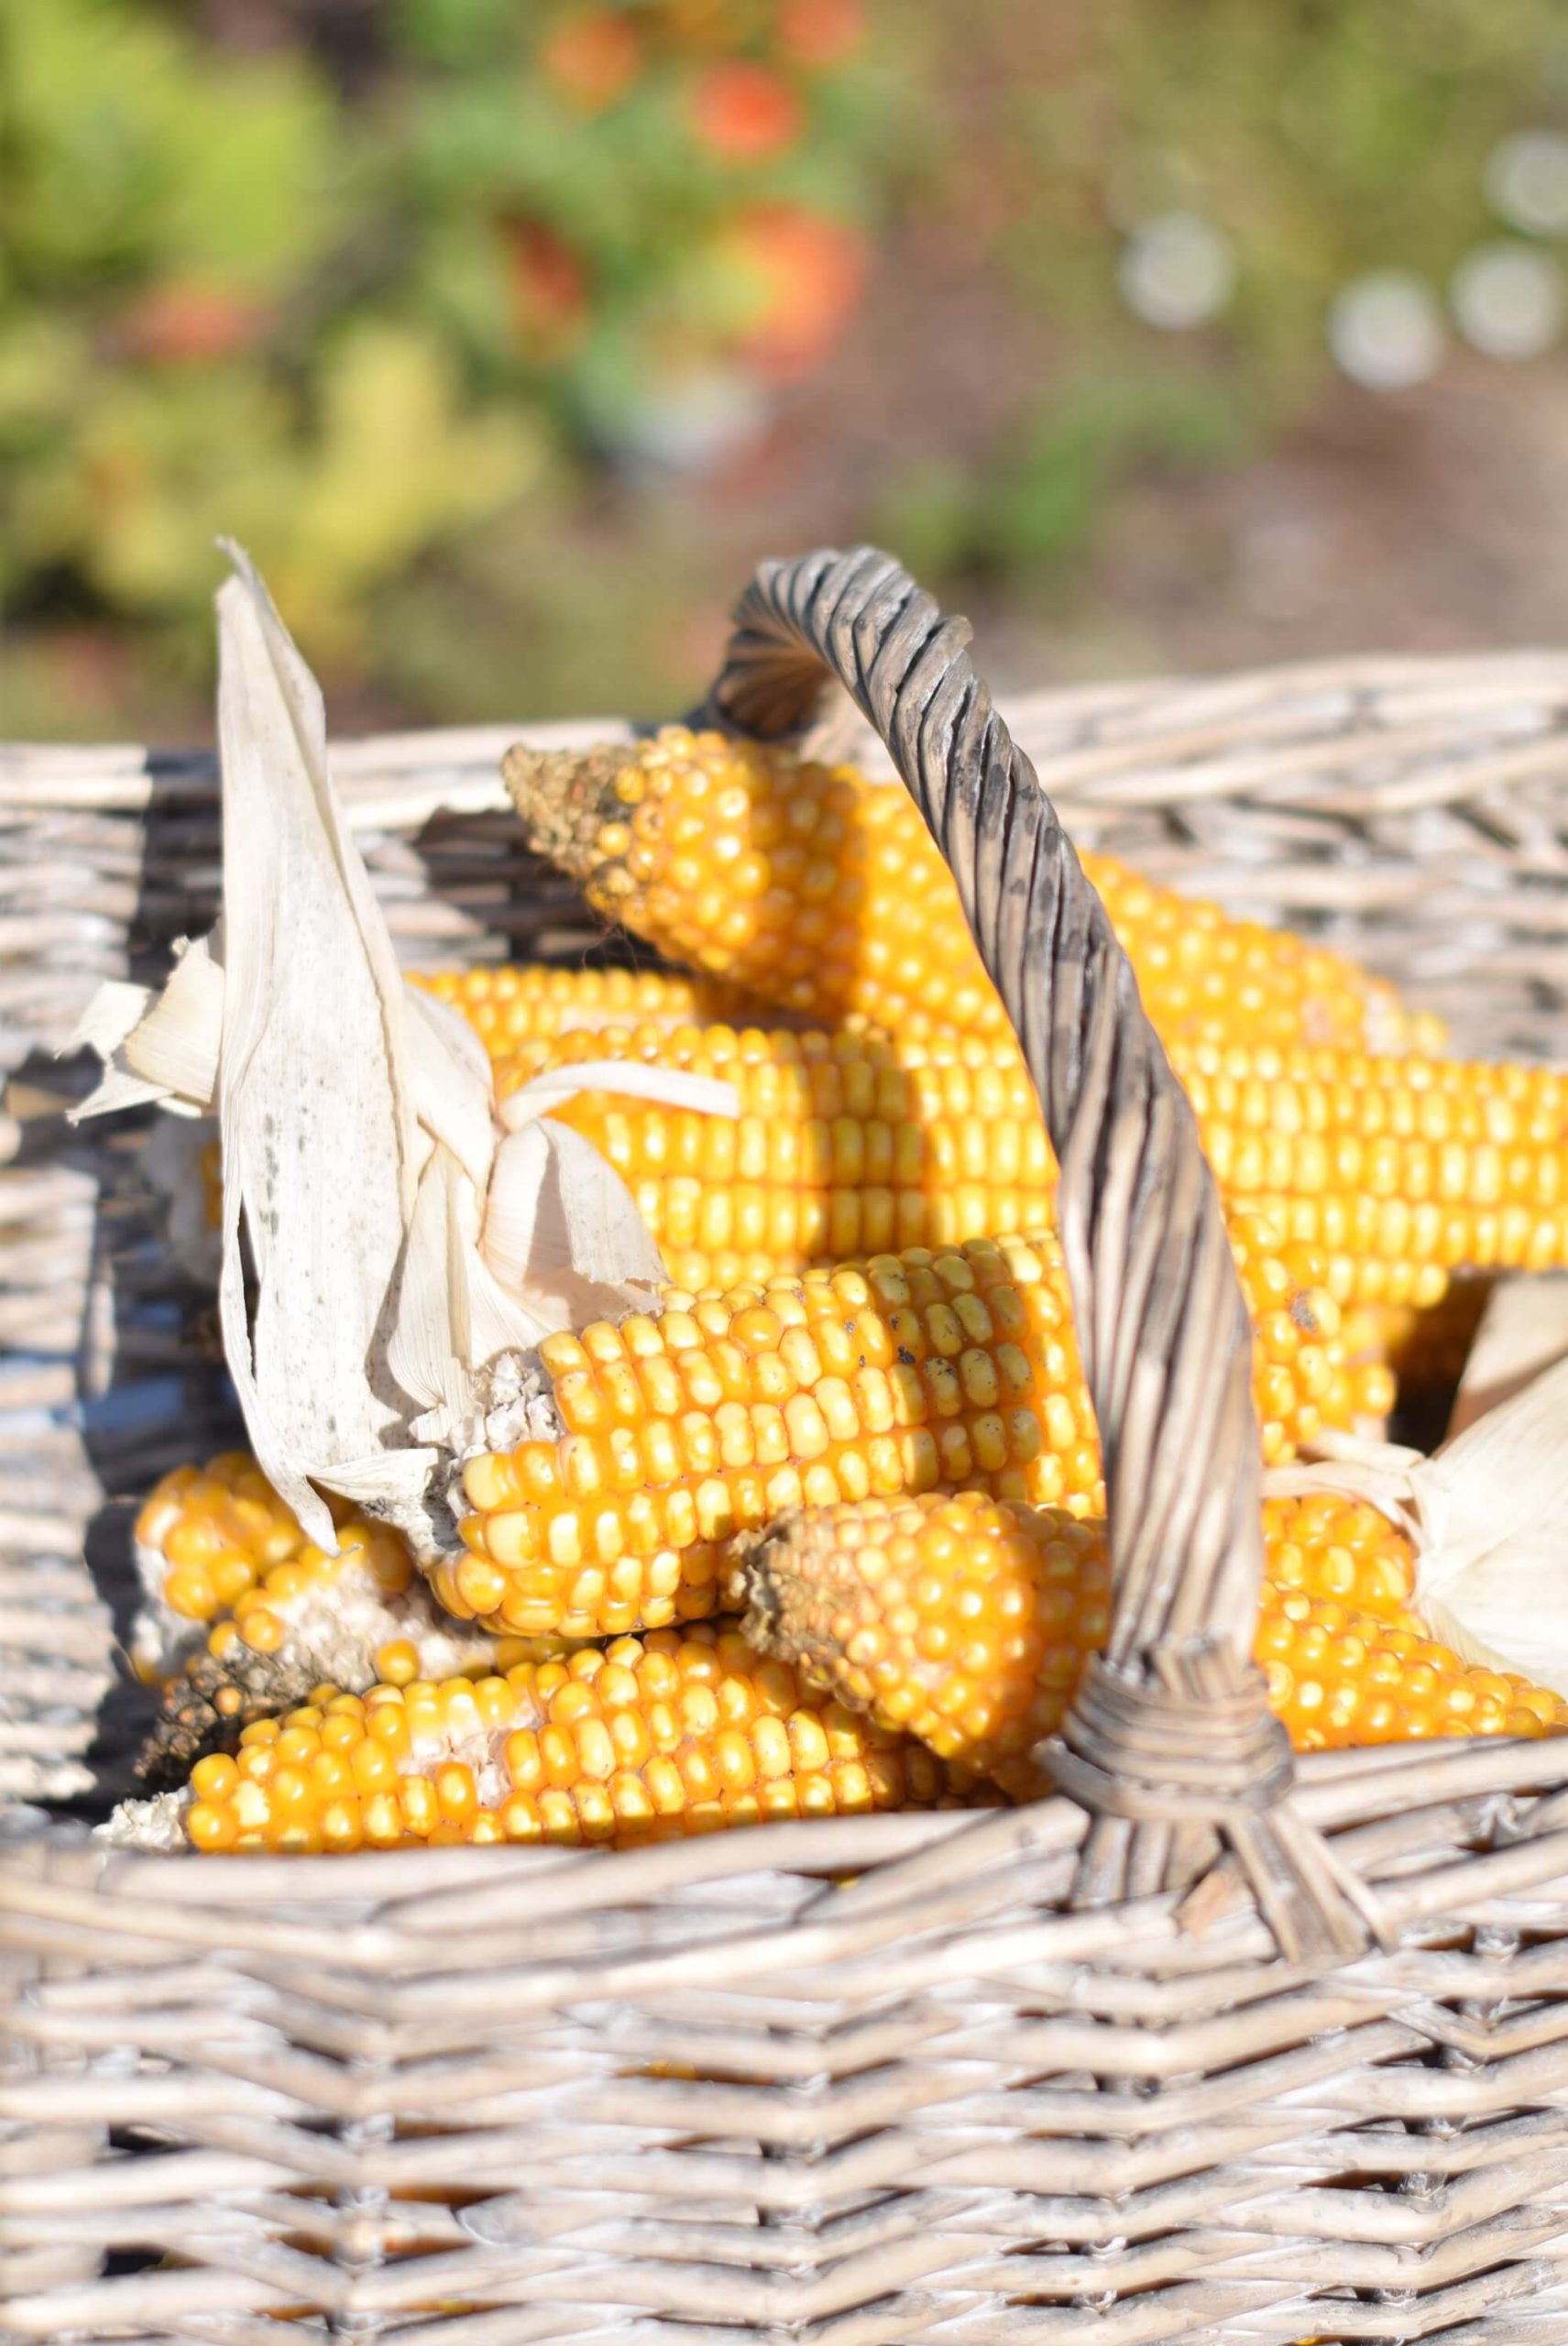
Once you’ve collected the seeds, you’ll need to remove any remaining plant material. You can do this by hand or by using a sieve to separate the seeds from the plant debris. It’s important to remove as much plant material as possible, as any leftover debris can cause the seeds to mold or rot.
Next, you’ll want to spread the seeds out in a single layer on a clean, dry surface. This can be a piece of paper or a clean tray. Be sure to separate the seeds so that they don’t clump together.
Now it’s time to let the seeds dry. You should place the seeds in a well-ventilated area away from direct sunlight. A warm, dry room is ideal. Be sure to stir the seeds occasionally to prevent them from sticking together.
It’s important to note that some seeds can take longer to dry than others. For example, large seeds such as beans or peas may take up to a week to dry, while smaller seeds like lettuce or radish may only take a few days. You could use a food dehydrator for this, but it should not be any warmer than 30 degrees Celsius which equals 86 degrees Fahrenheit, or you will cook your seeds and they will no longer germinate.
Once the seeds are fully dry, they should be hard and difficult to dent with your fingernail. At this point, you can transfer the seeds to a paper bag. Be sure to label the paper bags with the seed type and the collection date.
Storing the seeds in a cool, dry place is important to ensure their viability. Make sure the seeds are protected from direct sunlight and the room they’re stored in won’t become too warm/ cold or humid.
In conclusion, properly drying seeds from your vegetable garden is an important step in the seed-saving process. By following these tips, you can ensure that your seeds are properly dried and stored for the next growing season. Remember to fully mature your vegetables before collecting the seeds, remove any plant debris, spread the seeds out in a single layer, and let them dry in a well-ventilated area. Once the seeds are fully dry, transfer them to airtight containers and store them in a cool, dry place. With these simple steps, you select the best plants, fruits, vegetables, and flowers from your own garden and grow the same results year after year.
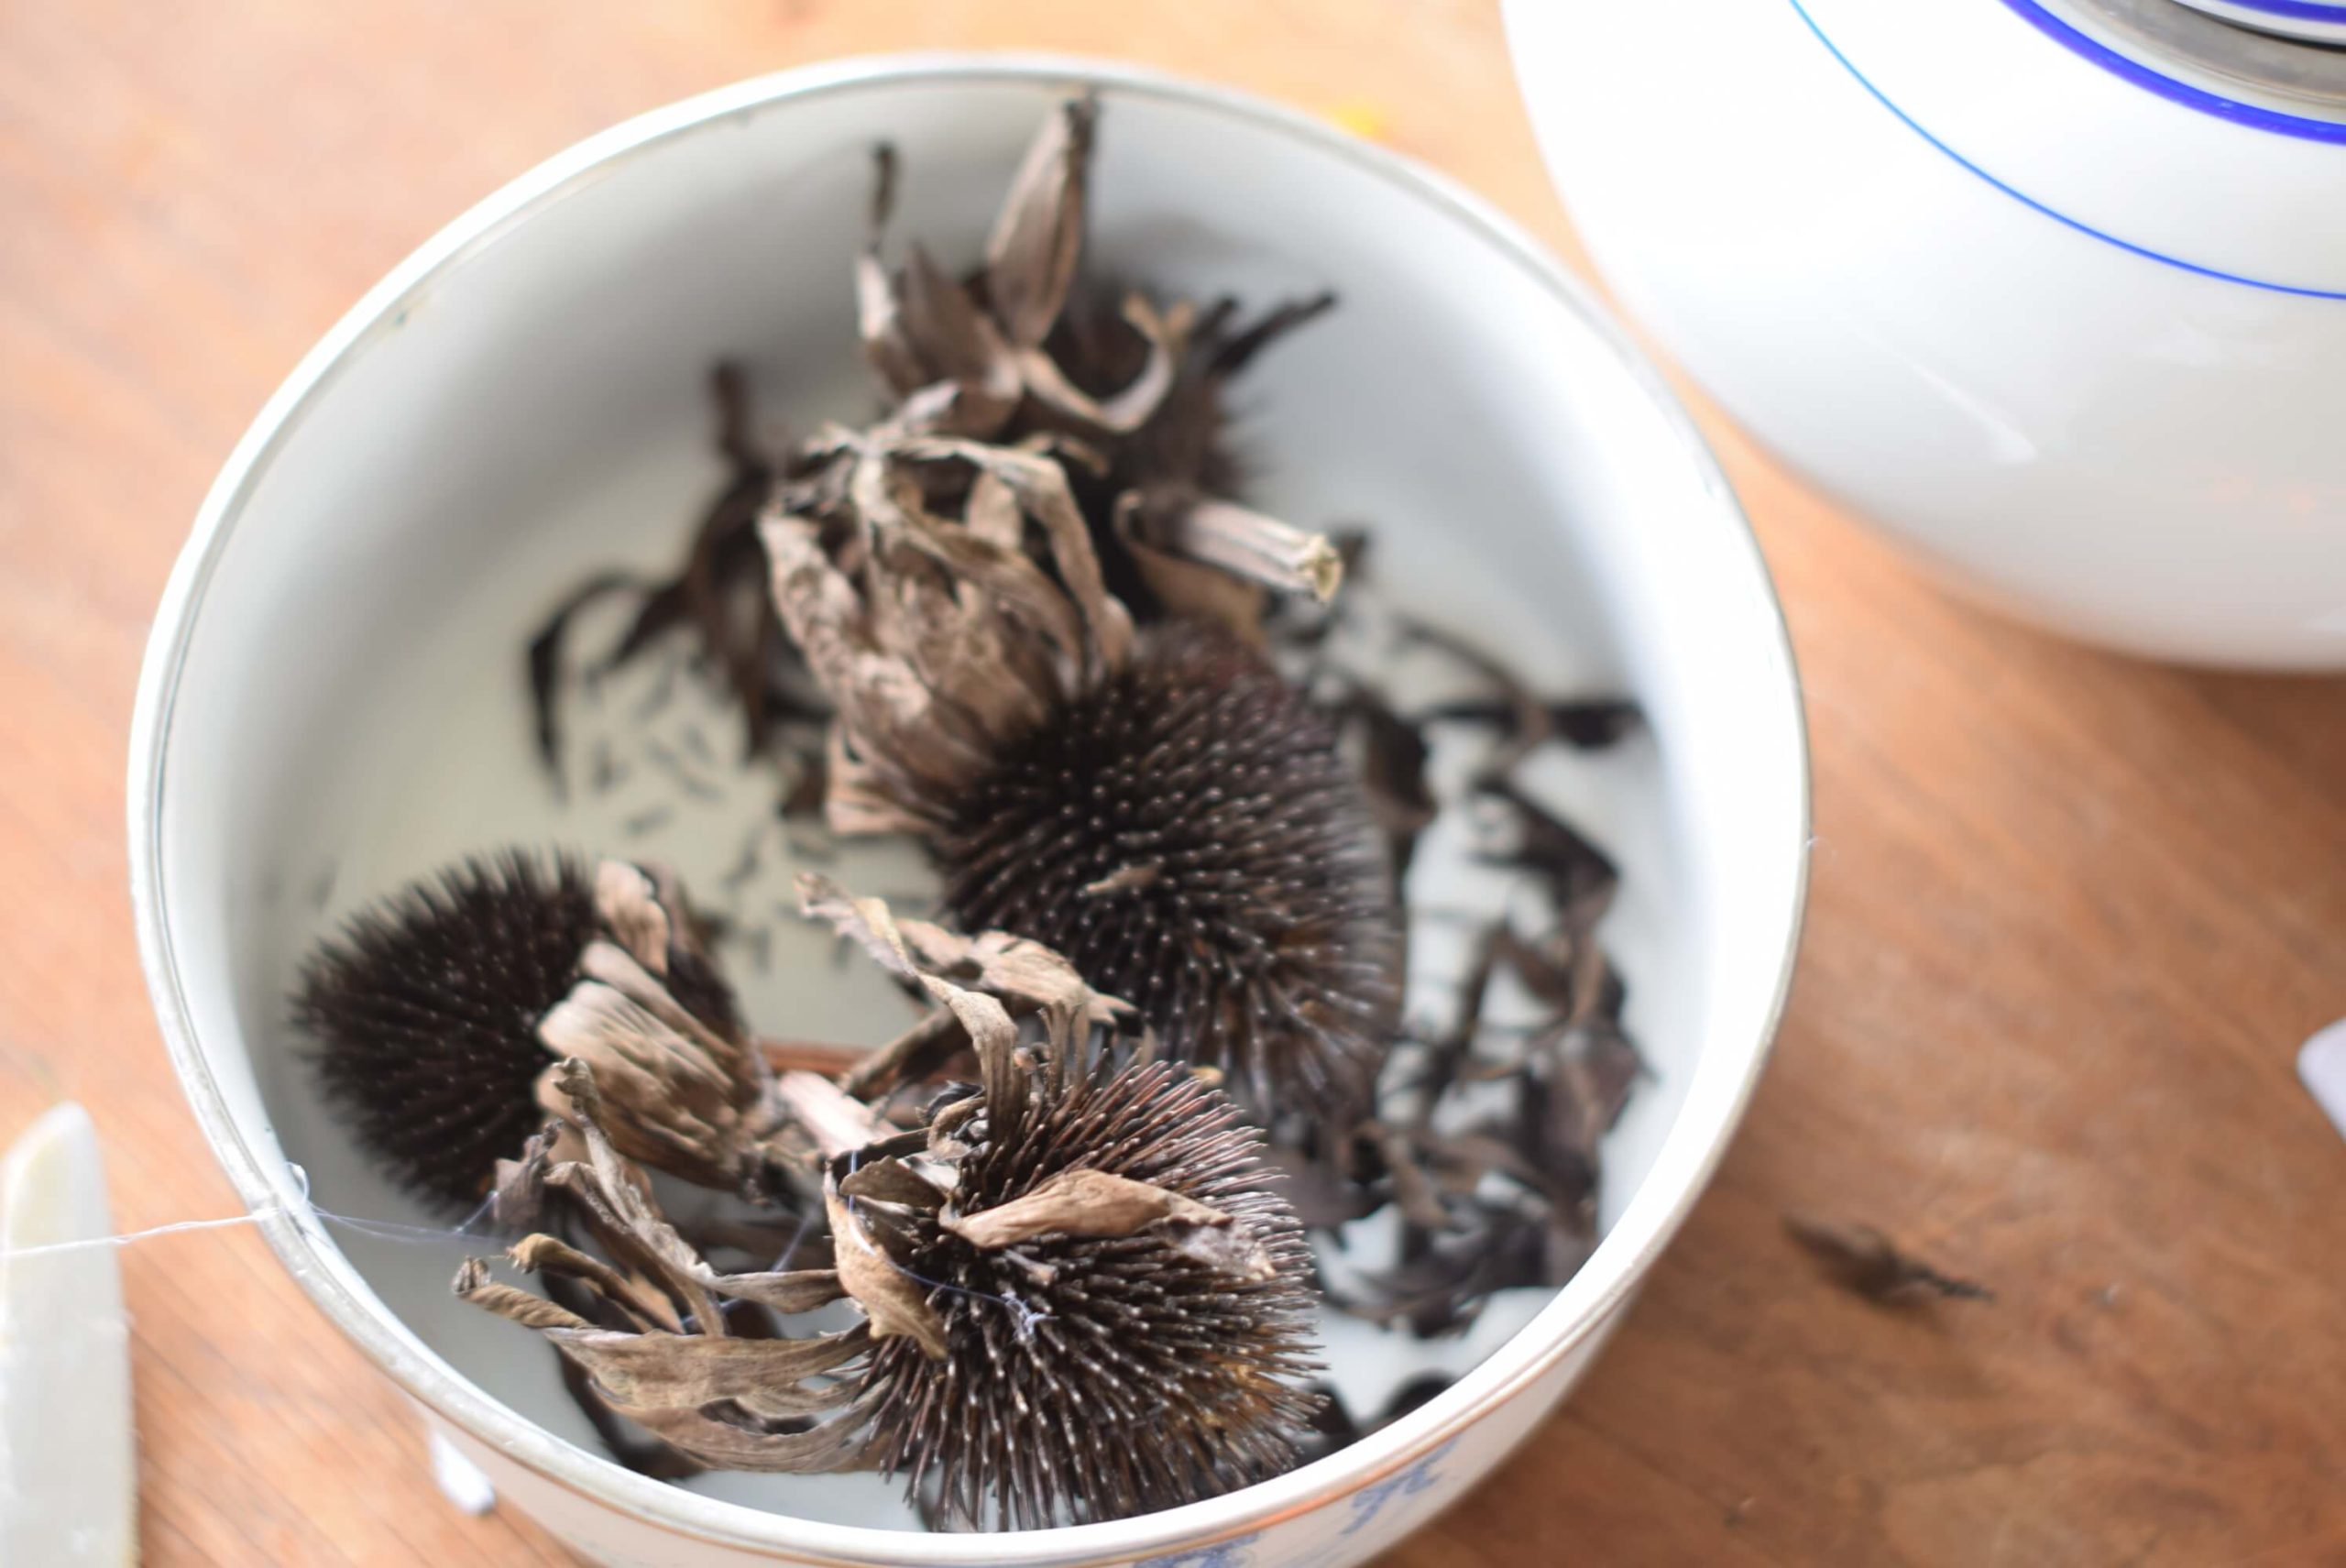
How to store seeds
Storing open-pollinated seeds properly is important to ensure their viability and to maximize their chance to germinate next season. Here are some tips for storing open-pollinated seeds:
- Keep the seeds dry: Moisture can lead to mold, which can damage or destroy seeds. Store your seeds in a dry location, and consider using a desiccant such as silica gel or dry rice to absorb any excess moisture.
- Keep the seeds cool: Heat can also damage seeds, so store them in a cool location, such as a refrigerator or a cool basement. Ideally, the temperature should be between 32 and 41 degrees Fahrenheit (0 to 5 degrees Celsius).
- Keep the seeds in airtight containers: Seeds can absorb moisture from the air, so store them in airtight containers to prevent this from happening. Mason jars, plastic containers with tight-fitting lids, and vacuum-sealed bags are all good options.
- Label your seeds: Be sure to label your seed containers with the name of the plant, the date you harvested the seeds, and any other relevant information, such as the seed’s origin or the plant’s growing conditions.
- Store the seeds in a dark location: Light can also damage seeds, so store them in a dark location, such as a pantry or closet.
- Check the seeds periodically: Even if you store your seeds properly, they will eventually lose viability over time. Check your seeds periodically to make sure they are still viable, and consider replacing old seeds with fresh ones every few years.
By following these tips, you can ensure that your open-pollinated seeds remain viable and ready to plant for next year.
What seeds to save for next year?
As I mentioned before, saving seeds is a great way to extend your garden and save money by using the seeds from your own plants from the previous year. It’s important to know how to save seeds, as some are easier to save than others.
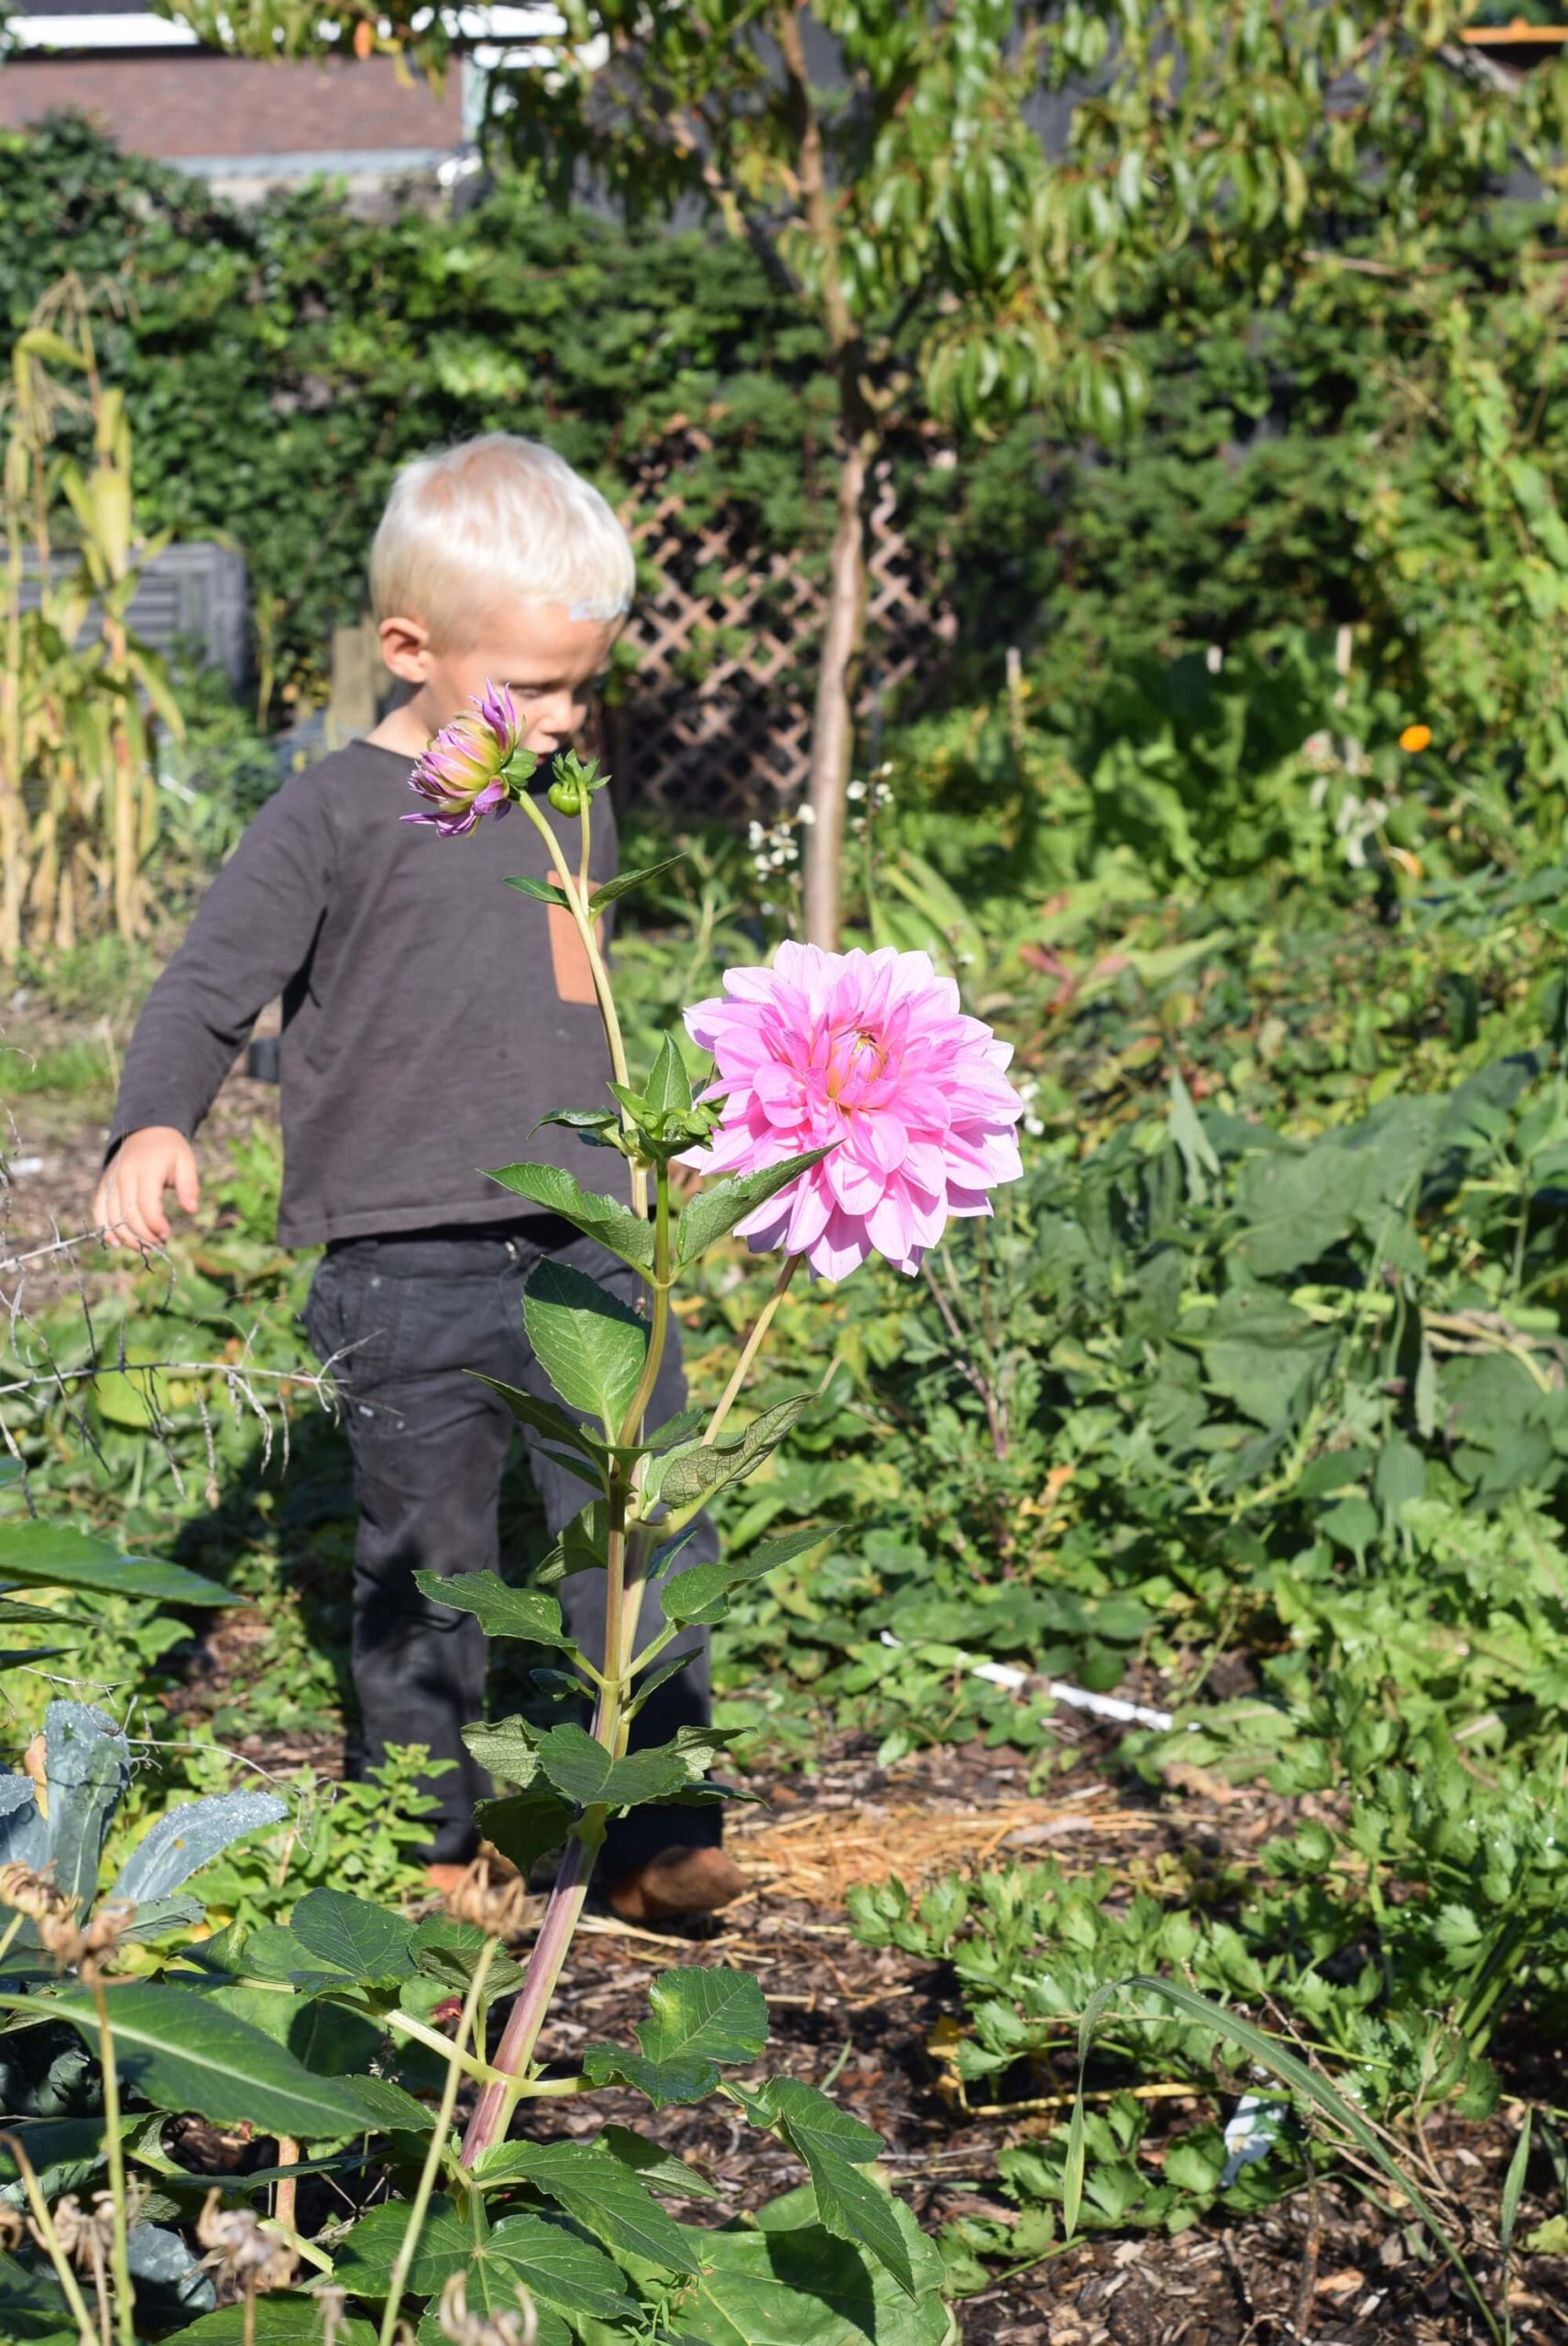
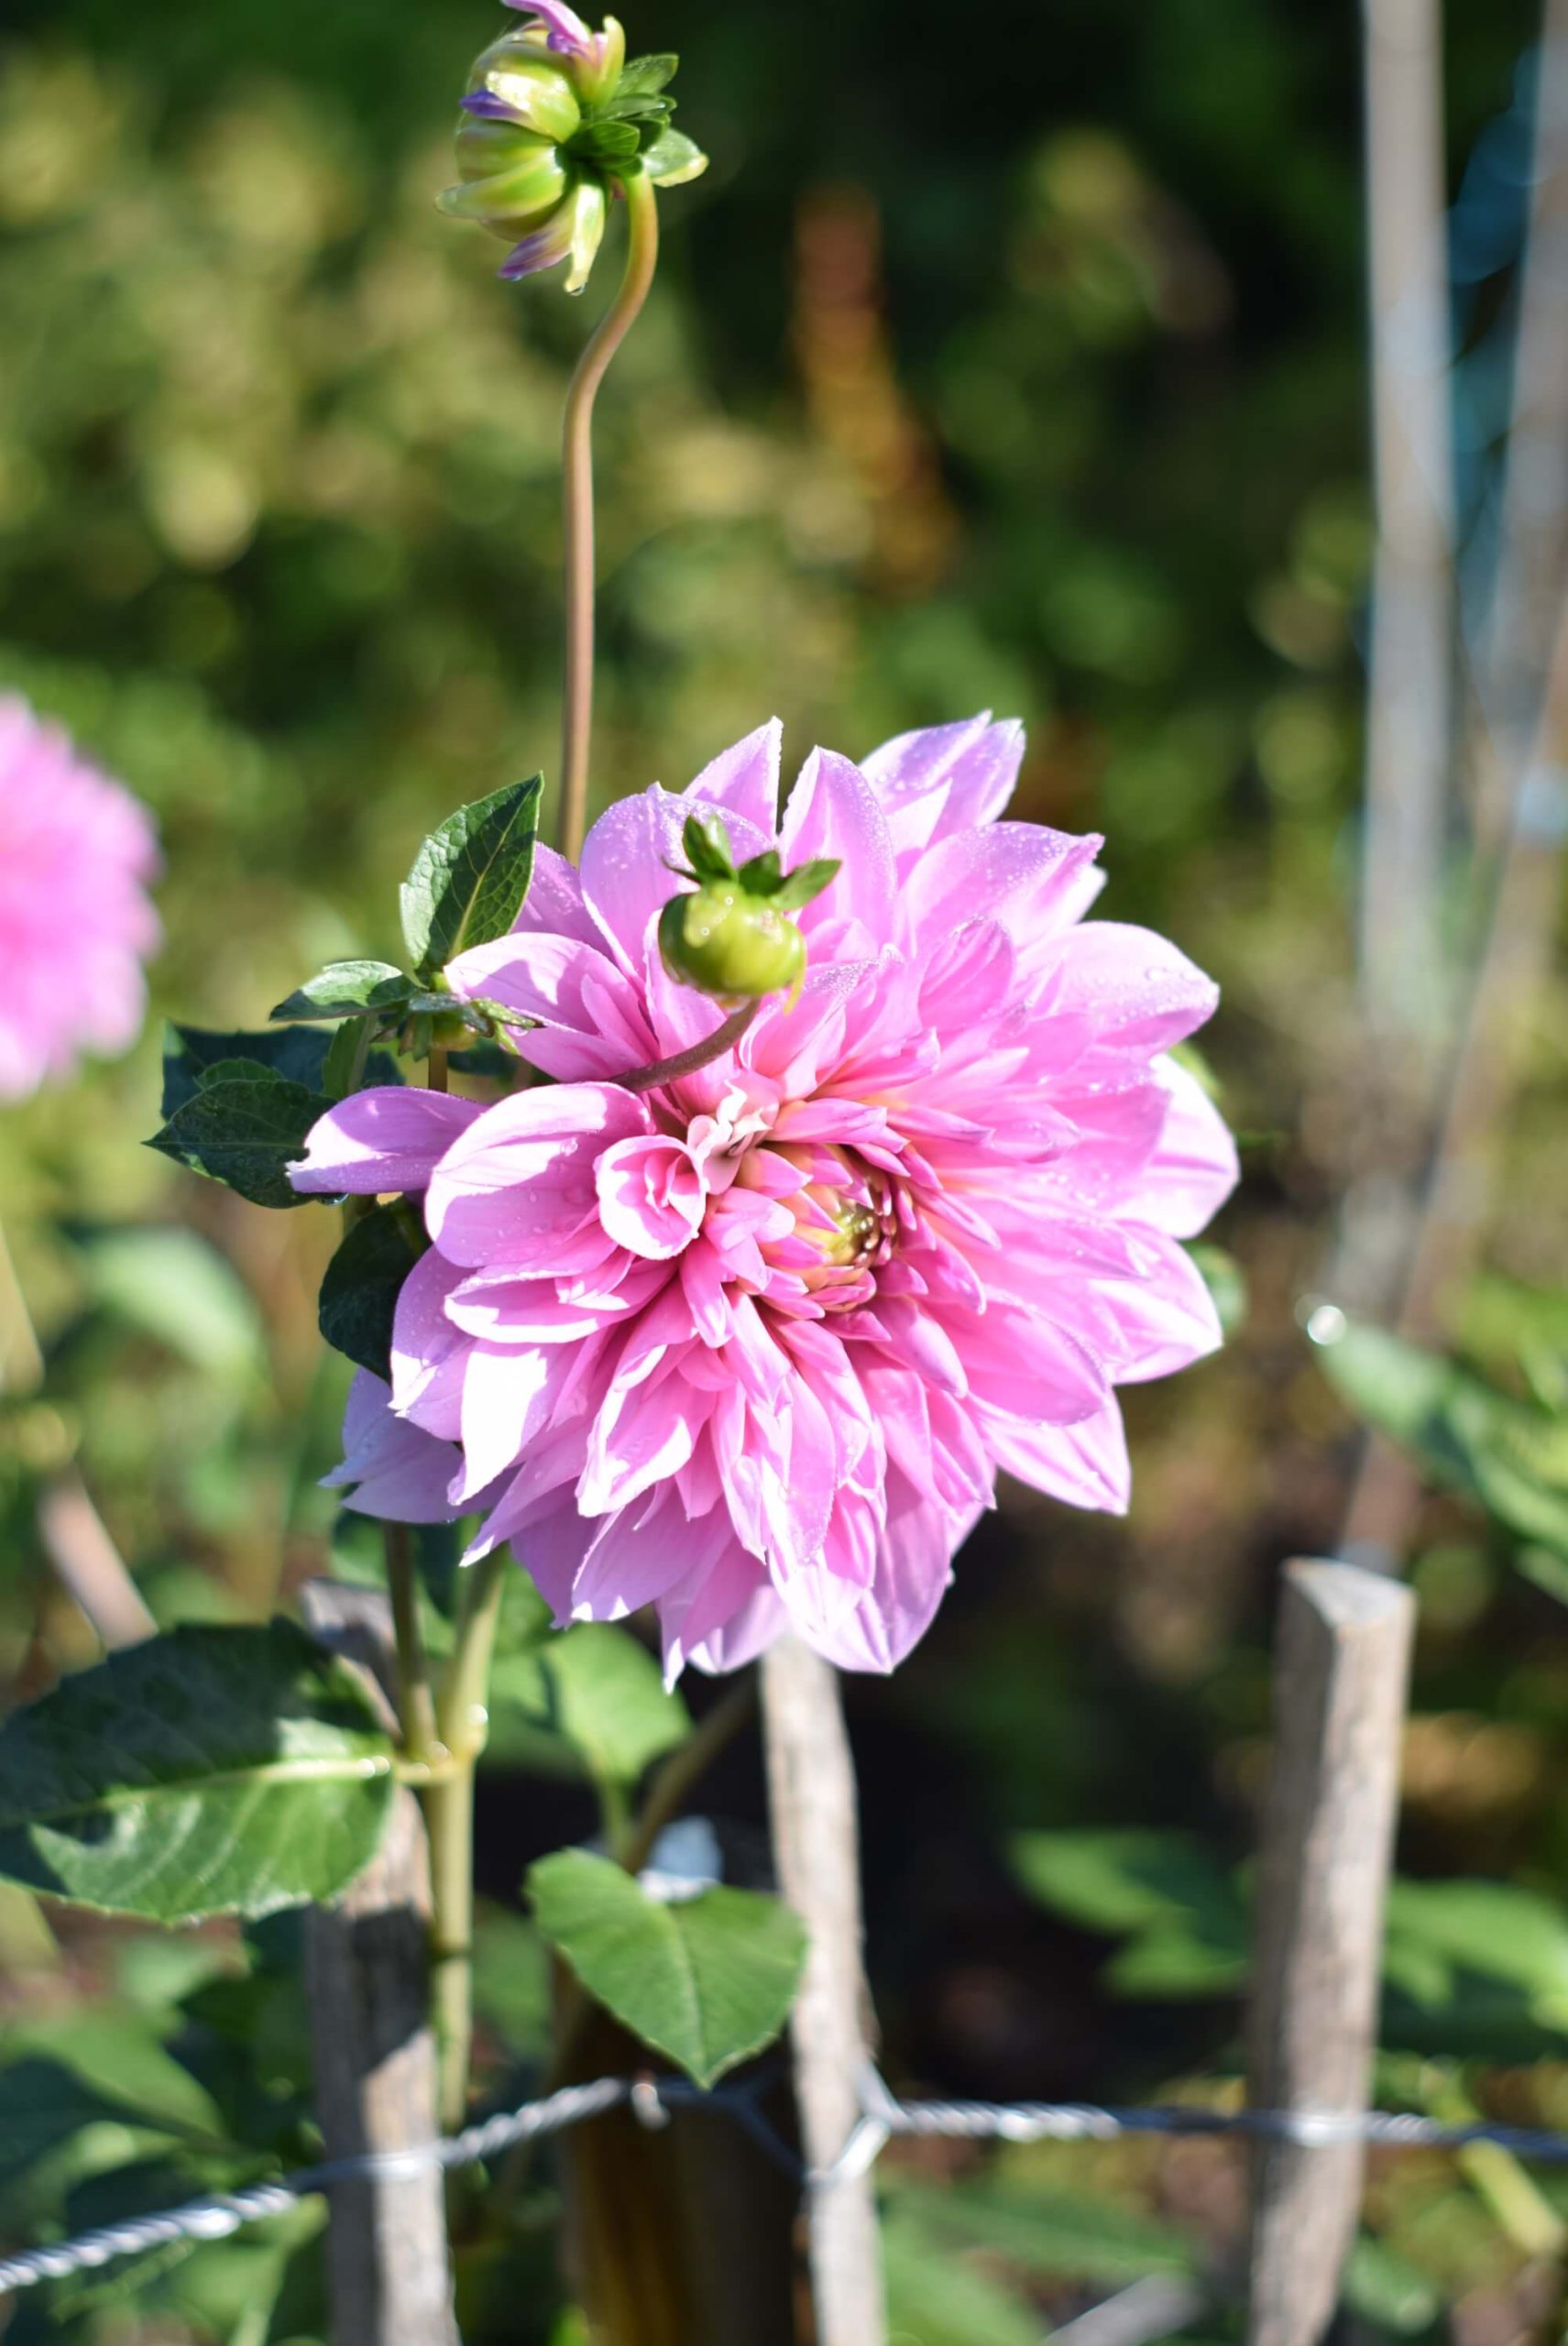
One important thing to know is that not all seeds are the same, and some may require special handling to ensure they germinate properly. For example, some vegetable seeds may need to be fermented before they can be saved, like tomatoes. Others can be divided by the roots, like dahlias and rhubarb.
To save seeds for next year, alwayds start by choosing which plants you want to save seeds from. Make sure the plants are strong, healthy and free of disease.
You can save many different types of seeds, bulbs, and other plant materials from your garden, including tomatoes, peppers, beans, peas, flowers and many more. With a little knowledge and some basic techniques, you can save seeds from your own plants to use in the next year’s garden. It’s a great way to ensure the continuity of your vegetable garden and to know that your plants are coming from a trusted source.
In summary, it’s easy to save seeds from a variety of vegetables, but it’s important to know how to do it properly. Some things to remember are to choose healthy plants, label the seeds, and store them in a cool, dry place. With these tips, you can save your own organic seeds for the next year’s vegetable garden.
Let’s take a closer look at what you can save from this year’s vegetable garden, for next year.
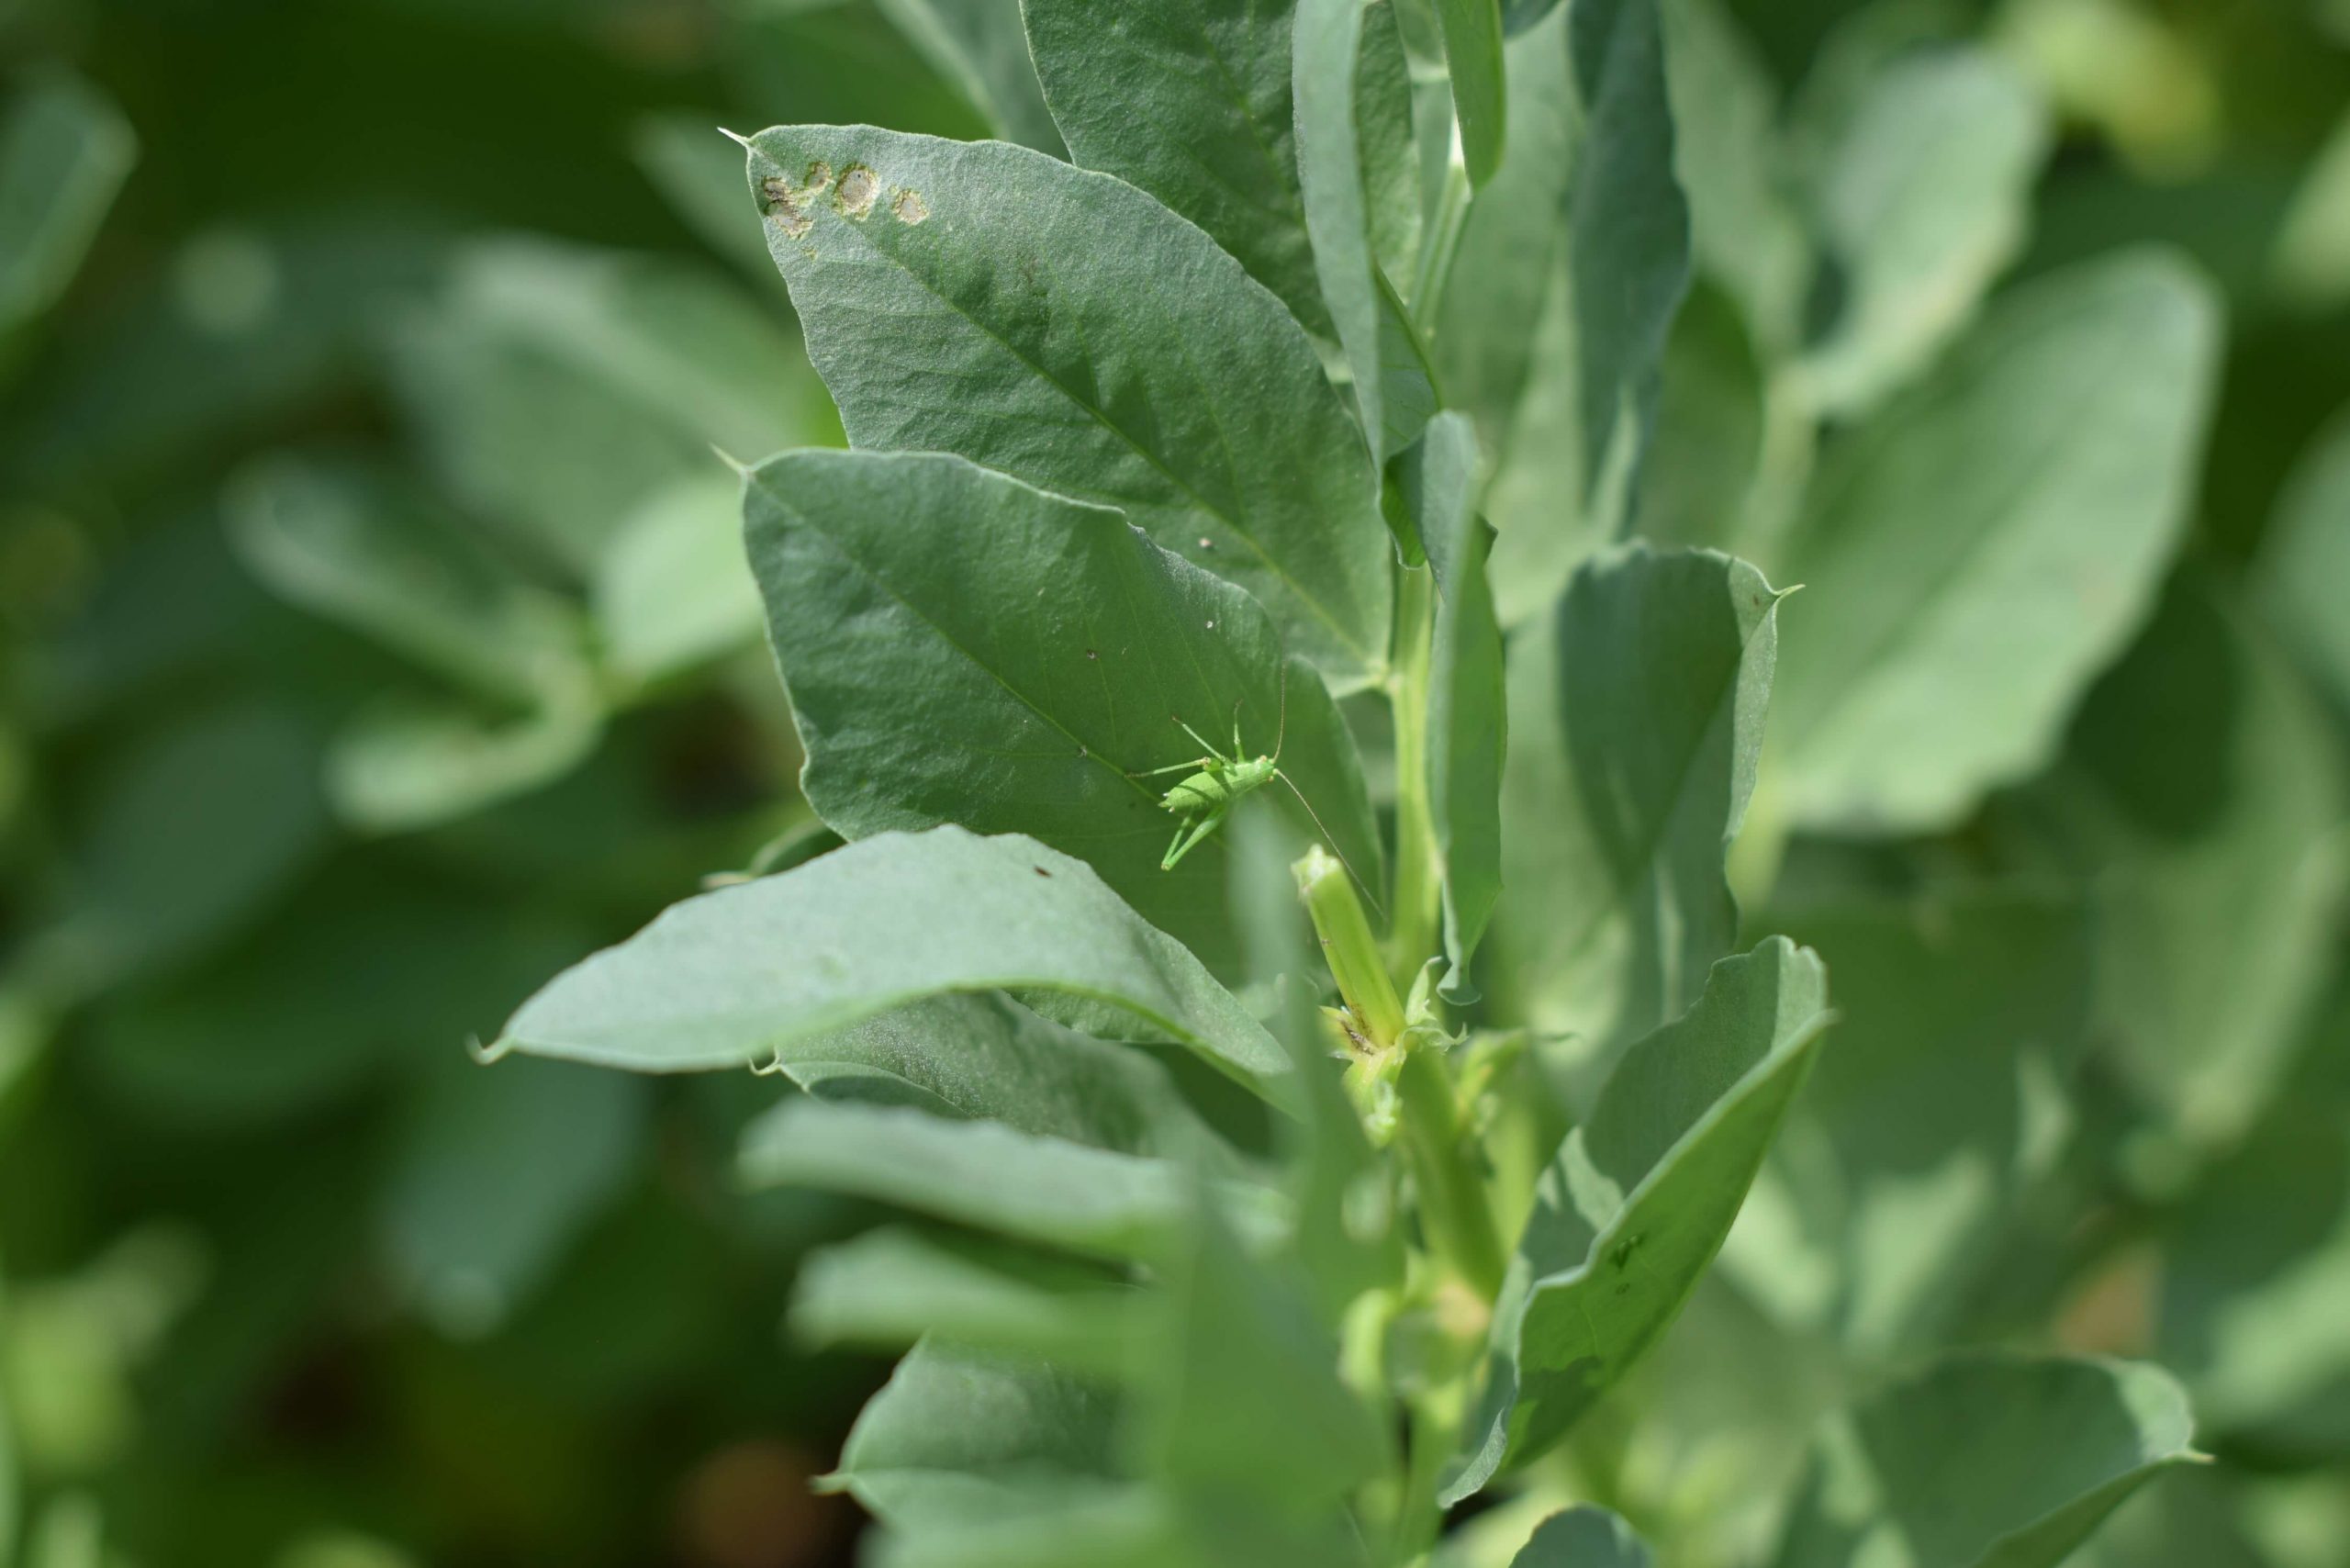
Beans and Peas
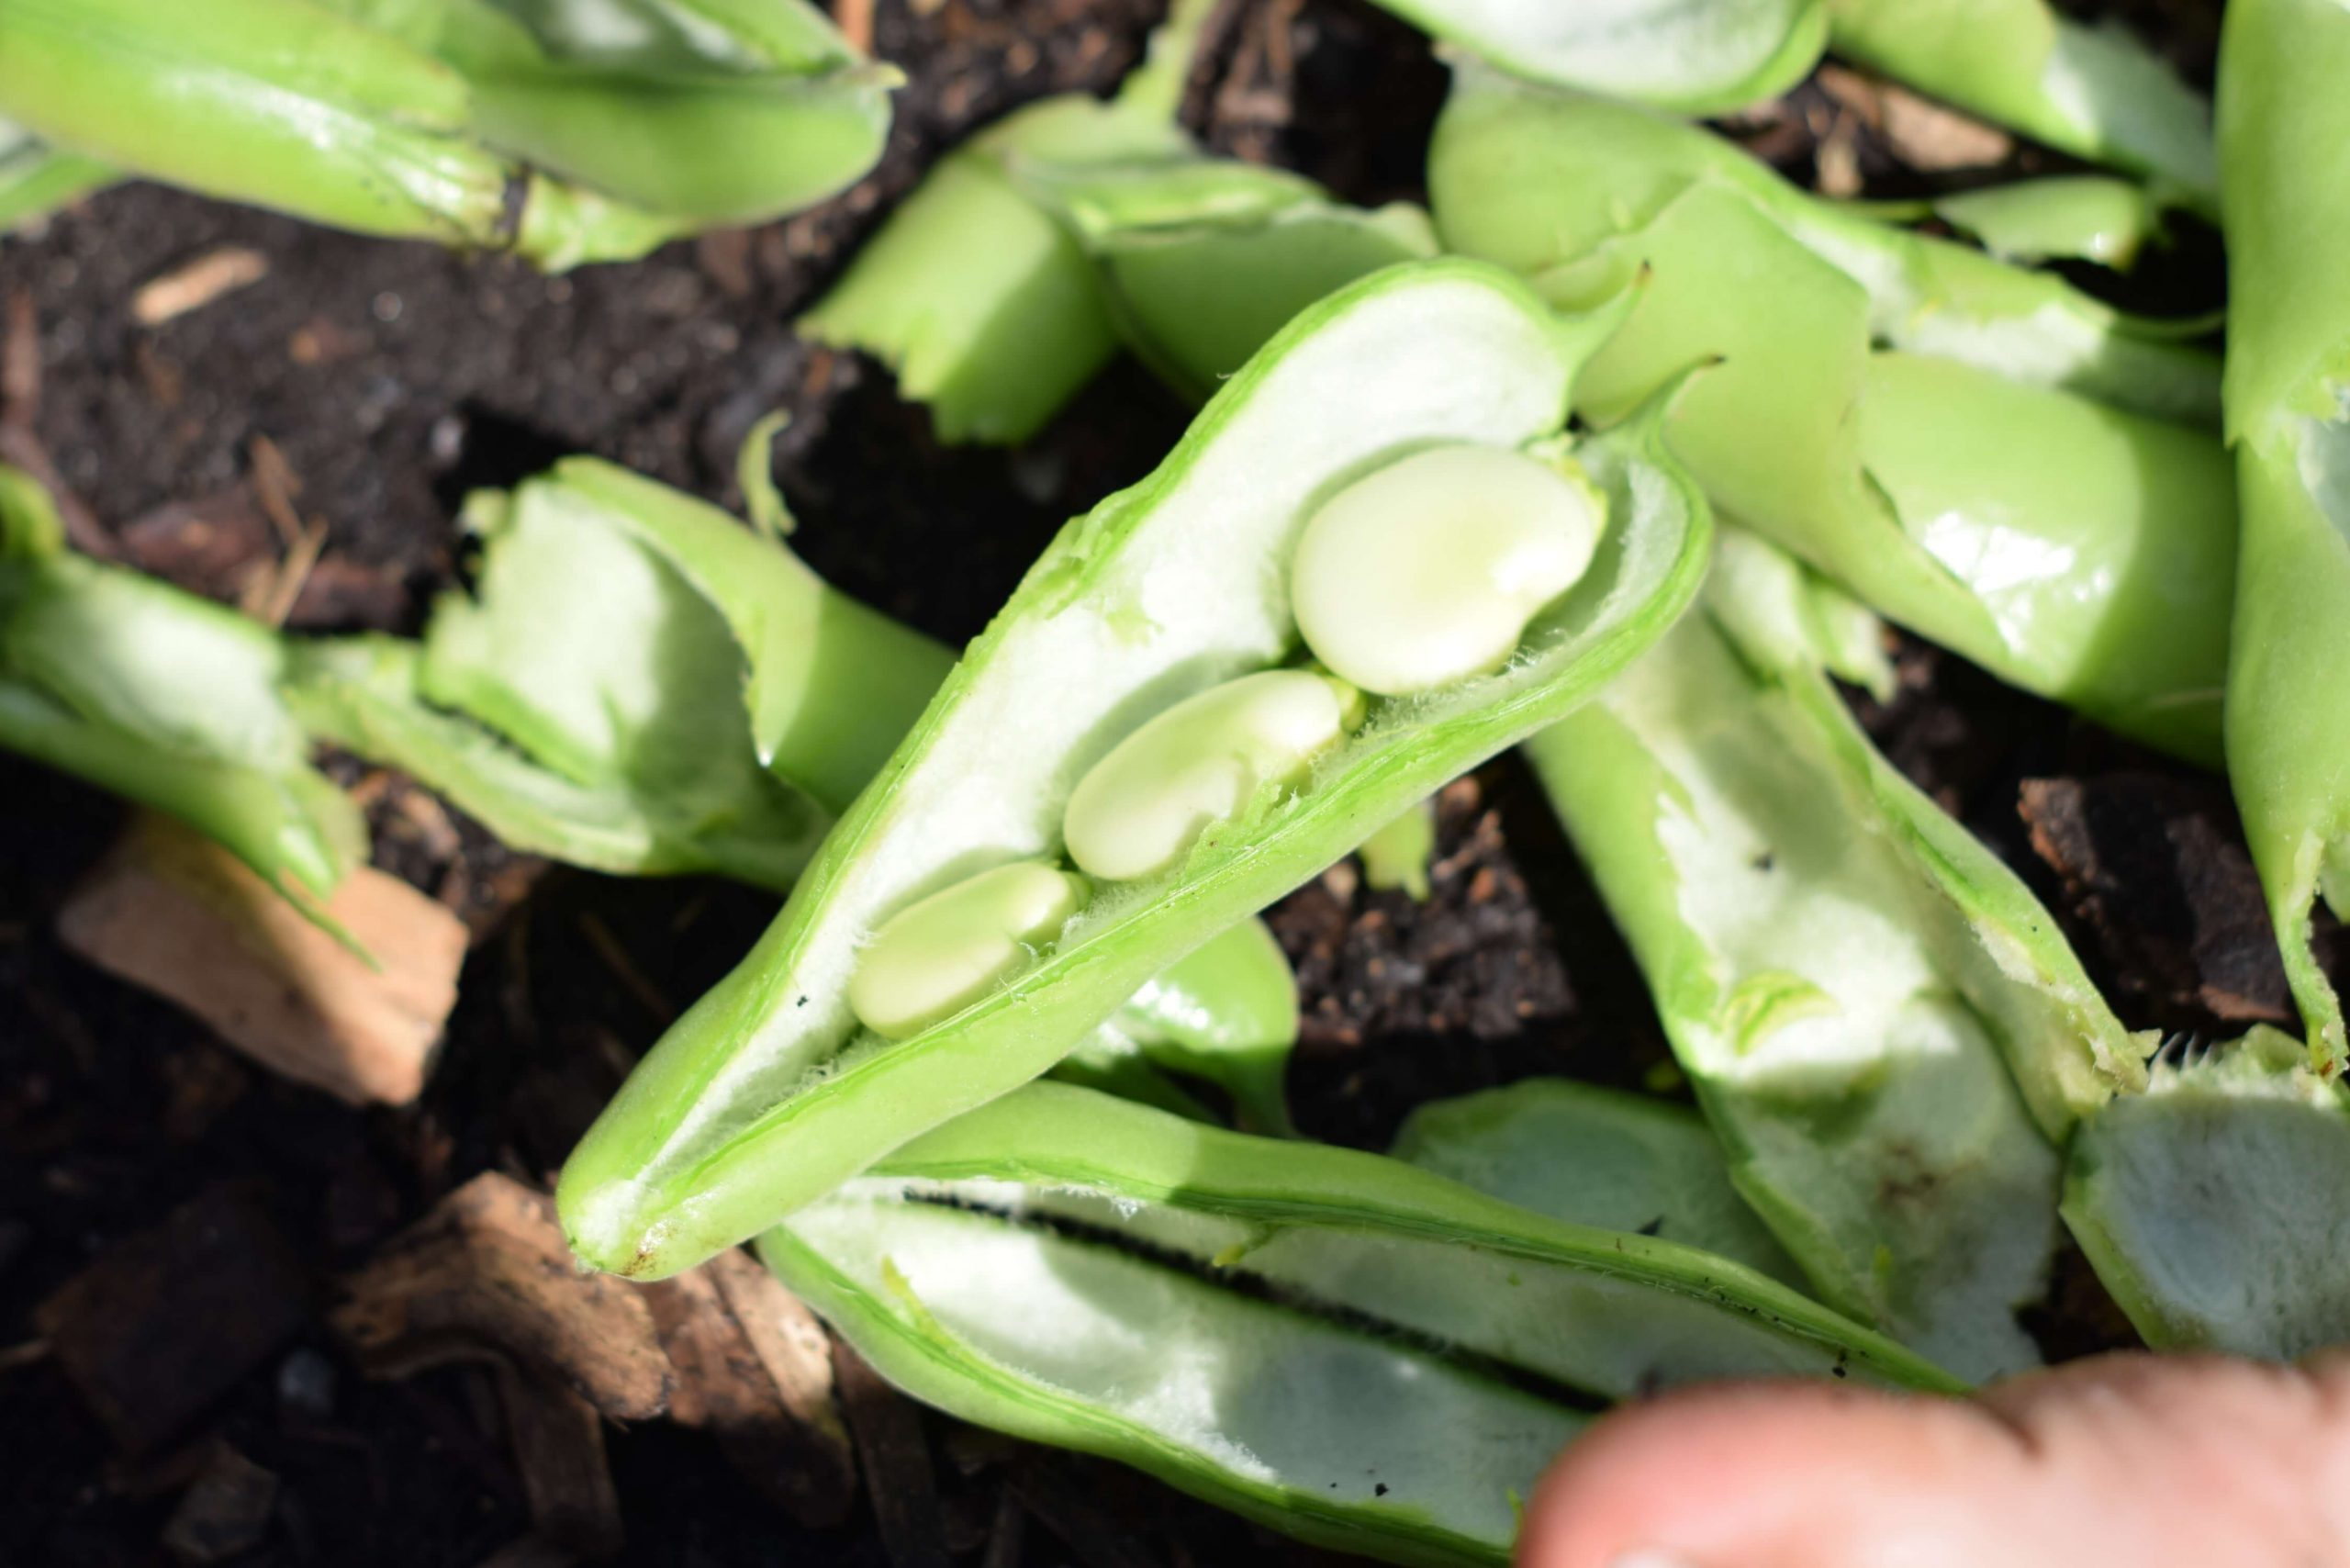
Saving beans and peas for seed is a relatively easy process, and can be a great way to ensure a consistent supply of your favorite varieties for the next planting season. Here are the steps for saving beans and peas for seed next year:
- Choose healthy plants: Select healthy, vigorous plants with good yields, as these are the best plants to save seeds from.
- Allow the beans or peas to fully mature on the vine: For seed saving, it’s important to let the beans or peas dry out completely on the vine, and not harvest them for eating.
- Harvest the seeds: Once the beans or peas have fully matured and dried out, remove the pods from the vine and shell the seeds. You can also leave the pods on the vine until they start to crack open and then harvest the seeds.
- Clean and dry the seeds: Remove any debris or plant matter from the seeds and spread them out on a clean, dry surface to dry. You can also place the seeds on a screen or in a paper bag to allow for good air circulation.
- Store the seeds: Once the seeds are completely dry, store them in a cool, dry place in an airtight container. Be sure to label the container with the type of seed and the year it was harvested.
Never stop learning…
Subscribe to the newsletter and receive more inspiration on gardening + simple living.
You can unsubscribe any time
How to save seeds from plants that don’t carry seeds within?
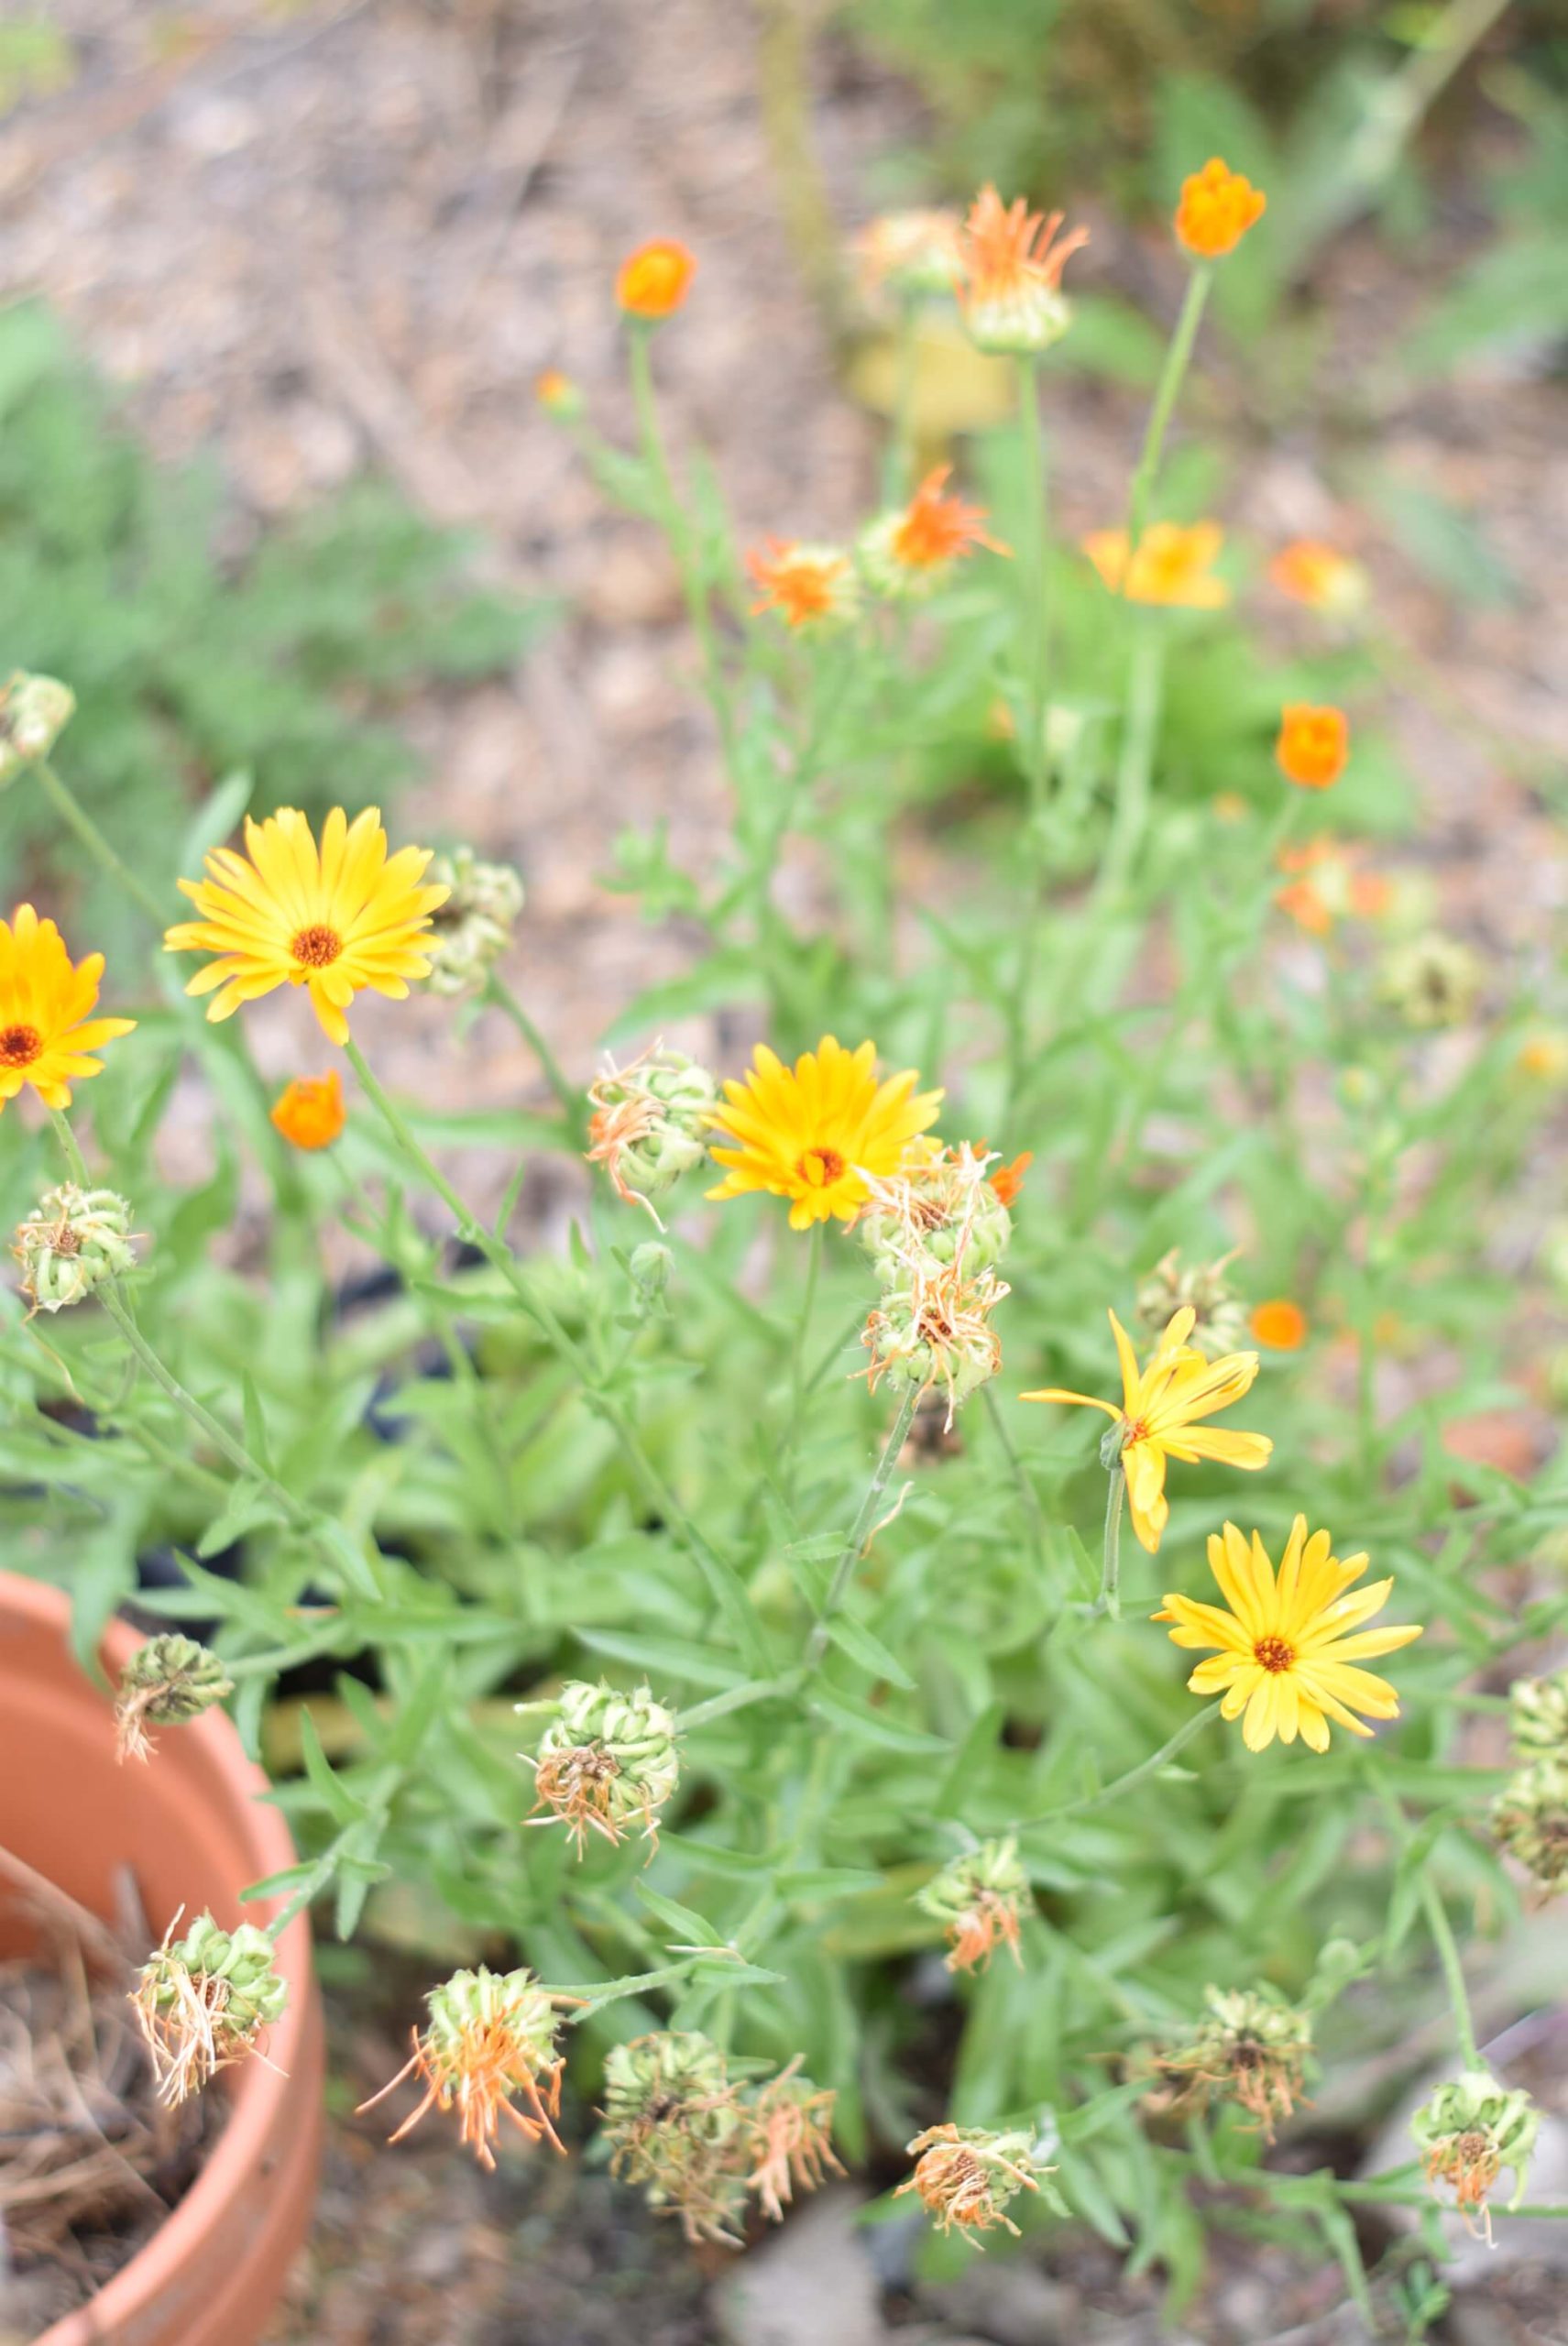
Some plants don’t carry seeds like squash or beans, but the plant grows its seeds after the growing season. This is the case with lettuce, rocket, beets new-zealand spinach, and many flowers, like calendula flowers.
Once the plant matures it will start to produce its seeds. In order to save seeds from these kinds of plants you will have to “sacrifice” some of them and not use them for consumption.
Instead, you wait until the growing season is over and the plant matures. Some plants produce the most beautiful flowers during this time! So they’ll still be a pretty vegetable garden addition, even when you’re not consuming them.
Once the plant matures and, if there be any, the flowers start to dry, that’s the time to harvest the seeds. Harvest, dry, and store them in the same way as mentioned above in the “dry” section and as you would with beans and peas.
The good thing about plants like these is that, although you need to “sacrifice” your best plants, they usually produce a lot of seeds. So plenty of seed to double your harvest next year!
Notice how come of the calendula flowers in the picture below have started to dry and are starting to produce seed.
Saving plant bulbs & roots
First, it’s essential to ensure that the bulbs you’re saving are from open-pollinated varieties and not hybrids. Hybrids may not produce the same quality or characteristics in their offspring as the parent plant.
Once you have identified good open-pollinated bulbs to save, you can begin by allowing them to dry out completely. Once they are dry, remove any excess dirt or debris and store them in a dry place at room temperature. It’s important to save bulbs in a cool, dry place to maintain their viability for next year’s planting.
For plants like tulips and daffodils that grow from bulbs, you can either leave them in the ground and they will regrow next year. If you leave plant bulbs in the ground, it’s important you do not cut the stem and leaves until they’ve completely dried. The plant uses nutrients from the stem and leaves and stores them in the bulb for the next season.
You can dig up bulbs and see if you can split them, after the growing season. The bulb will then have formed one or smaller bulbs on the side of the initial bulb. You simply separate the bulbs, dry them and store them in a cool, dry place. Next season you can plant them in the desired place in your (vegetable) garden.
Plants that grow from roots like dahlias and rhubarb can be split after the plant has had one or two good growing seasons. Be careful when you dig them up, not to damage the root. Dry and store as you would with the other seeds and bulbs.
Let’s sum this up!
Seed saving is an easy, but essential skill for every gardener. It saves you money because you don’t have to buy new seeds every year. You’ll know where the plants grew and you can select the best plants to save seeds from.
It’s important to remember that any seed, bulb, root, etc. needs to be labeled accurately, properly dried, and stored in a cool and dry place. This way you’ll have the best chance of healthy plants next growing season.
Remember to always save your own seeds from open-pollinated varieties to preserve genetic diversity and maintain healthy crops for years to come.
What seeds do you plan on saving for next year? I’d love to hear it, let me know in the comments below! The free garden planner can help you plan for the next growing season. Jot down all seeds you have and you’ll be on your way to a fruitful growing season.

